Each Studio Artist layer has an associated bezier path frame. The bezier path frame is a buffer for bezier vector paths. Studio Artist has a unique internal graphics model for paint strokes that paints raster paint over vector paths. The nice thing about vector paths is that they are resolution independent and in the case of bezier paths smoothly editable via control handles when in Bezier Edit operation mode.
Path Generation and Editing via the Path menus
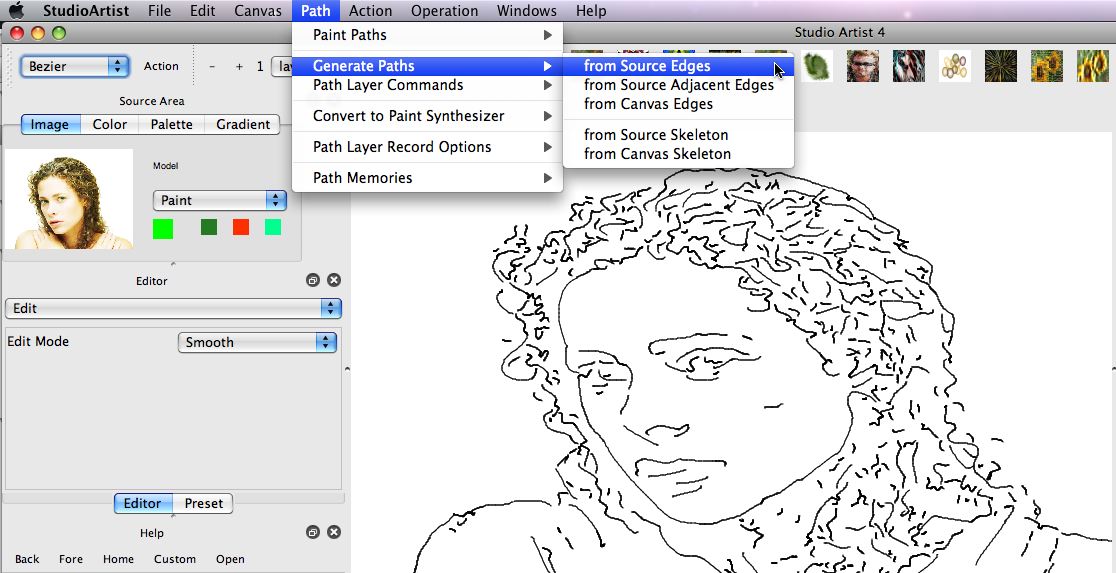
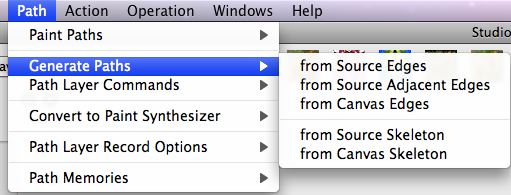
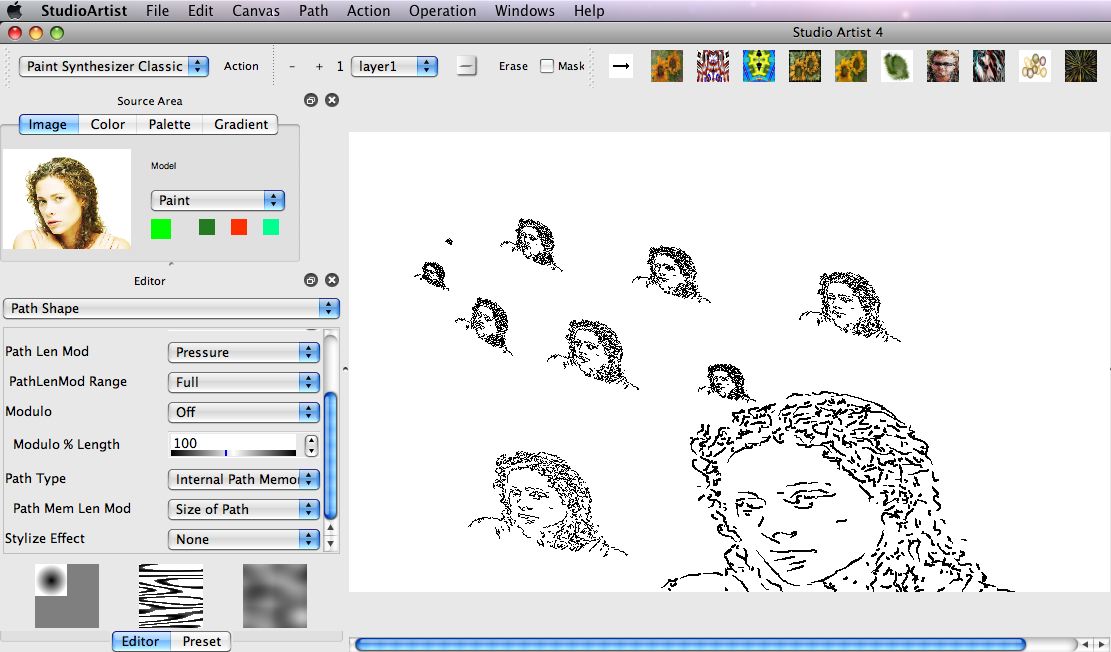
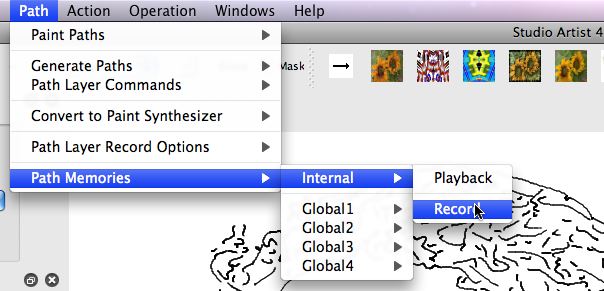
There are a large number of different path generation and editing menu commands located in the main Path menu. The screen snap above shows the result of running the Generate Paths : from Source Edges menu command. The Generate Path commands provide different ways to automatically generate sets of bezier paths from the source or canvas images.
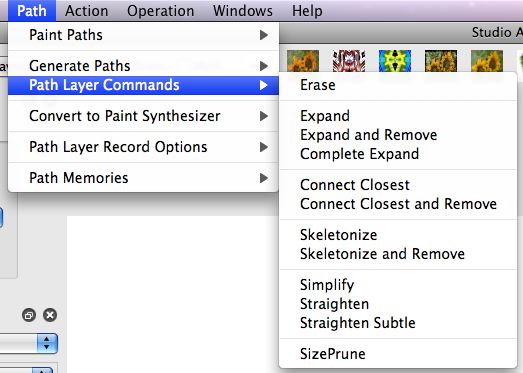
The Path Layer Commands provide different ways to automatically modify the existing bezier path layer.
Path Generation and Editing in Bezier Operation Mode
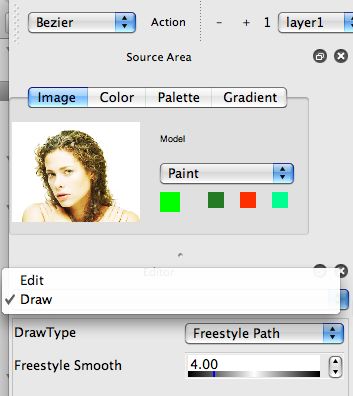
You can use the popup at the top of the Editor Palette to switch between manual drawing or editing of bezier paths in the current layer’s bezier path frame. Normally the bezier path frame is hidden from view. When in Bezier operation mode the current bezier path frame is displayed on top of the current layer in the main canvas.
Path Layer Record Options
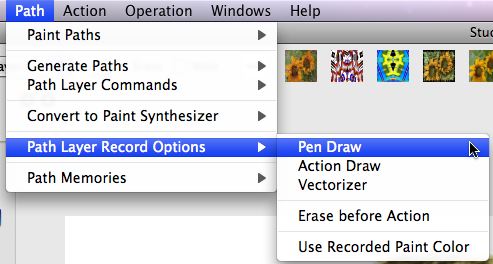
Bezier paths can be generated automatically from your manually drawn paint strokes. Or from auto-drawn paint strokes created by the synthesizer actions. Or from the output of the Vectorizer. You just need to turn on the appropriate check menus in Path : Path Layer Record Options as shown above.
Things to do with Bezier Paths
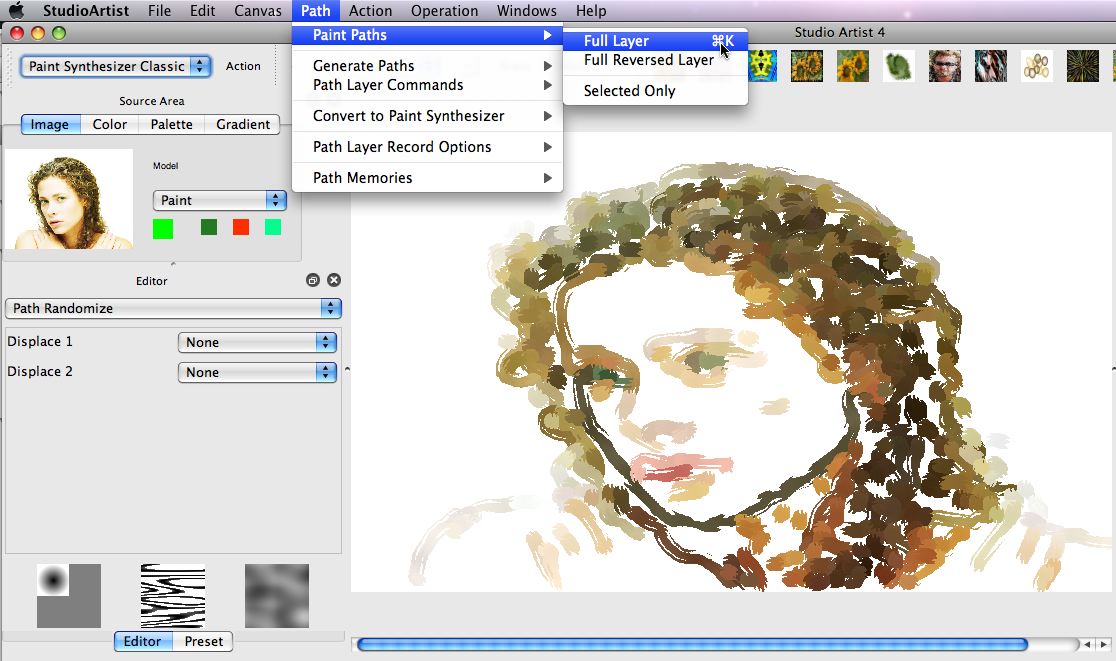
Bezier paths can be used in many different ways in Studio Artist. You could run the Path : Paint Paths : Full Layer menu command to paint the bezier paths with the current Paint Synthesizer paint preset.
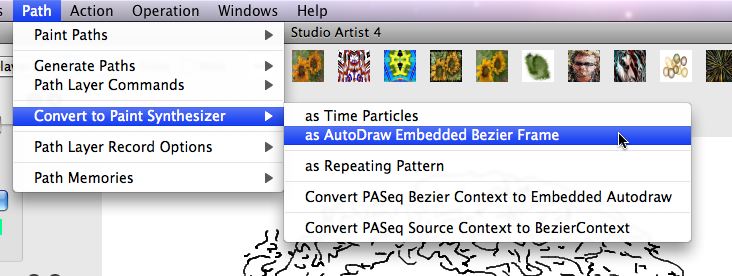
A complete set of bezier paths can also be encapsulated in a paint synthesizer preset using it’s internal bezier path memory.
There are different uses for this. One is to provide a way to keyframe interpolate between different sets of bezier paths in a single paint action step to build up fluid paint animation in a Paint Action Sequence.
encapsulated bezier keyframe paint animation example
Another is to use the bezier paths as a hatching texture while interactively drawing.
This is done by recording the bezier path frame into the paint synthesizer internal bezier path memory and then using that as the path shape in autodraw interactive pen mode.
Or the paint synthesizer can use the individual bezier paths as internal keyframes that are interpolated over time in an animation or while drawing.
bezier path shape interpolation example
When used with the region Fill as Brush pen mode this provides a way to generate a dynamic brush shape from the interpolating animation of the individual bezier paths.
bezier brush shape interpolation example
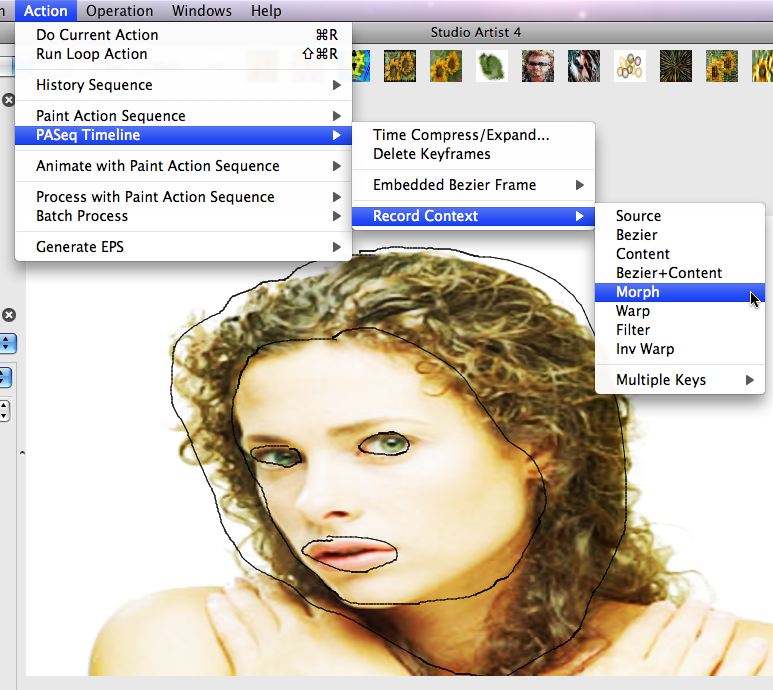
The movement of bezier paths over time can be used to specify warps or morphs or spatially varient filtering. This is done using PAseq Context action steps.
For more information
Here’s a tip on encapsulated bezier keyframe animation derived from hand drawn sketches.
Here’s a tip on automating encapsulated bezier animation.
Here’s a tip on PASeq Contexts.
Here’s a tip on generating a morph animation.



1 Comment