This tip will discuss how to create a morph animation from a series of still images. Older versions of Studio Artist used the old Timeline Animation op mode functionality to generate morphs. Morphs are now created single Morph Context in a Paint Action Sequence.
How to generate a morph
To start off, open the Paint Action Sequence (PASeq) editor and erase the current PASeq by pressing the Erase button in the PASeq editor toolbar.
Choose the first source image you will be using for your morph sequence and open it as the current source.
Then, record a Morph Context action step by running the Action : PASeq Timeline : Record Context : Morph menu command.
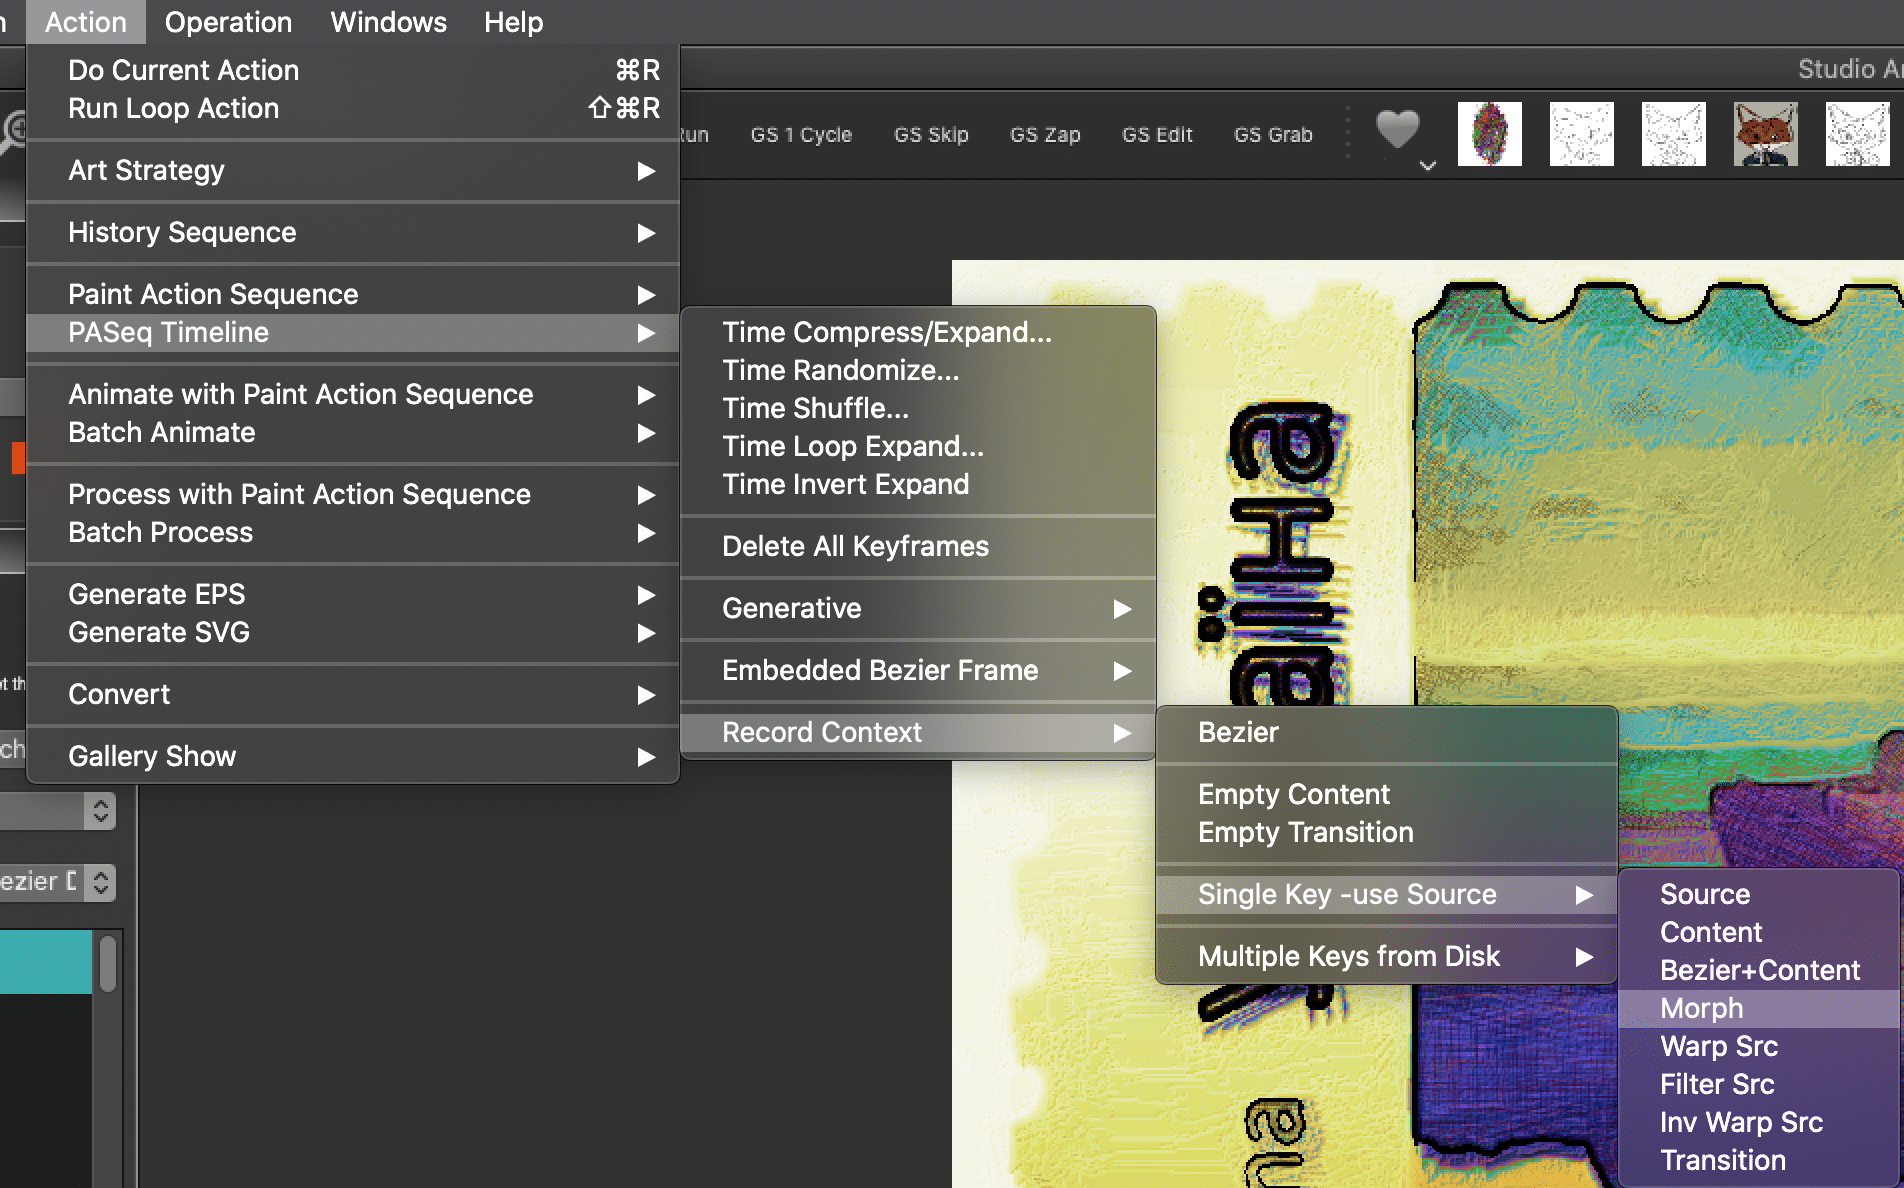
After running this menu command you will see a single Morph Context action step recorded in the PASeq editor.

Now switch to Bezier Draw operation mode. An easy way to do this is to use the Operation : Bezier : Bezier Draw menu.
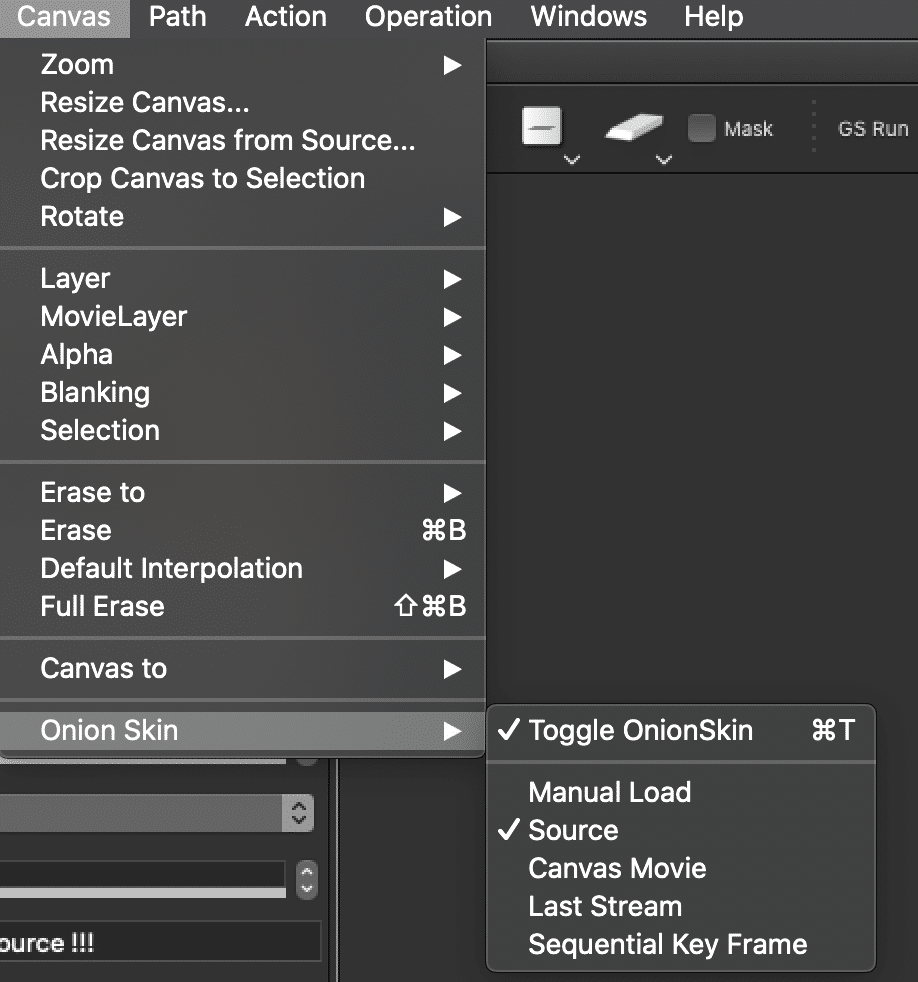
Once you are in Bezier Draw op mode, you can draw in a series of Bezier paths that will anchor features in your source image. Turning on the source onion skin is a good way to do this with Canvas > Onion Skin or Cmnd T (mac) Cntrl T (win). Or you could drag the source image into the canvas if you wish.
For example, if you are morphing a series of faces, try drawing a series of Bezier paths around the facial features like the eyes, nose, mouth, and head.
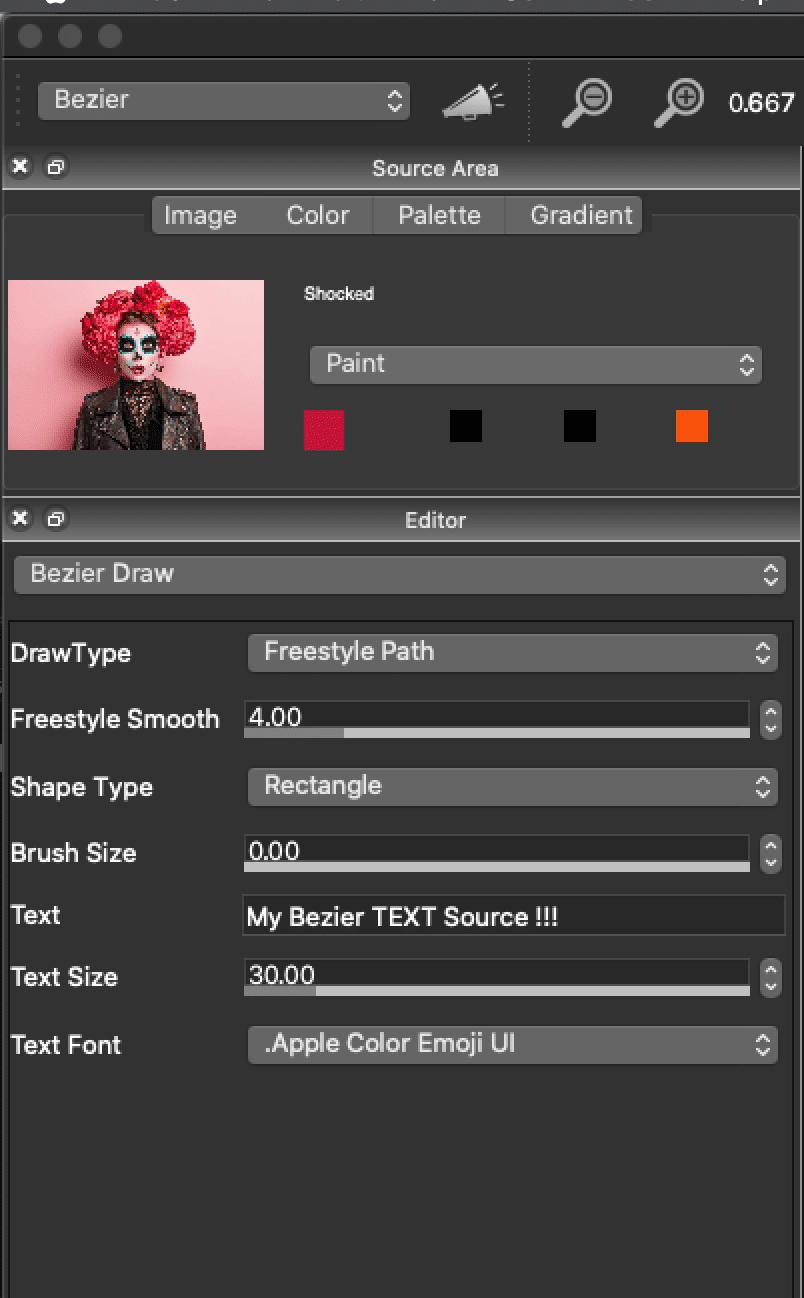
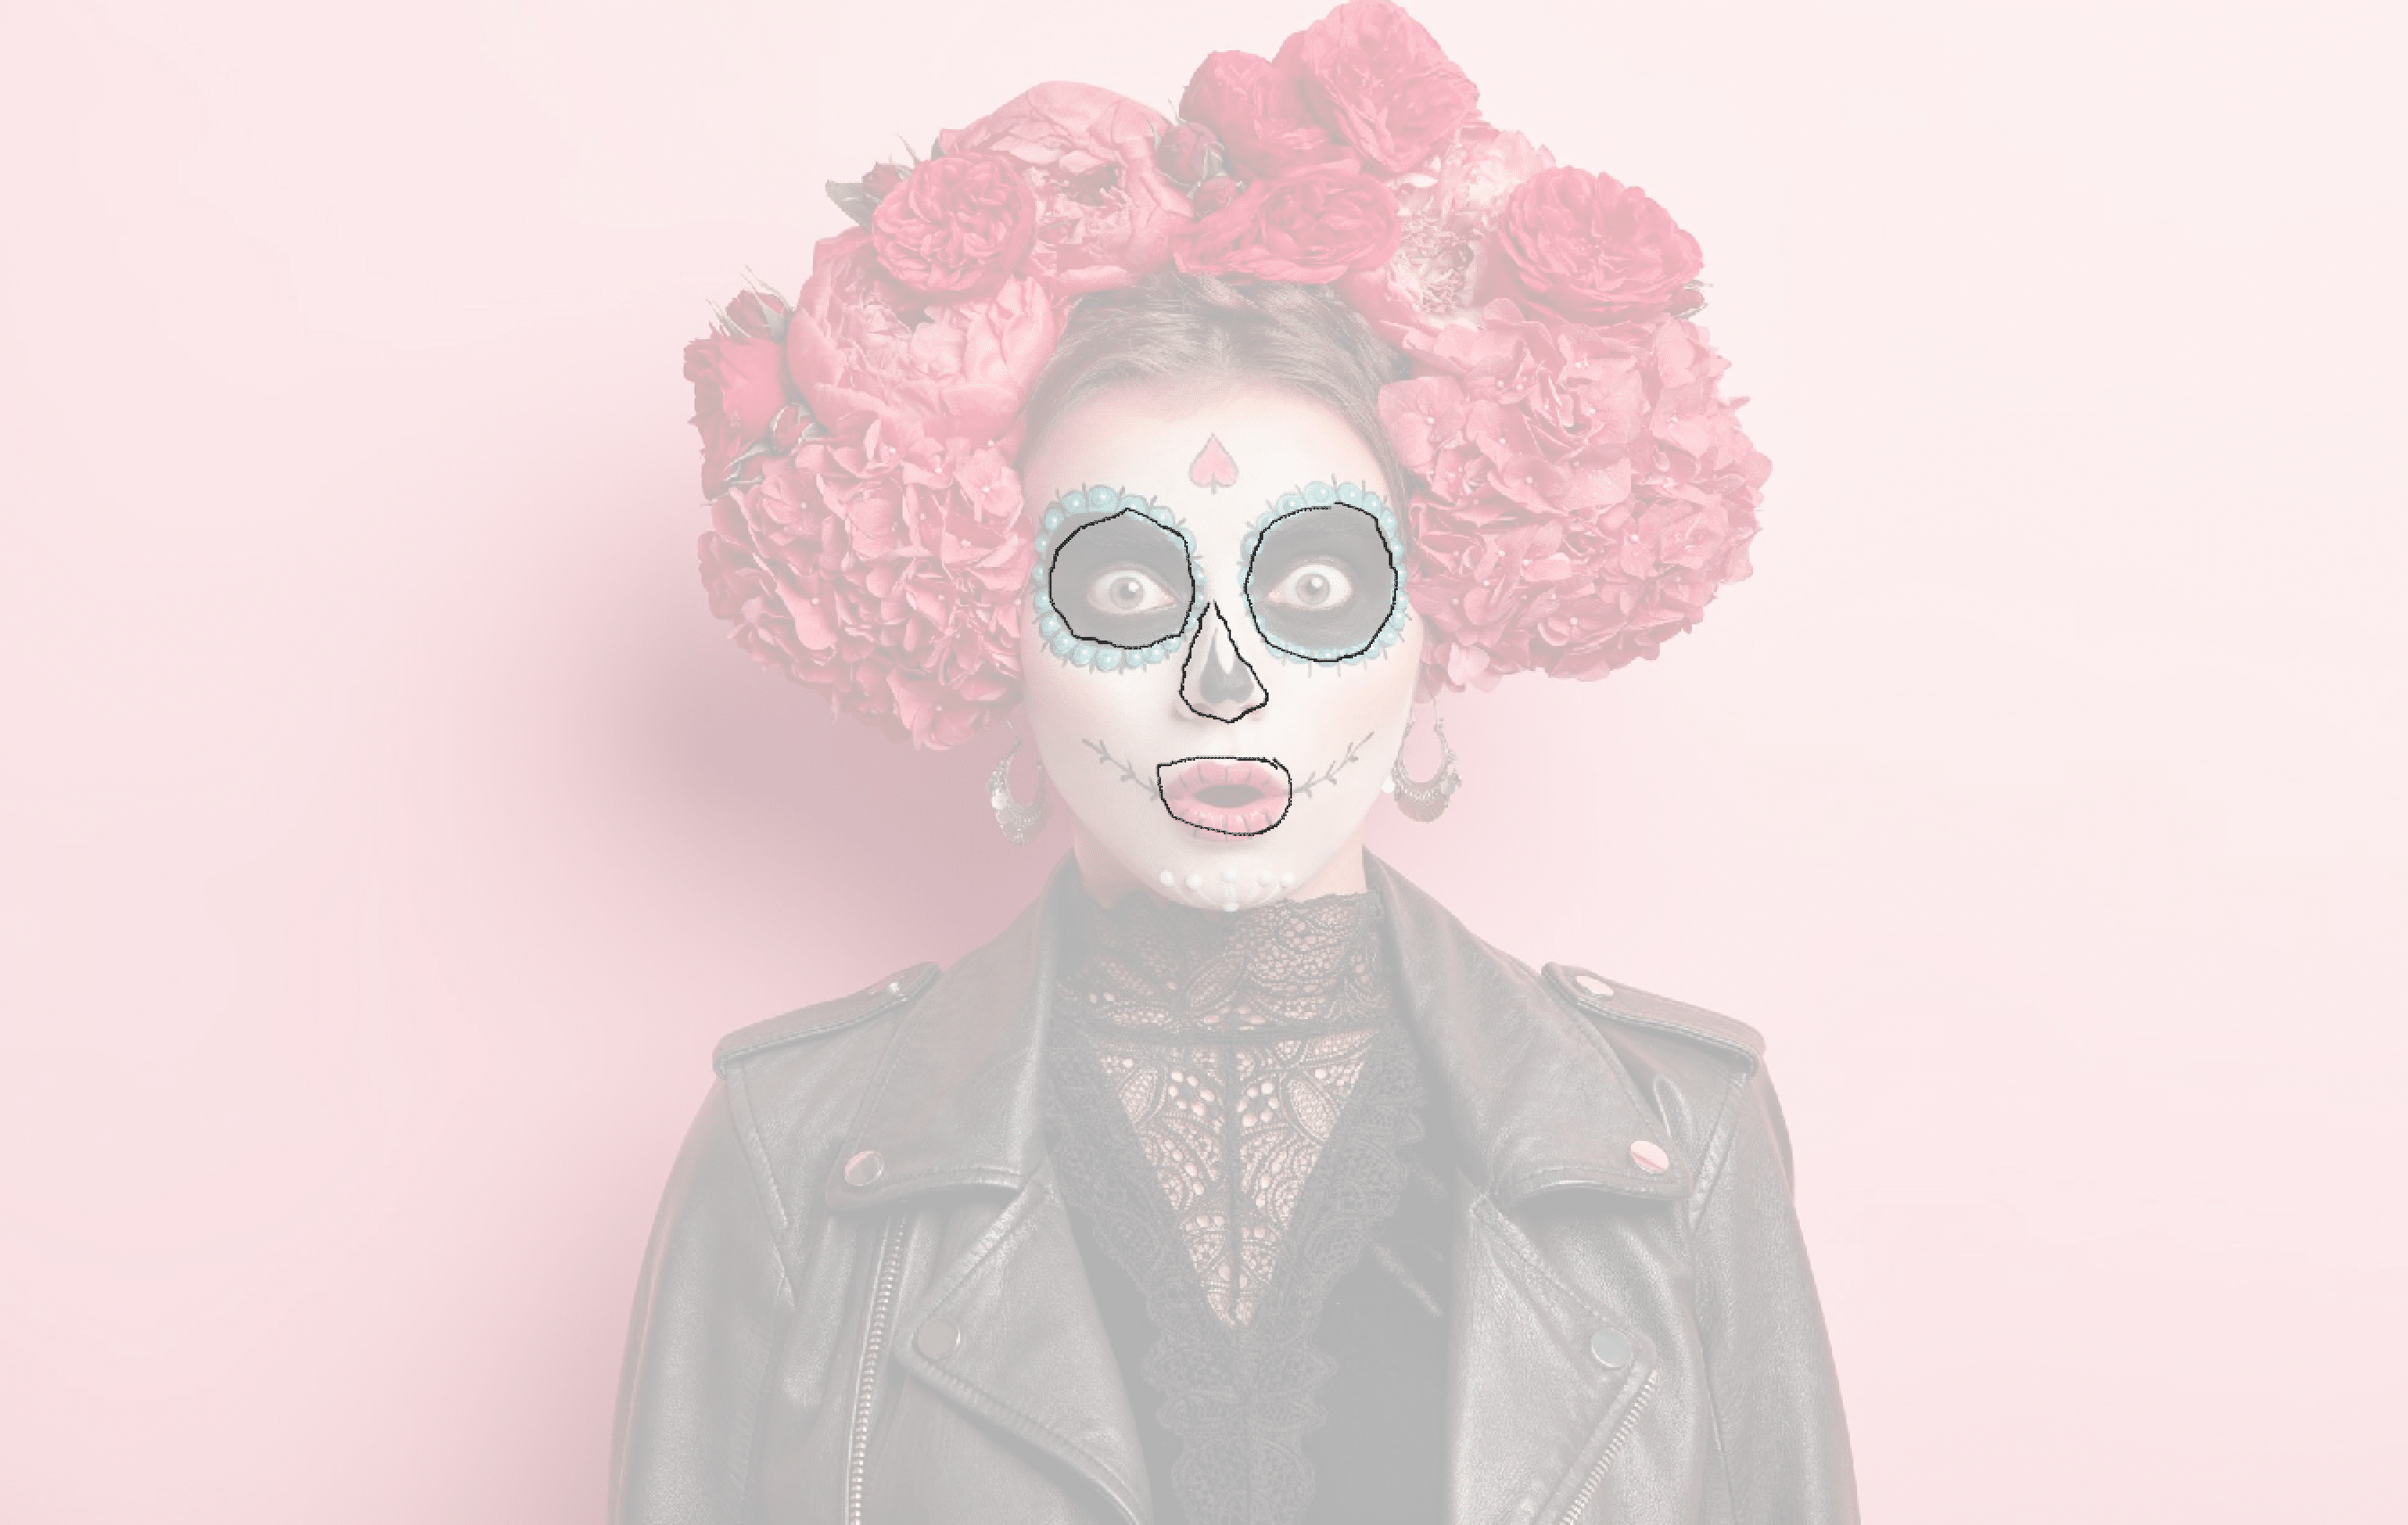
When you are done drawing your set of Bezier anchor paths
Option click (mac) Alt Click (win) the first keyframe (red Square) in the Morph Context action step in your PASeq Timeline.

Now choose your second image for your morph and open it as the source image.
NOTE: The onion skin will turn off when you open the new source image, so turn it on again. Now switch to Bezier Edit op mode.
Note how the original Bezier anchor paths are still displayed, but they no longer correspond to the facial features of your new source image.

You now need to edit the existing Bezier paths so that they correspond to their associated facial features in the new source image you just loaded. ‘
First Toggle To Bezier Edit
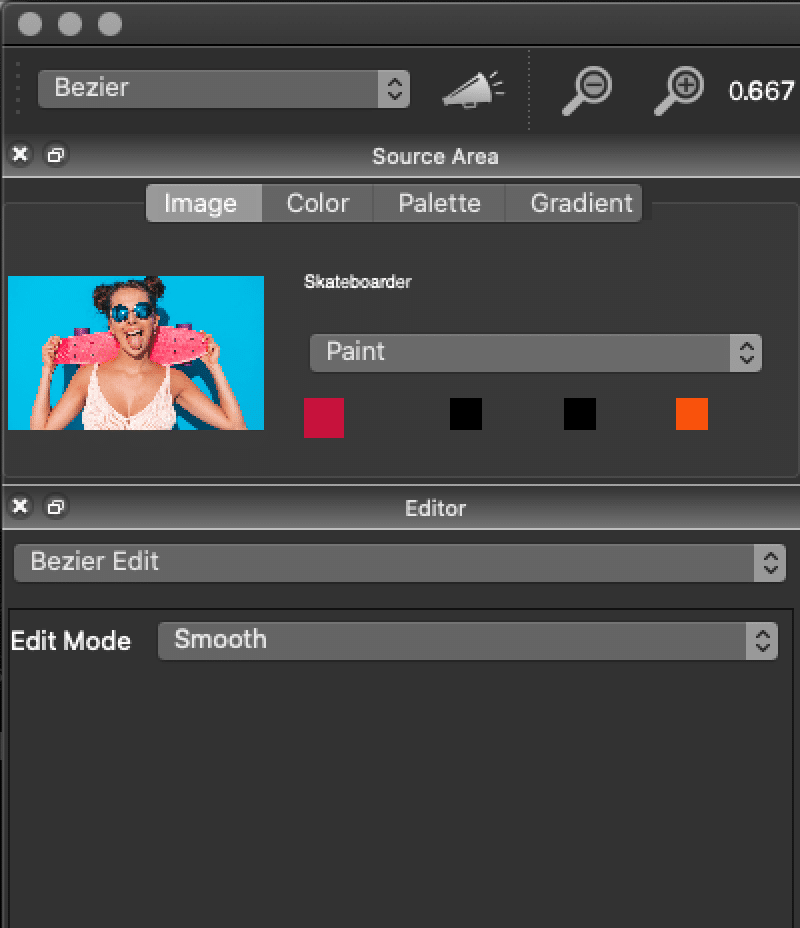
Then click or select the one of the Bezier Paths (ie one of the eyes)
Then hold down the e key and redraw where you want the eye to be on the new Image. The original Bezier eye will disappear. Repeat for all of the rest of the Bezier curves
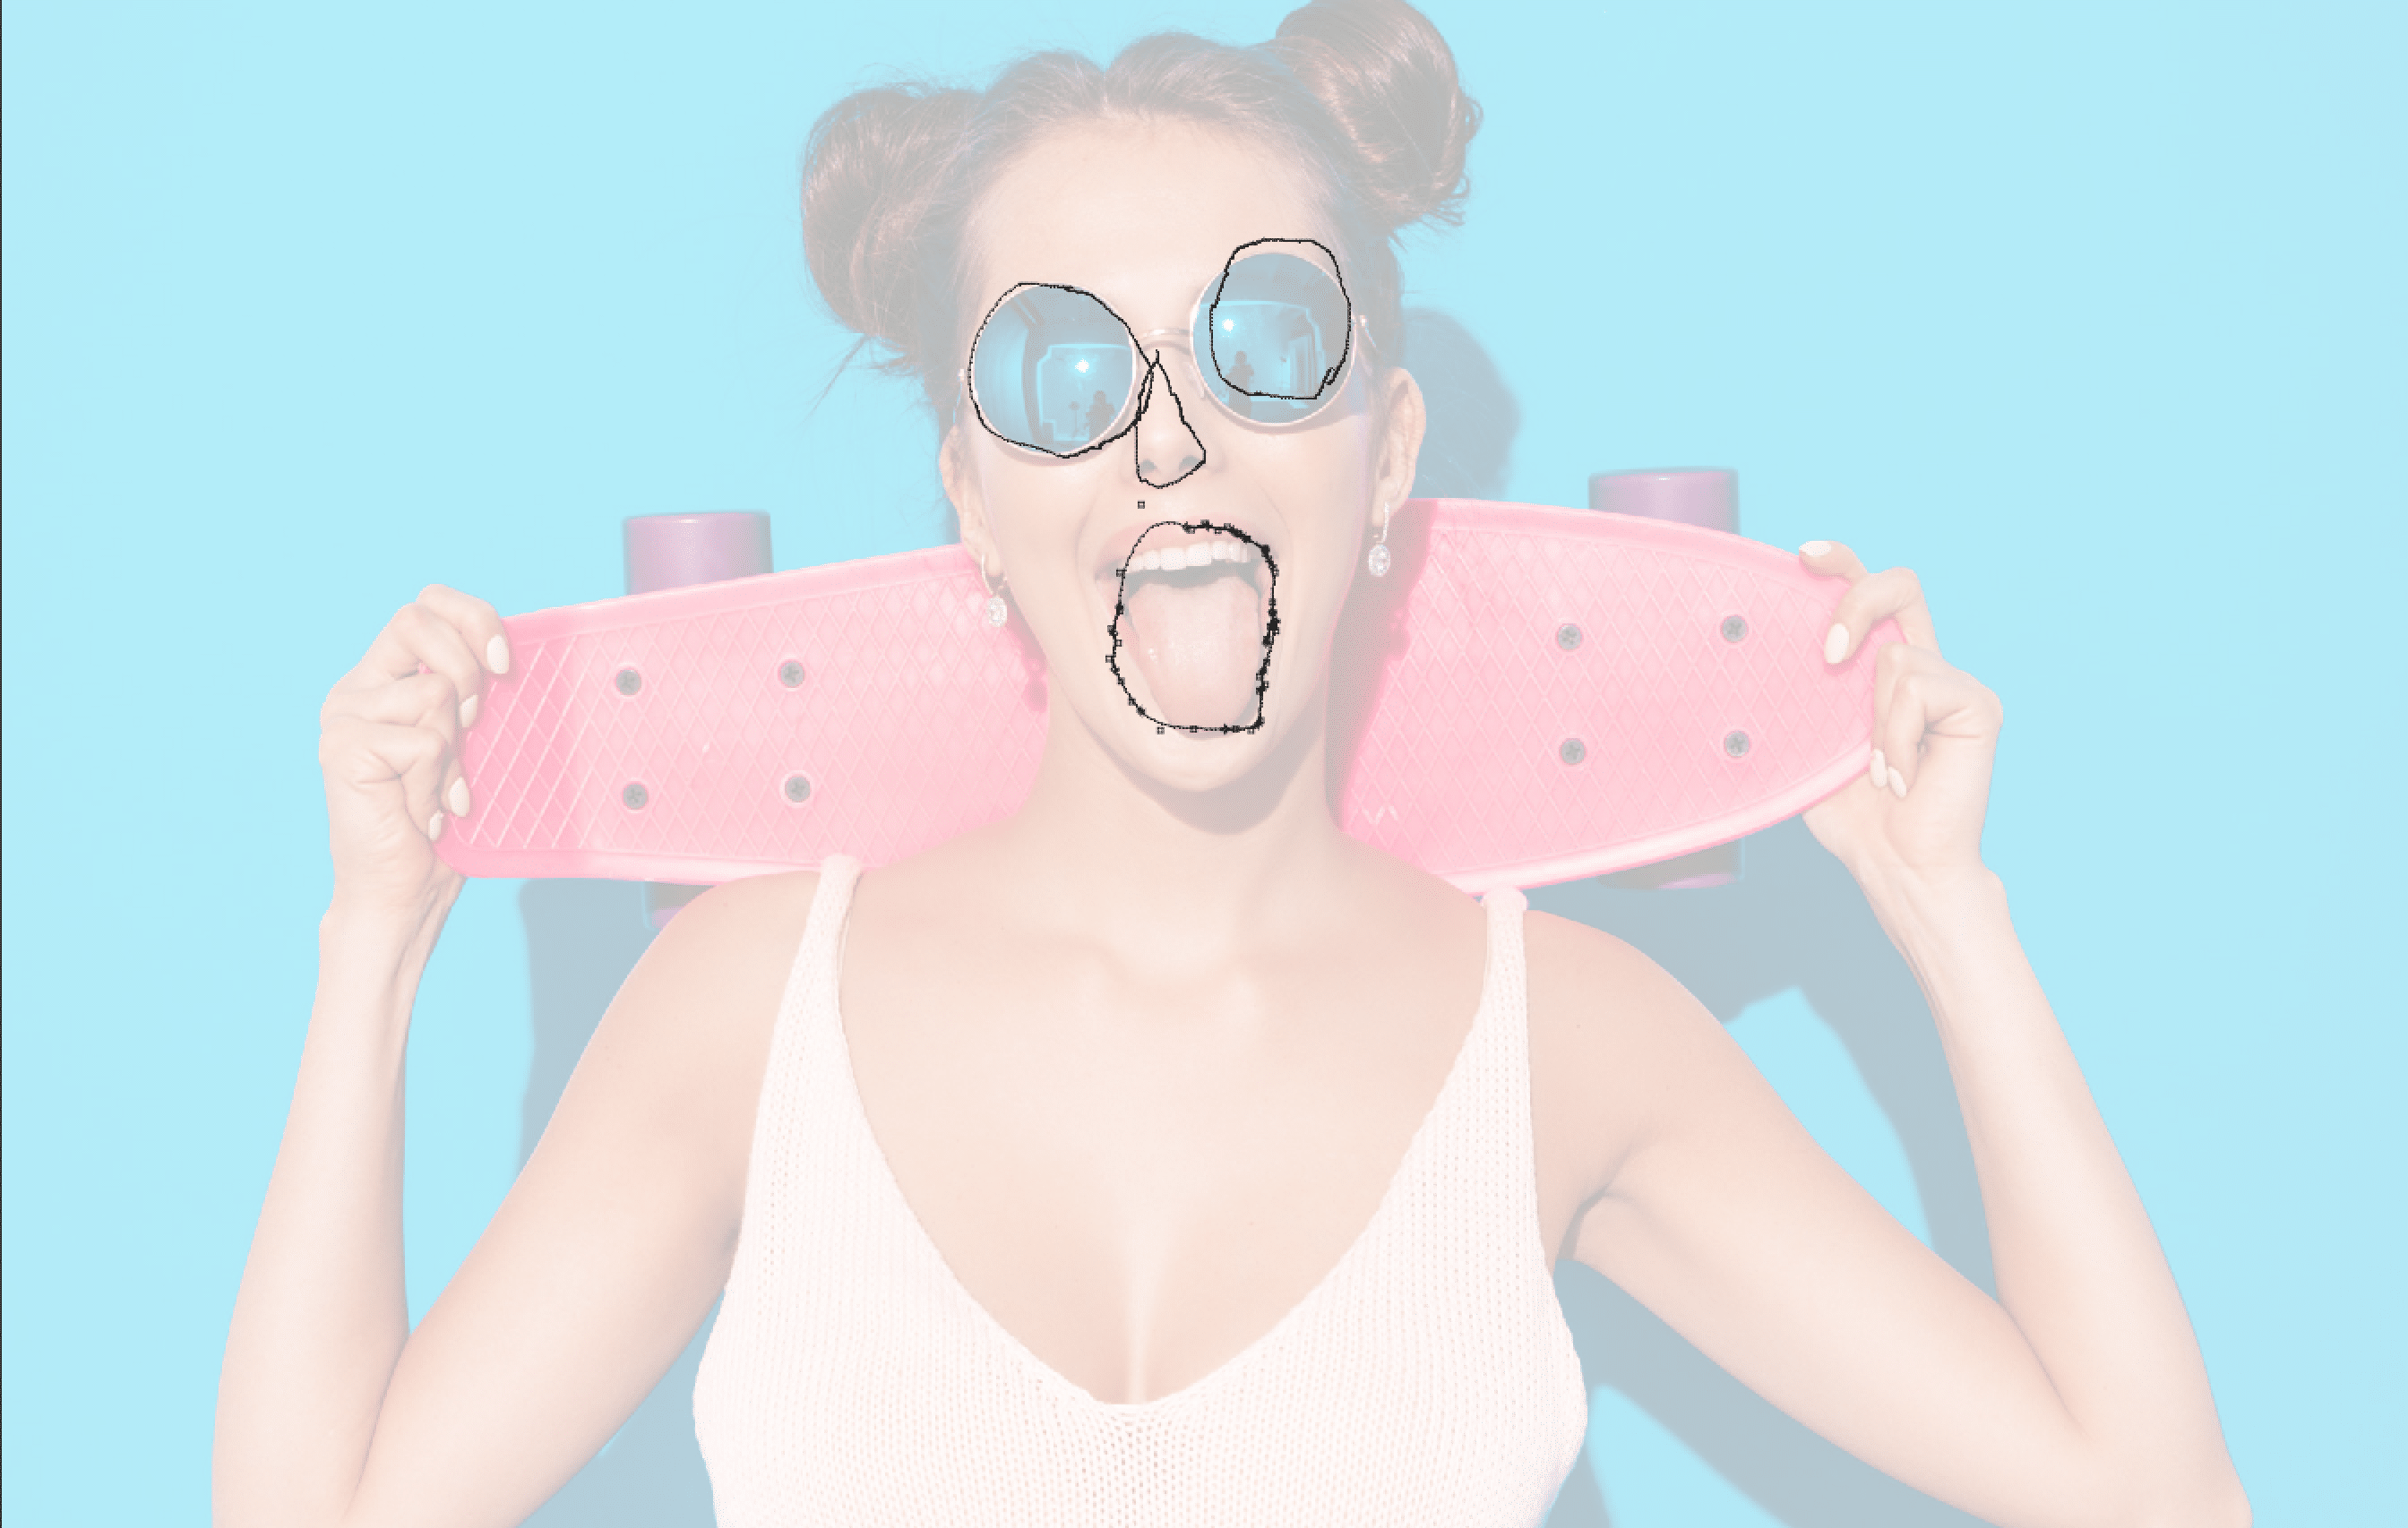
Once you have edited all of the old anchor paths to their new locations, option click a new keyframe in your Morph Context PASeq action step. The example below is at keyframe 50

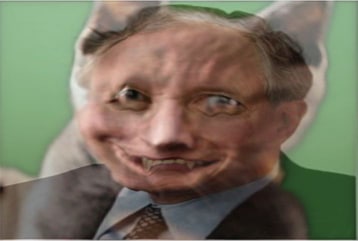
At this point you’ve defined a morph between 2 still images. The frame capture below shows the mid frame of the simple morph we defined in this example between the 2 face images.
You can continue adding additional morph context keyframes for additional source images if you want to morph between a series of images. For each additional image, you would open it as the source image, edit the Bezier anchor paths to correspond to the new source image, then option click record a new morph context keyframe.
Generating a morph animation movie file is the same as generating an animation movie from any other PASeq. You just run the Action : Animate with Paint Action Sequence : to Movie menu command.
A Bezier morph animation example created using the same technique described above with a different starting source image is below:
Bezier Warps or Filtering
Bezier warps or Bezier defined spatially variant filters are created using a similar technique to that described above. They use Warp Contexts or Filter Contexts depending on whether you are warping or filtering. As described above, the movement of Bezier paths over time defines the warp or spatially variant filter operation.


Someone mentioned to point out that you need to use the ‘File : Open Source’ menu to open new source images when opening images to use as morph context keyframes. If you use the ‘File : New Source and Canvas’ menu comand, this regenerates the canvas layer and will delete any existing bezier paths when the canvas layer is regenerated.
You can also use the ‘Action : PASeq Timeline : Record Context: Multiple Keys’ menu commands as an alternative to recording a context based off of the current source contents. So ‘Multitple Keys : Morph’ would let you select multitple images using a standard file dialogto generate a series of morph keyframes. The multitple keys menu comamnds are designed to select multitple images, so after you press ok the file dialog comes up again to let you select more images. Just press cancel when you are finished selecting images.
The multitple keyframes come up as adjacent keyframes in the PASeq timeline, but you can then use the ‘Action : PASeq Timeline : Time Compress/Expand’ menu command to time expand the timeline after you record the adjacent keyframes, which will insert additional blank frames between them whent he timeline is expanded.
Another tutorial on ‘Building Morphing Effects Using Morph Contexts’ is available at
https://studioartist.posterous.com/building-morphing-effects-using-morph-context