This tutorial tip will discuss how to select an area of the canvas in Selection Mode. Once you have selected an area of the canvas you can then use your selection or it’s inversion as a mask.
There are a number of different ways you can select portions of the canvas.
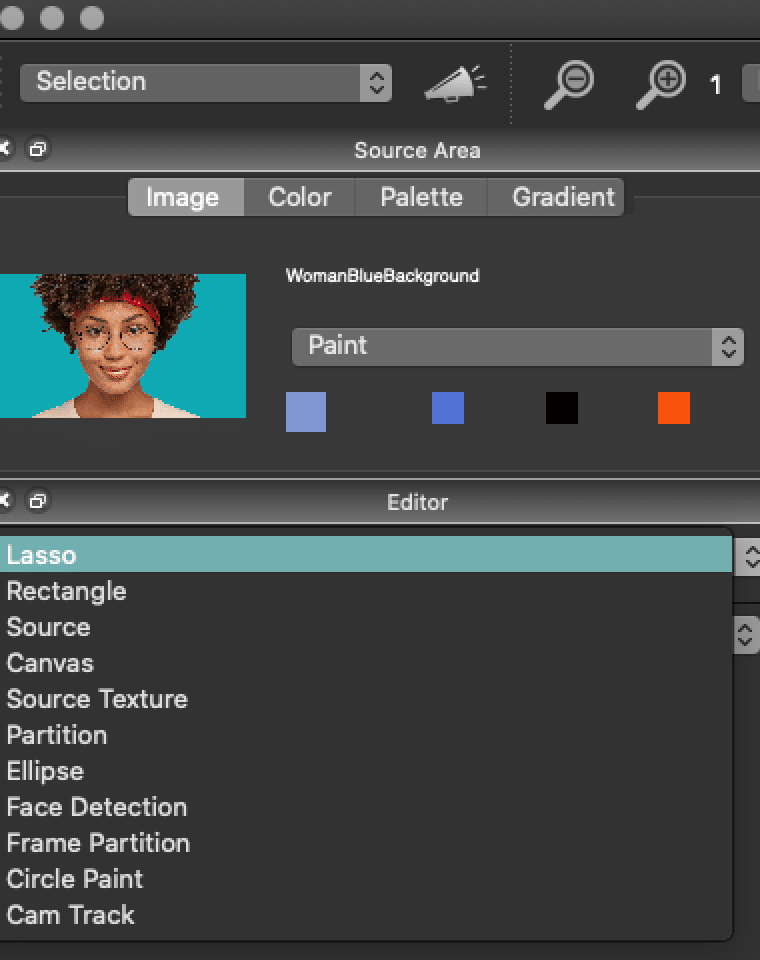
Selection is performed while in Selection operation mode.
You can use the Operation > Selection menu to choose a number of different interactive ways to select an area of the canvas.
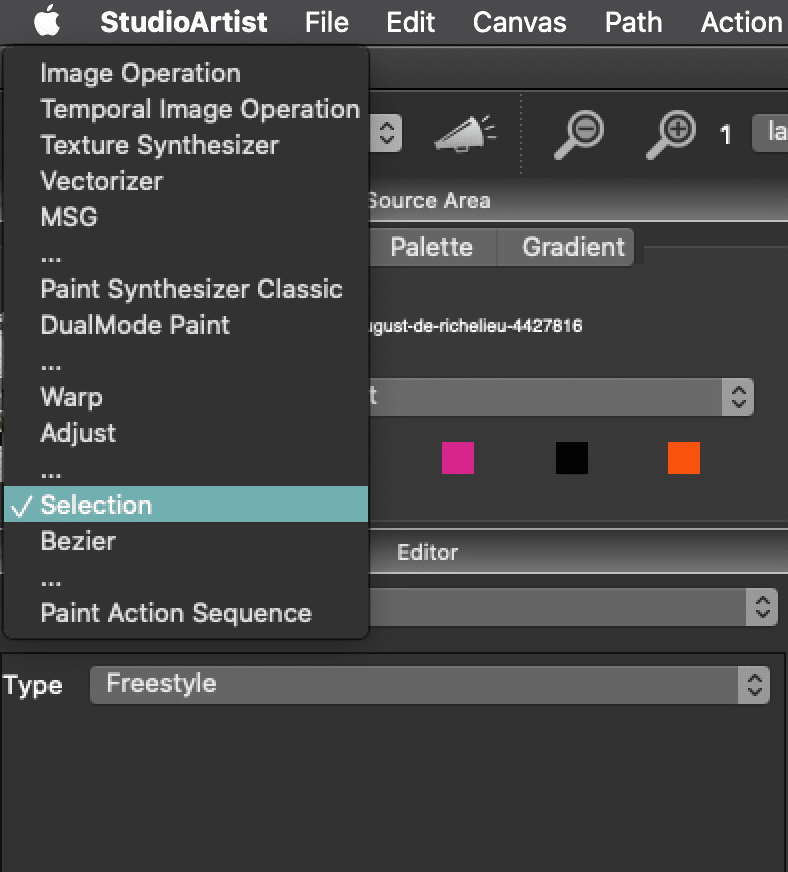
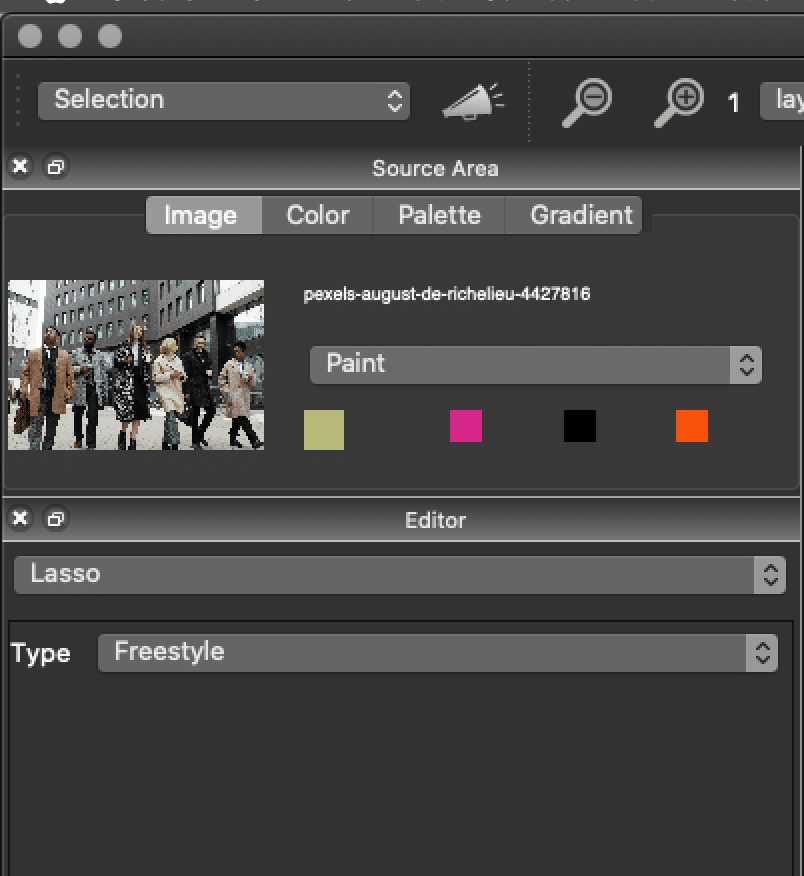
The example below is using Lasso. When you toggle to Selection Mode masking will automatically be checked in the top bar of the interface.

Note: There are several other types of selection options (see below) and they have their own settings. See above video to learn what these settings do.
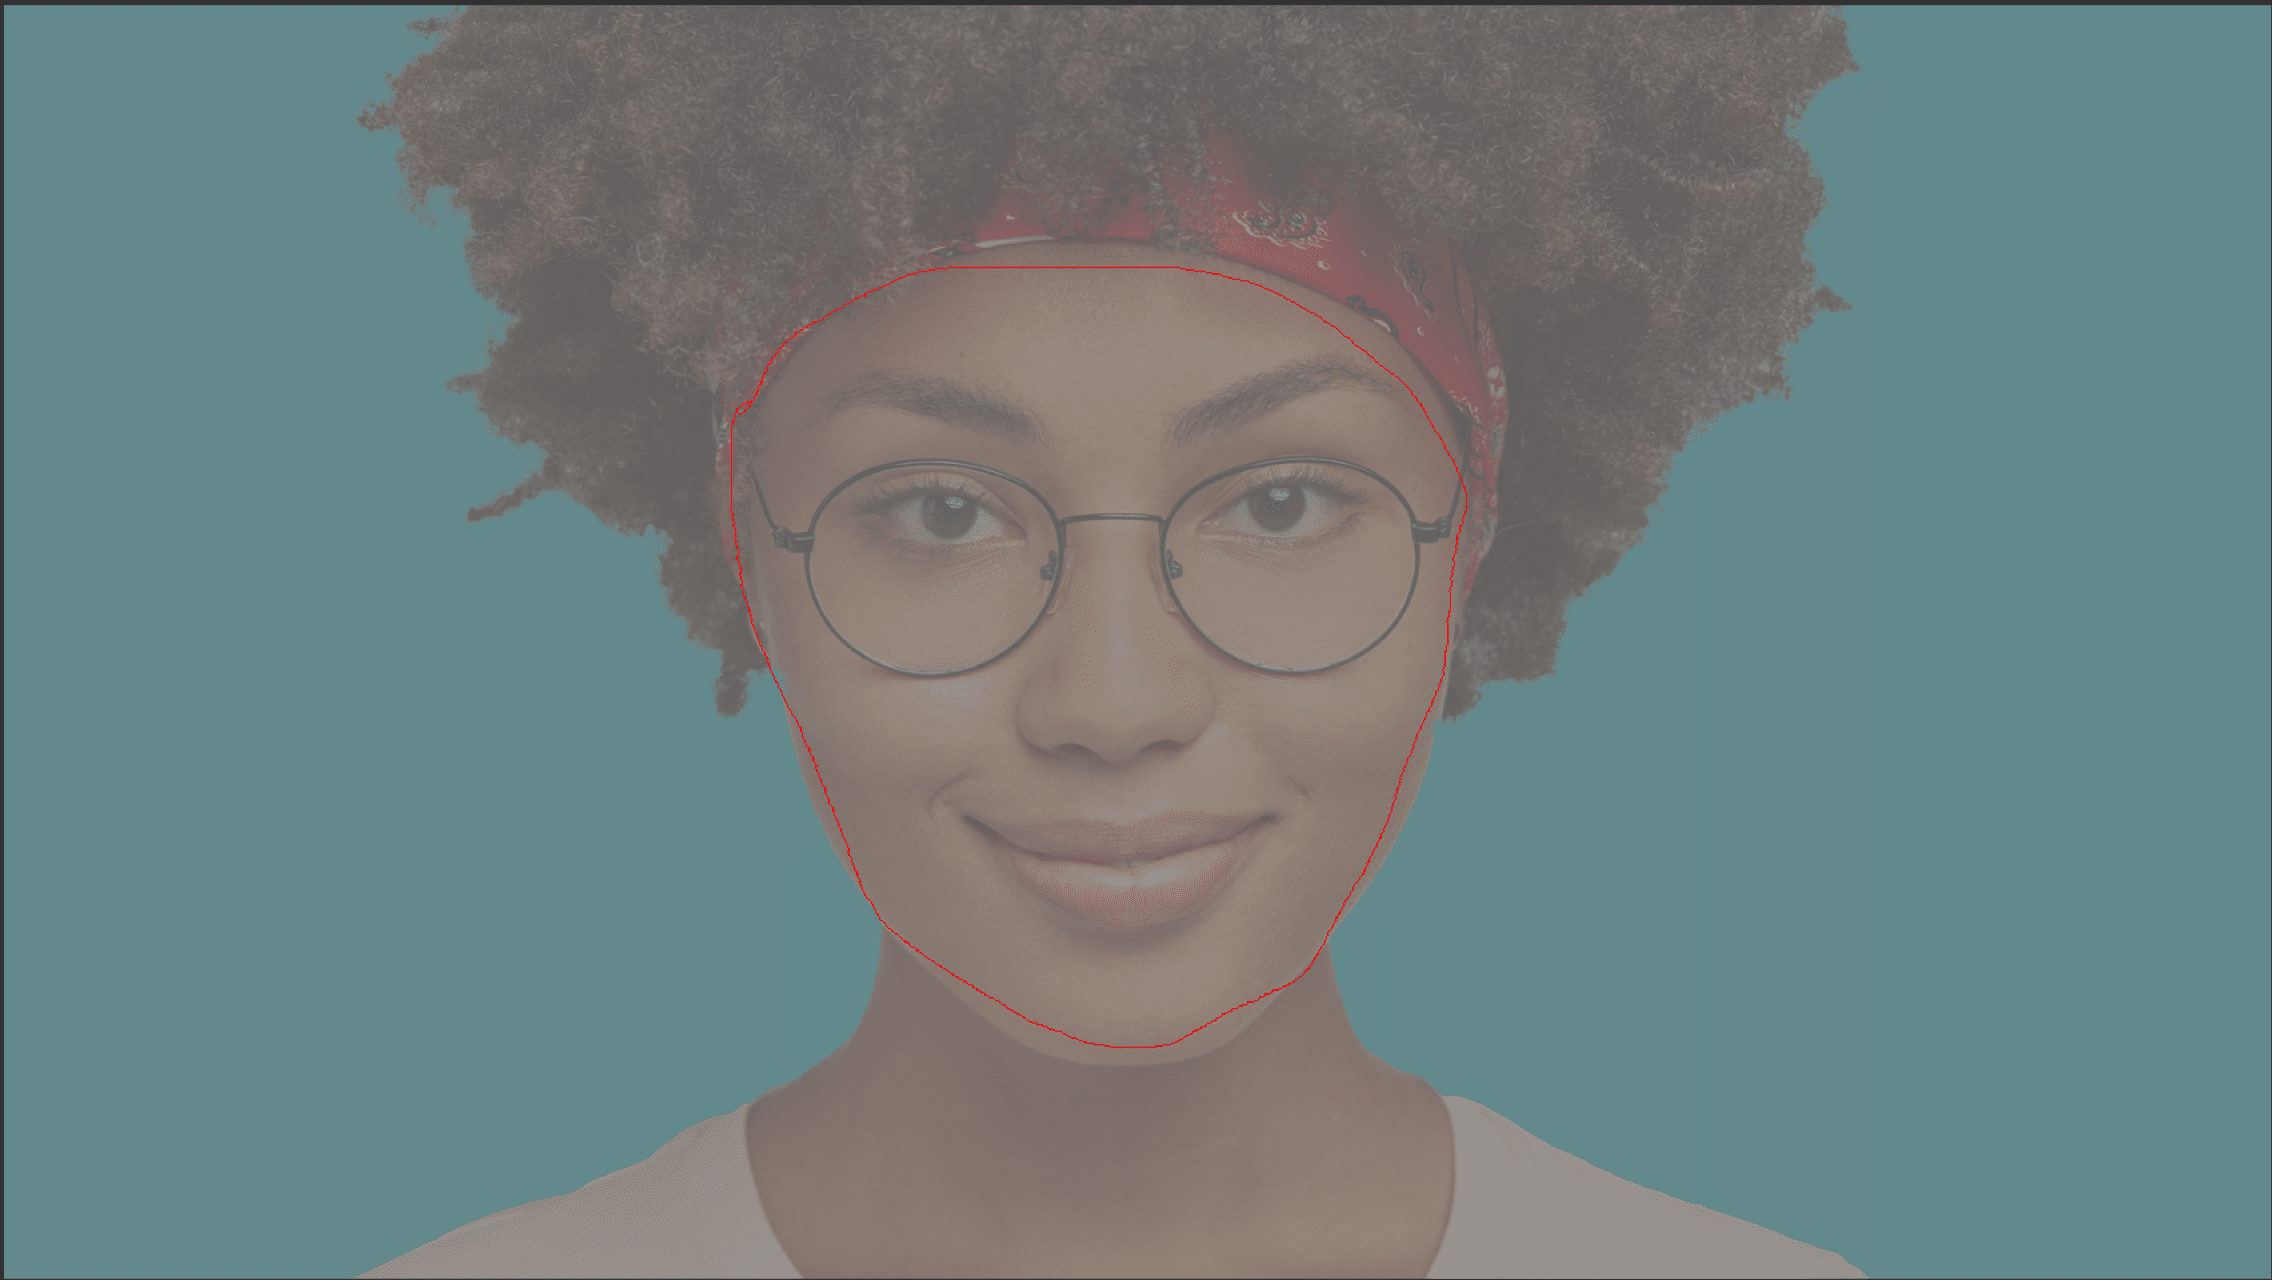
All of the interactive selection options use the mouse or pen movement to interactively define a selected area. With lasso selection you draw a lasso area with the mouse or pen. As you draw a colored lasso line appears defining the area you are lasso selecting.
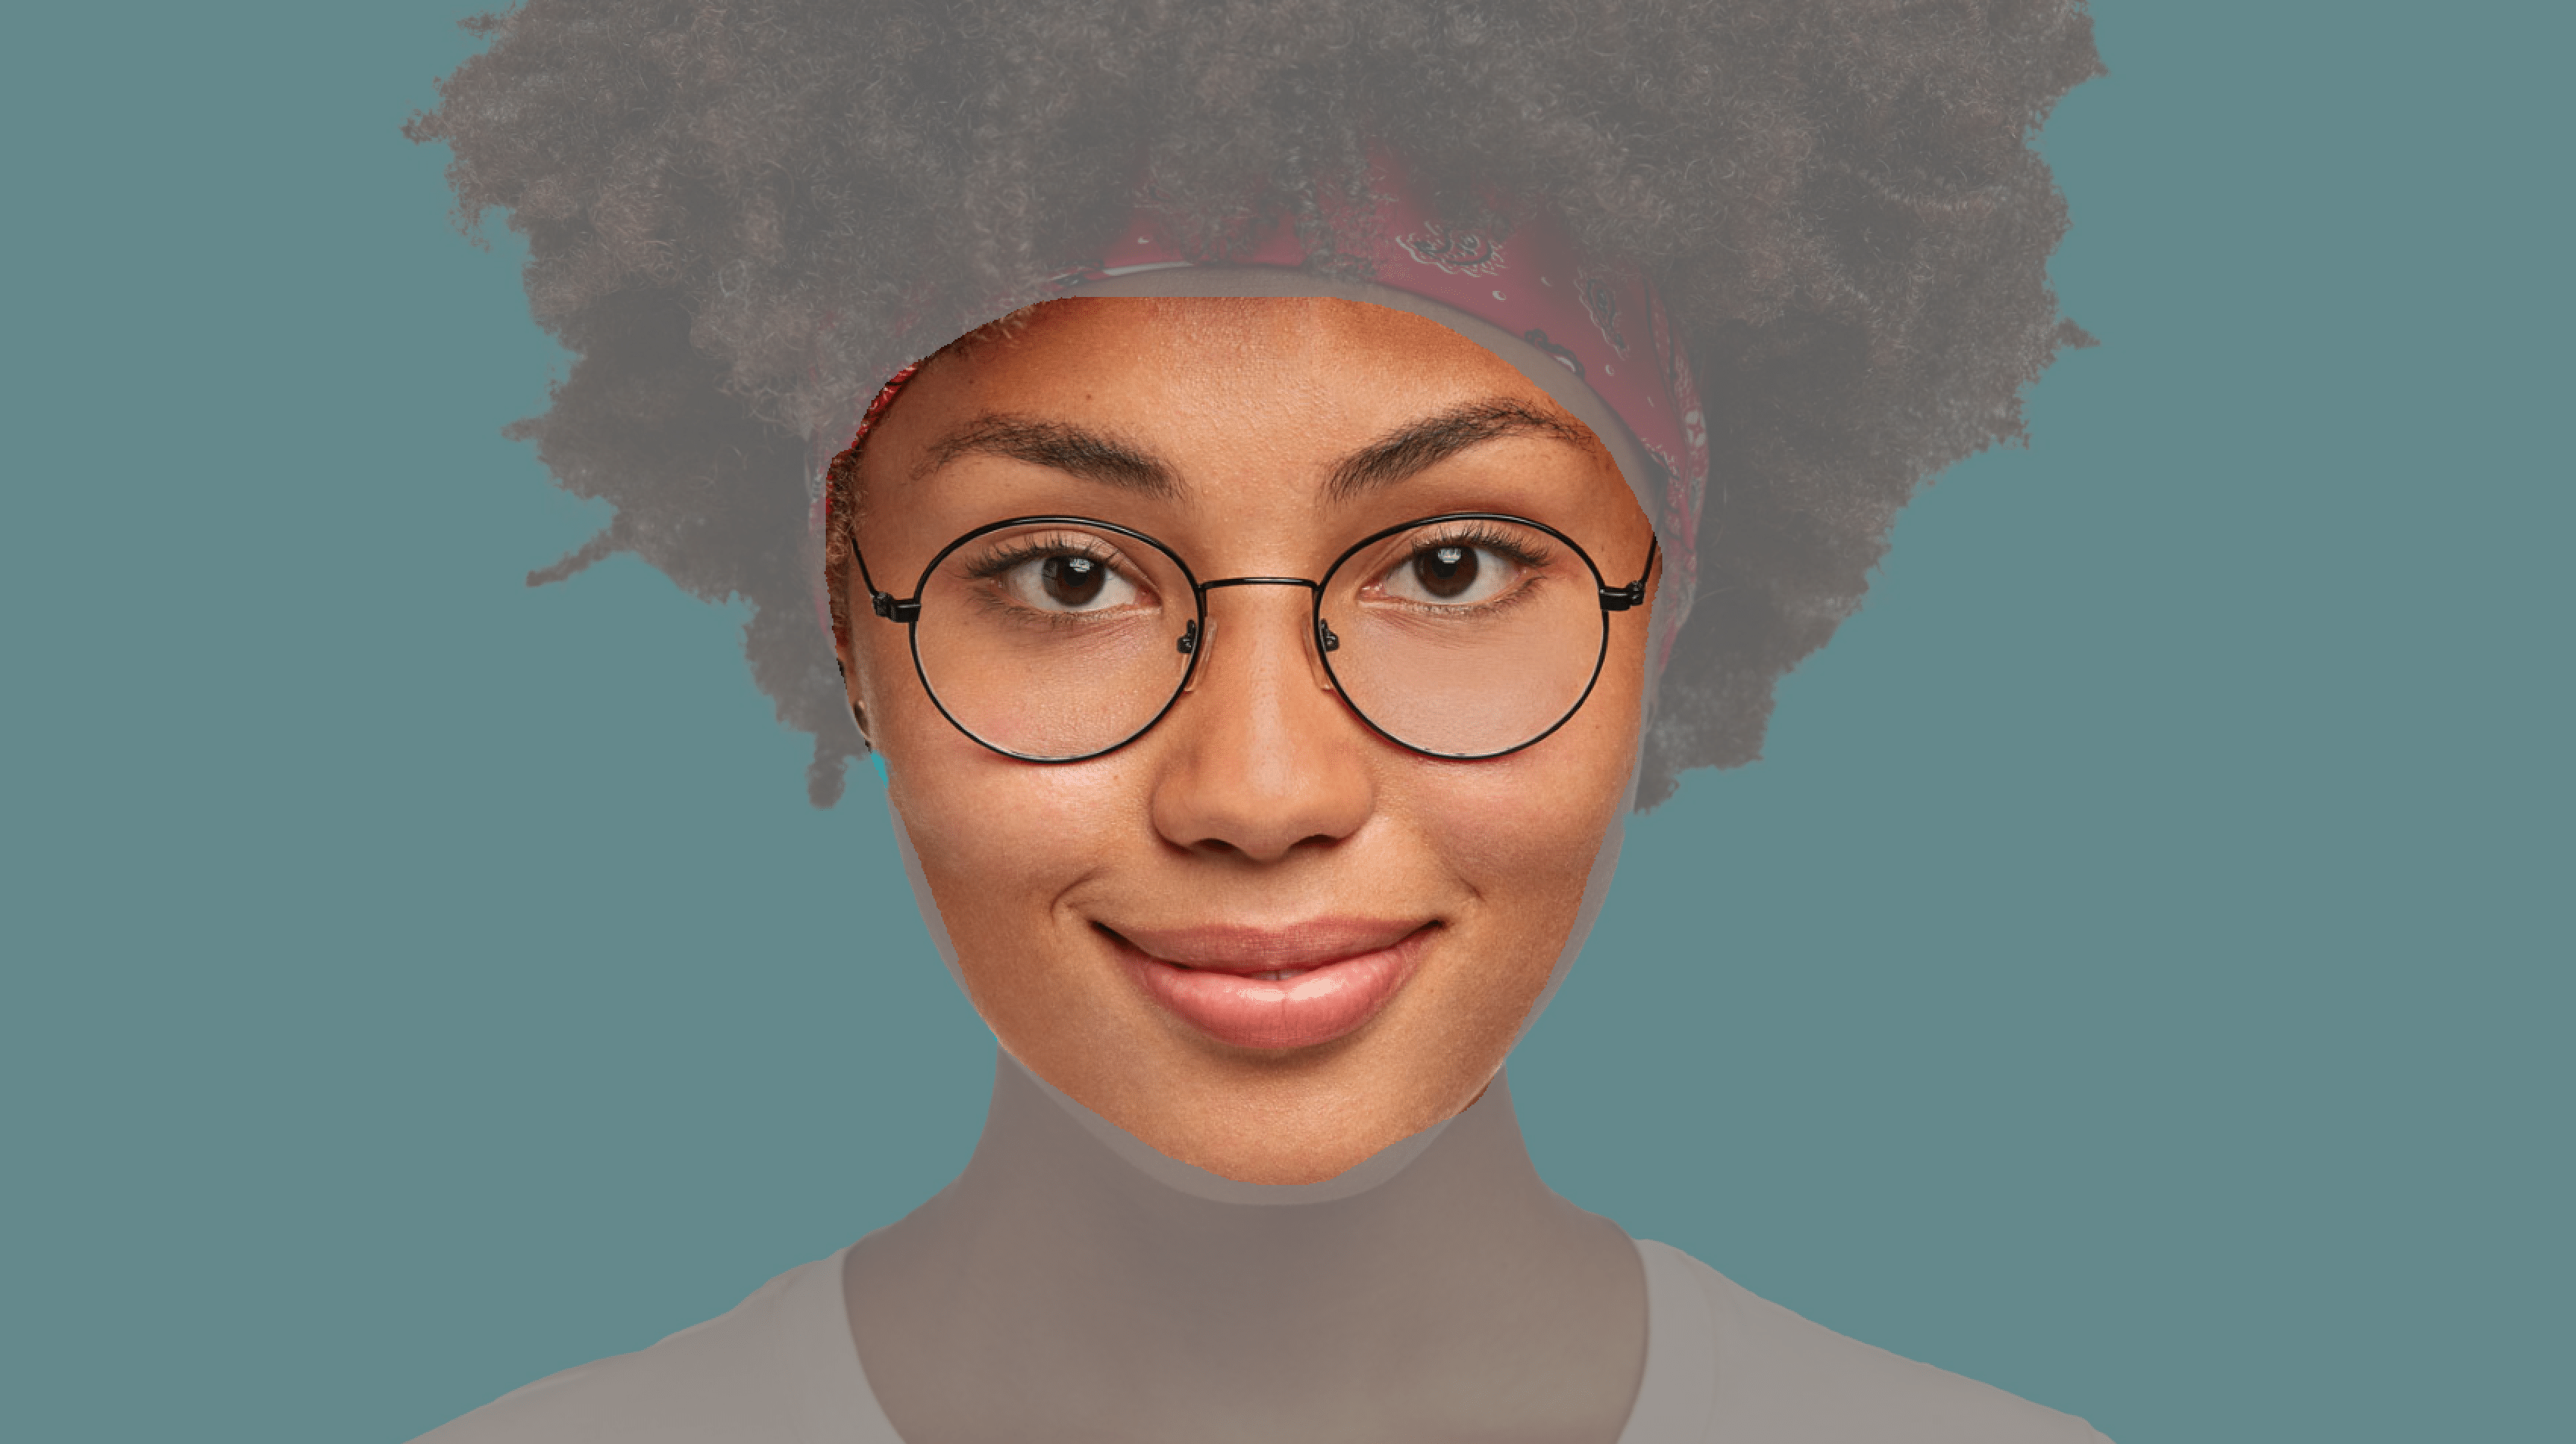
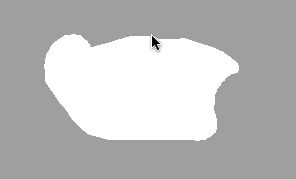
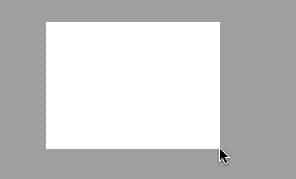
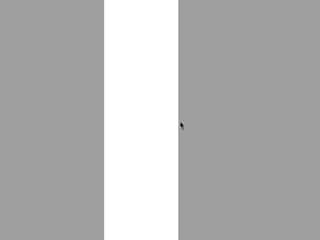
Once you finish drawing the lasso area the screen will update as shown below, where the unselected areas are grayed out and the selected areas display normally.
If you want to extend you existing lasso selected area, you can hold down the shift modifier key while selecting an additional area of the canvas. The newly selected area will then be added to the existing selected area. Shift + option (mac) Shift + Alt (win) selecting an area of the canvas will remove the newly selected area from the existing selection.
t and r Hotkeys to move and rotate selections
You can use the t hotkey to move or translate an existing selection. Press the t key and then mouse down on the selected area and reposition it. You can use the r hotkey to rotate an existing selection. Press the r key and then use your mouse movement in the canvas to rotate the existing selection.
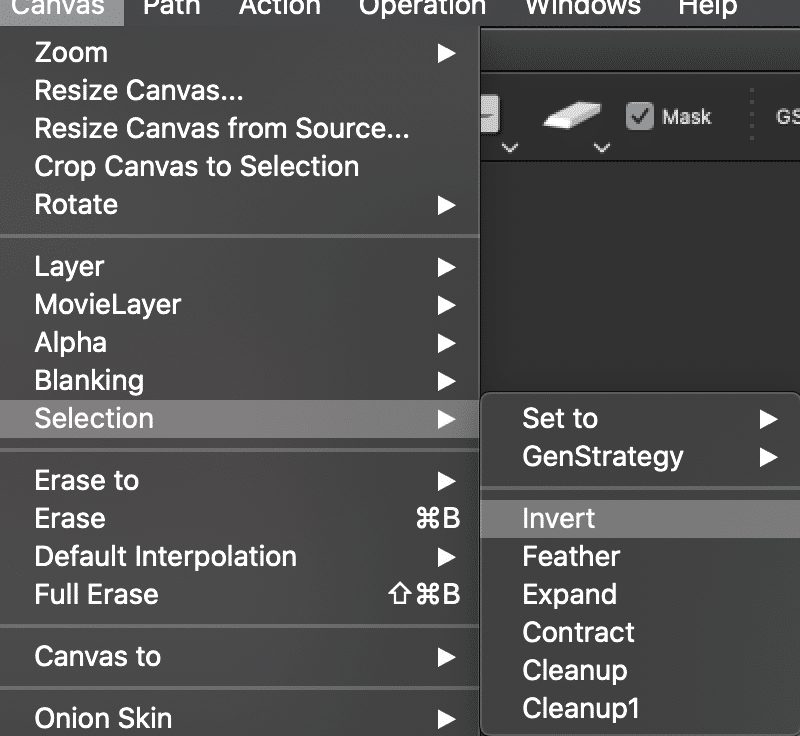
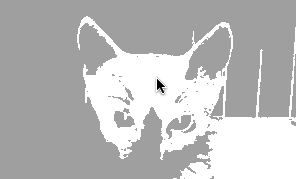
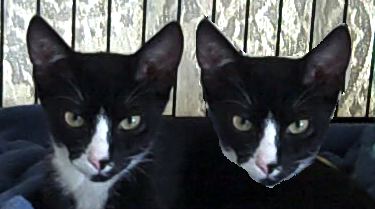
For this particular example i wanted to mask a processing effect from occurring in the area of the cat head i just selected. So i need to invert my selection after lasso selecting the head area. You can use the
Canvas > Selection > Invert menu command to invert the selection.
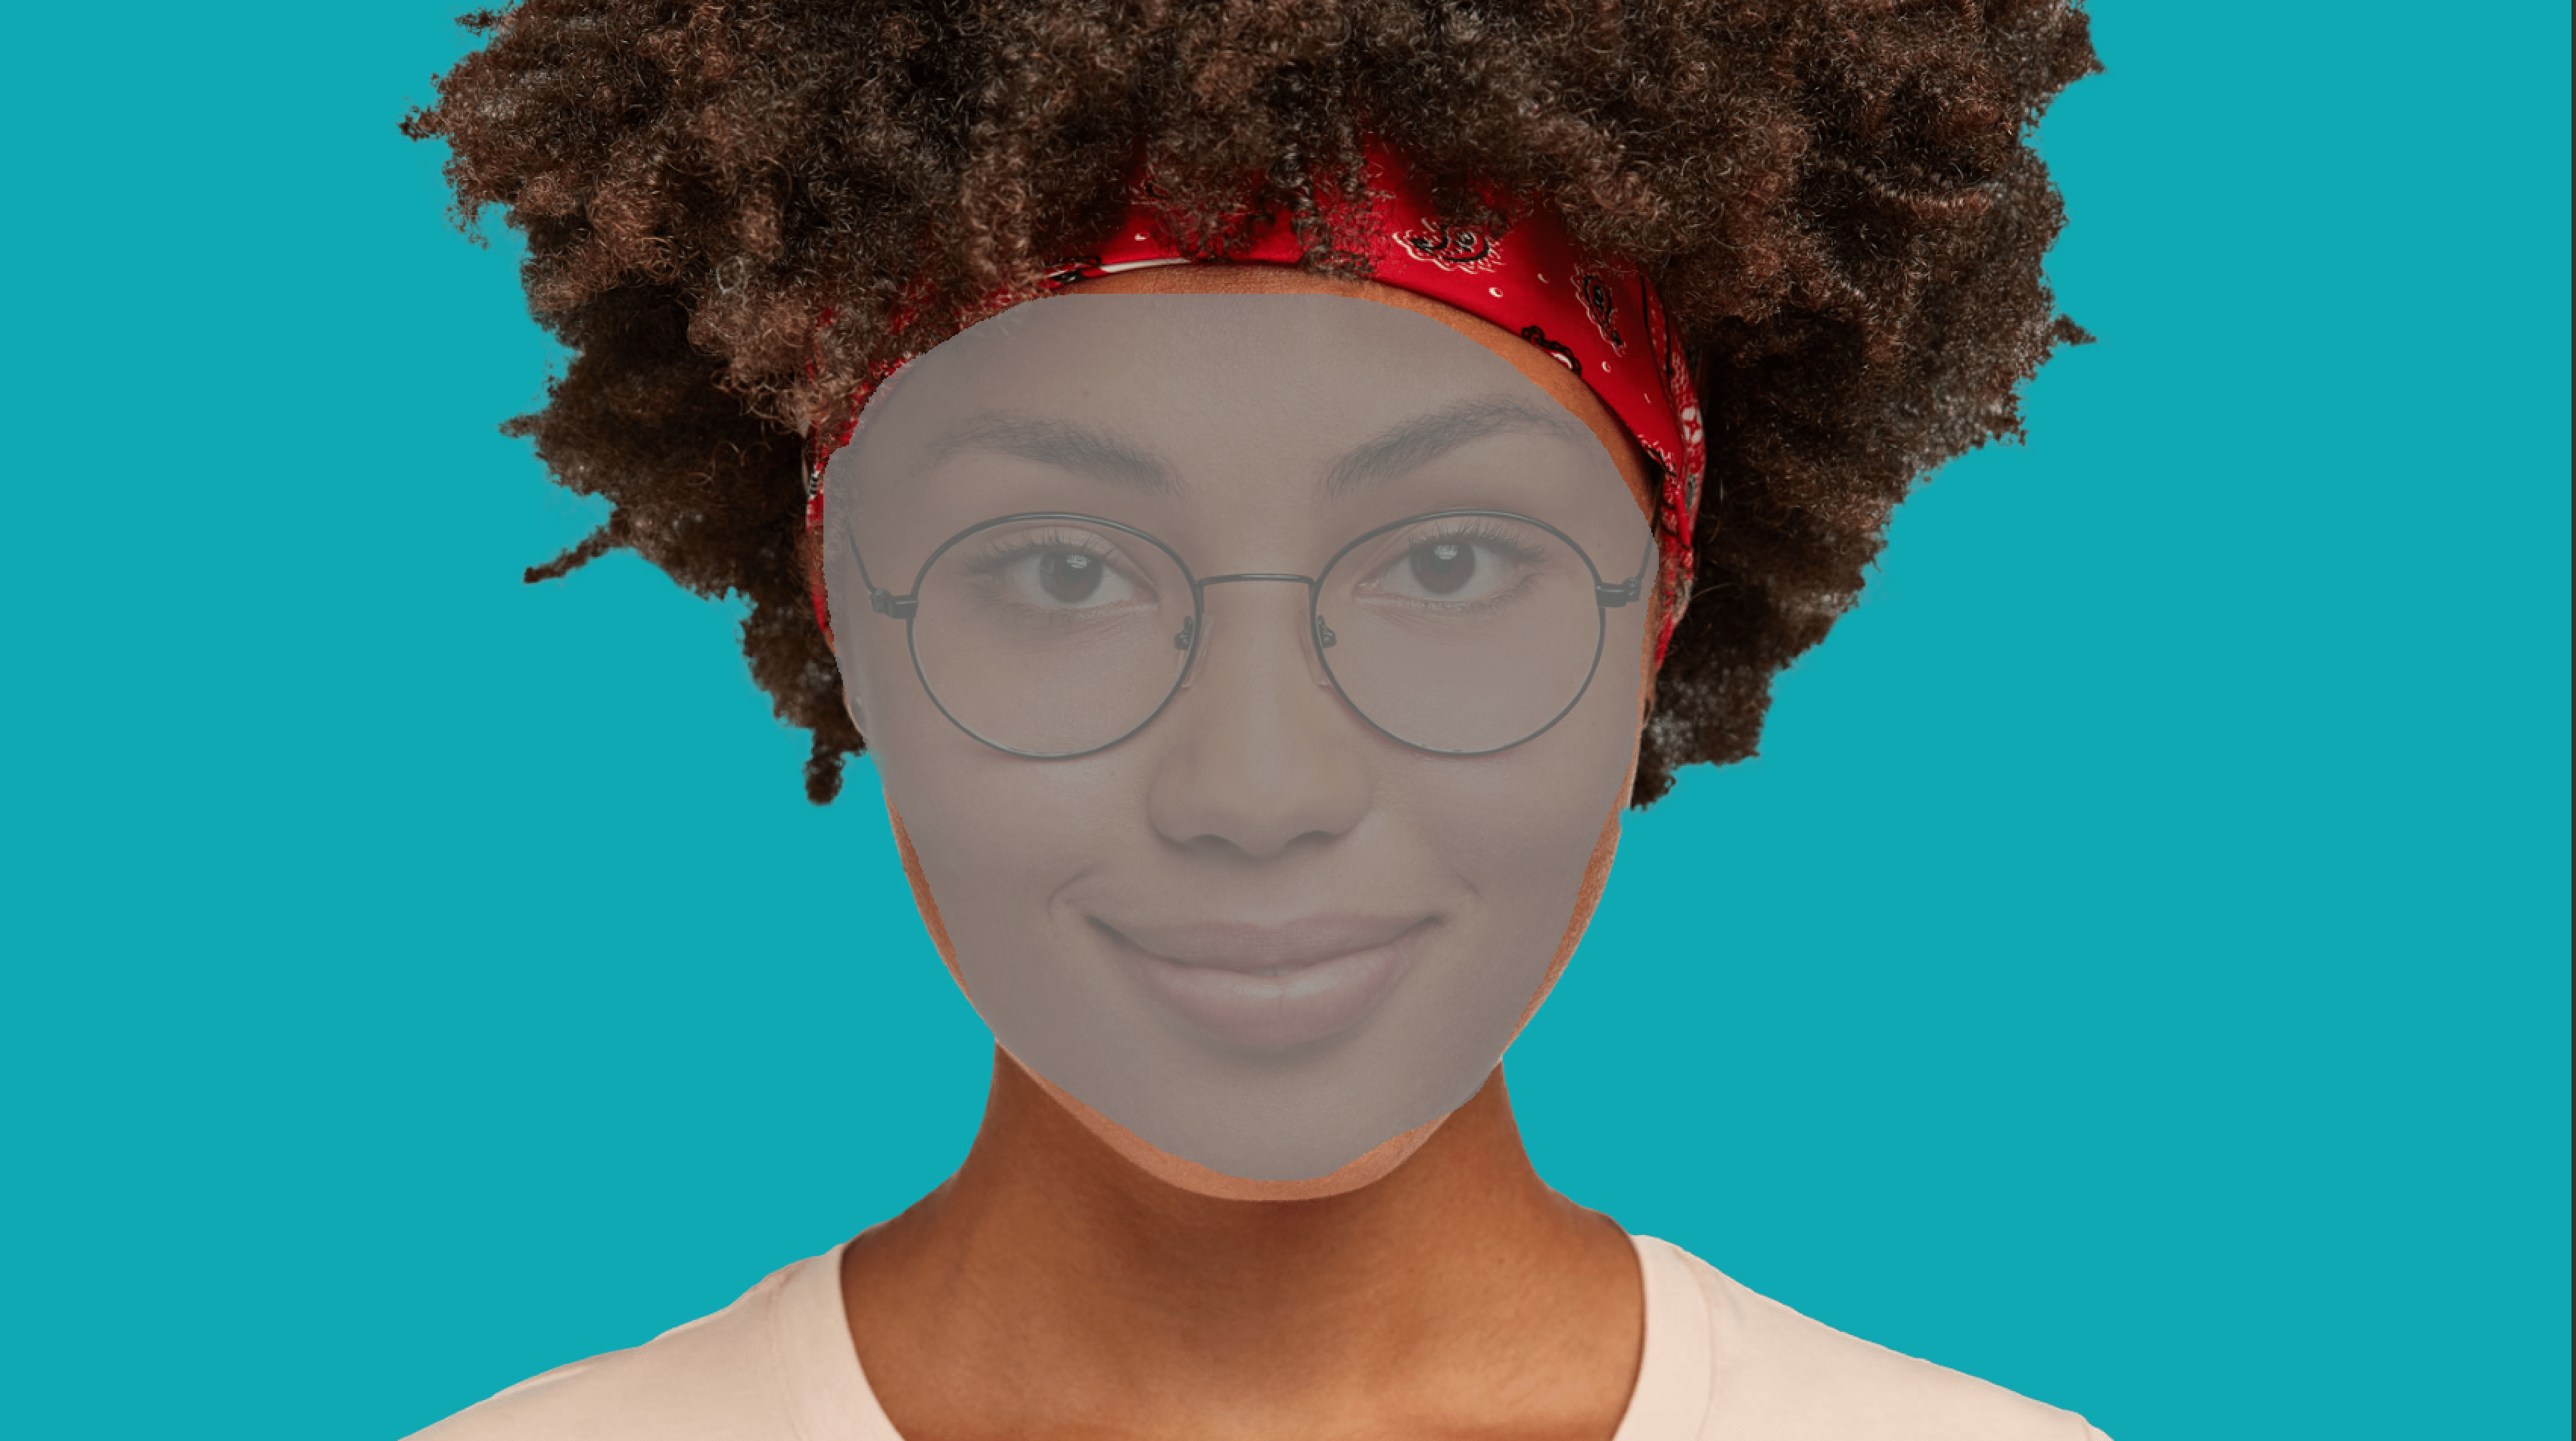
I also wanted to smooth out the sharp edges of the selection, so i used the Canvas > Selection > Feather menu command to feather or smooth the selection after inverting it.

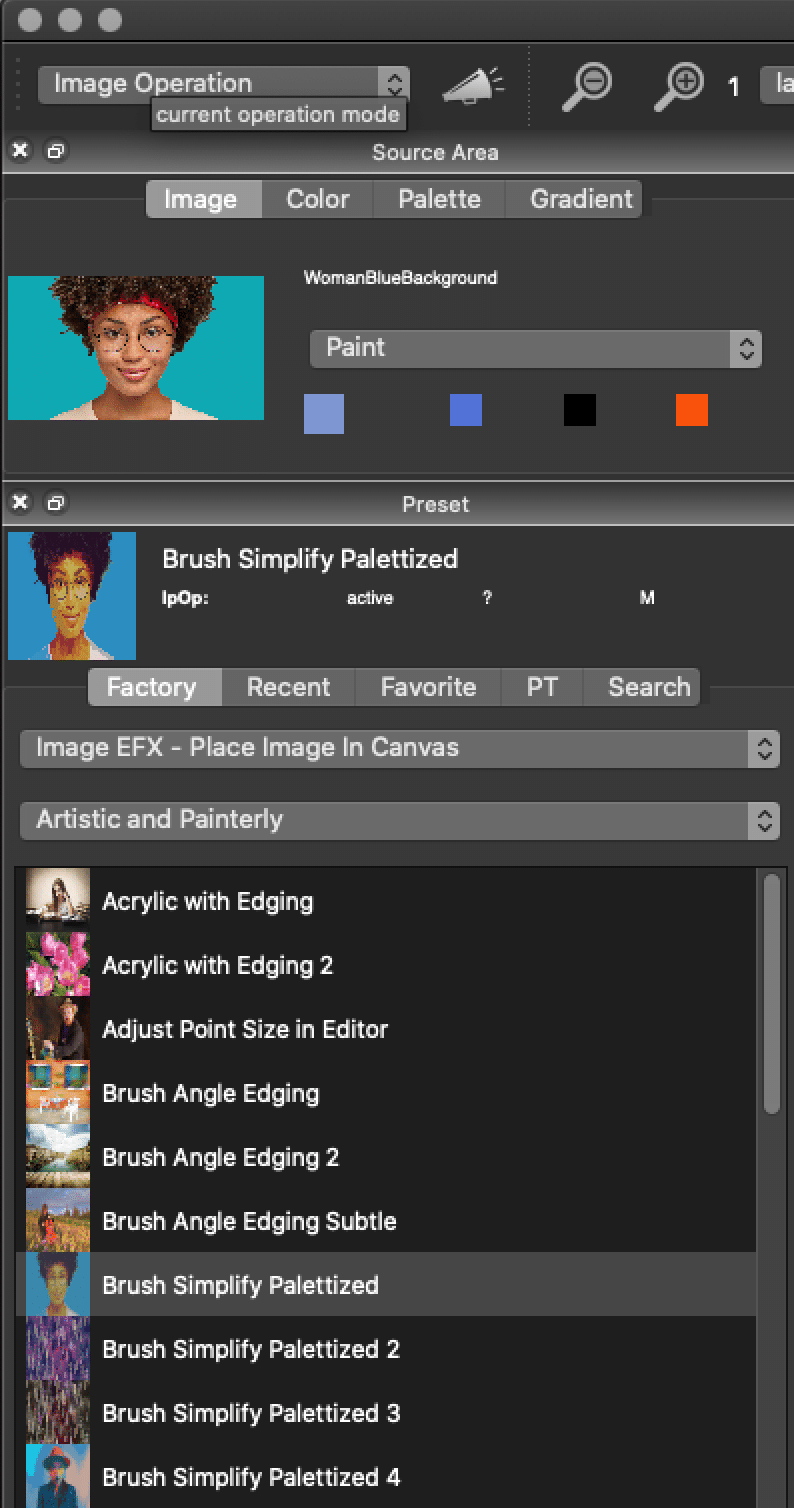
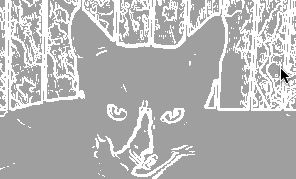
Now we will add an Image Operation Effect presets on the parts of the image that are not masked since we inverted the mask.
First Toggle to Image Operations. The Example below is using Brush Simply Palettized in the Artistic and Painterly Category.
NOTE: The mask checkbox should remain checked when you change to Image Operations. if not just recheck it.

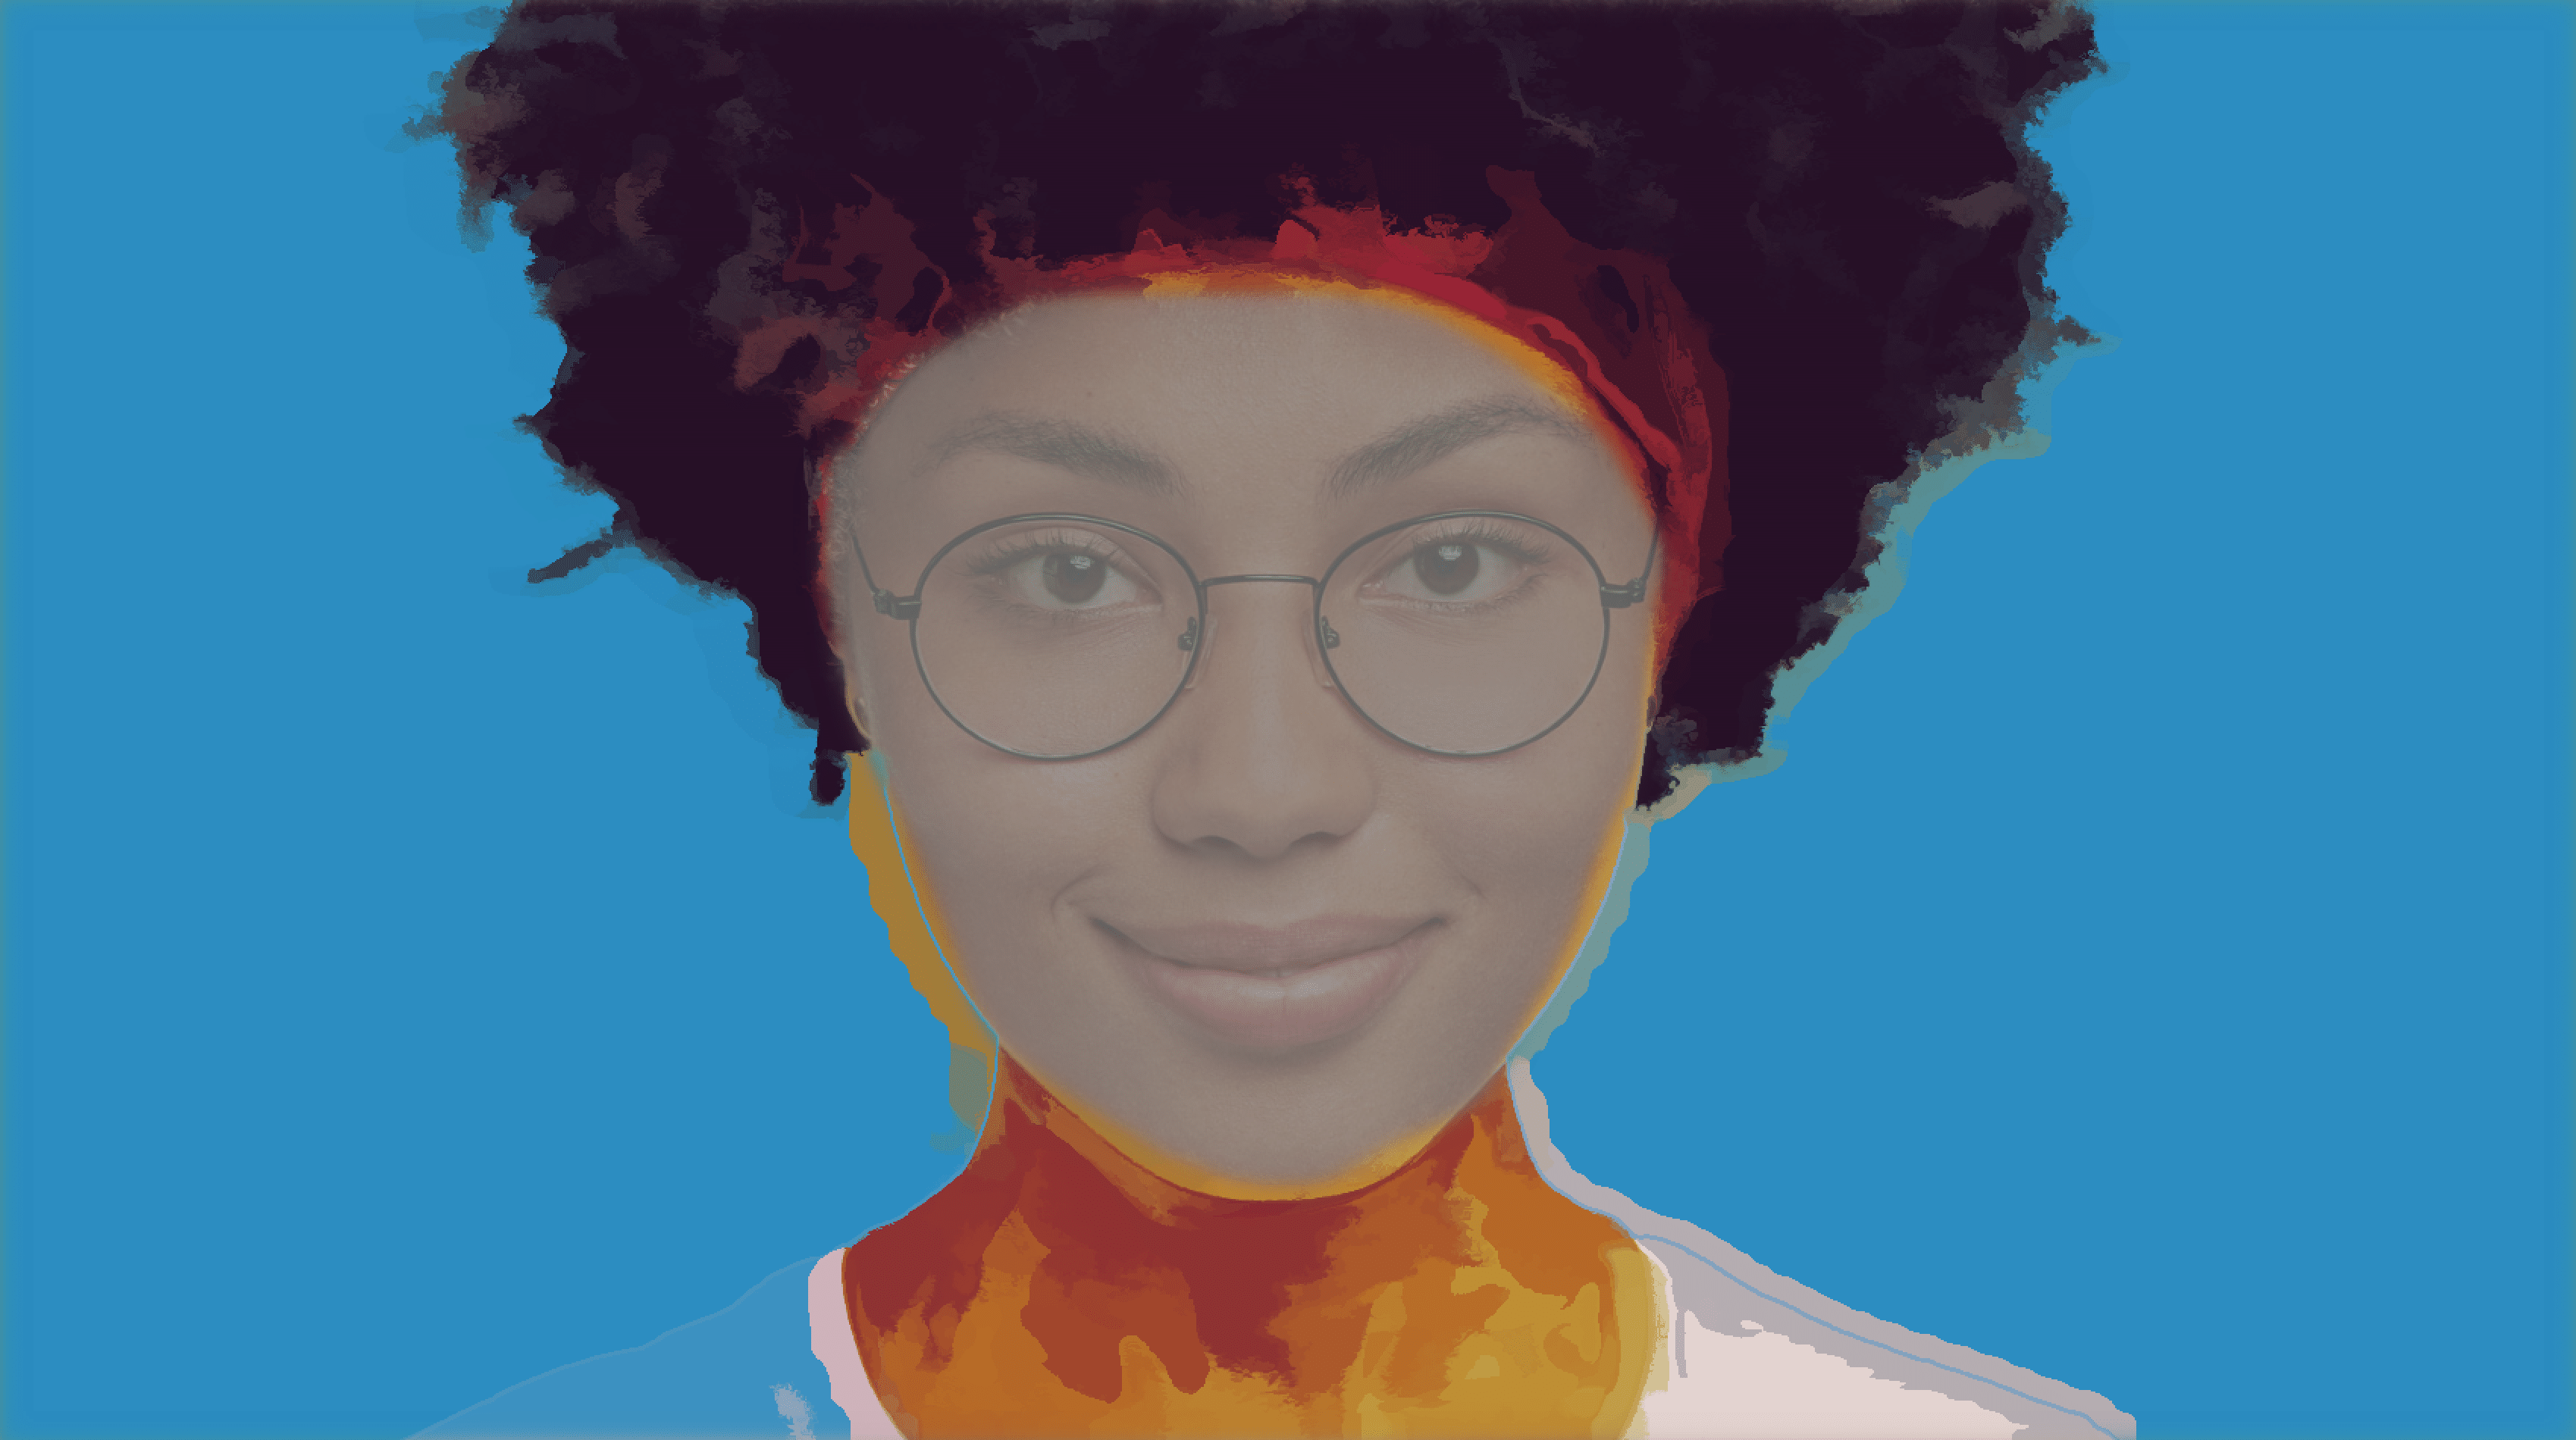
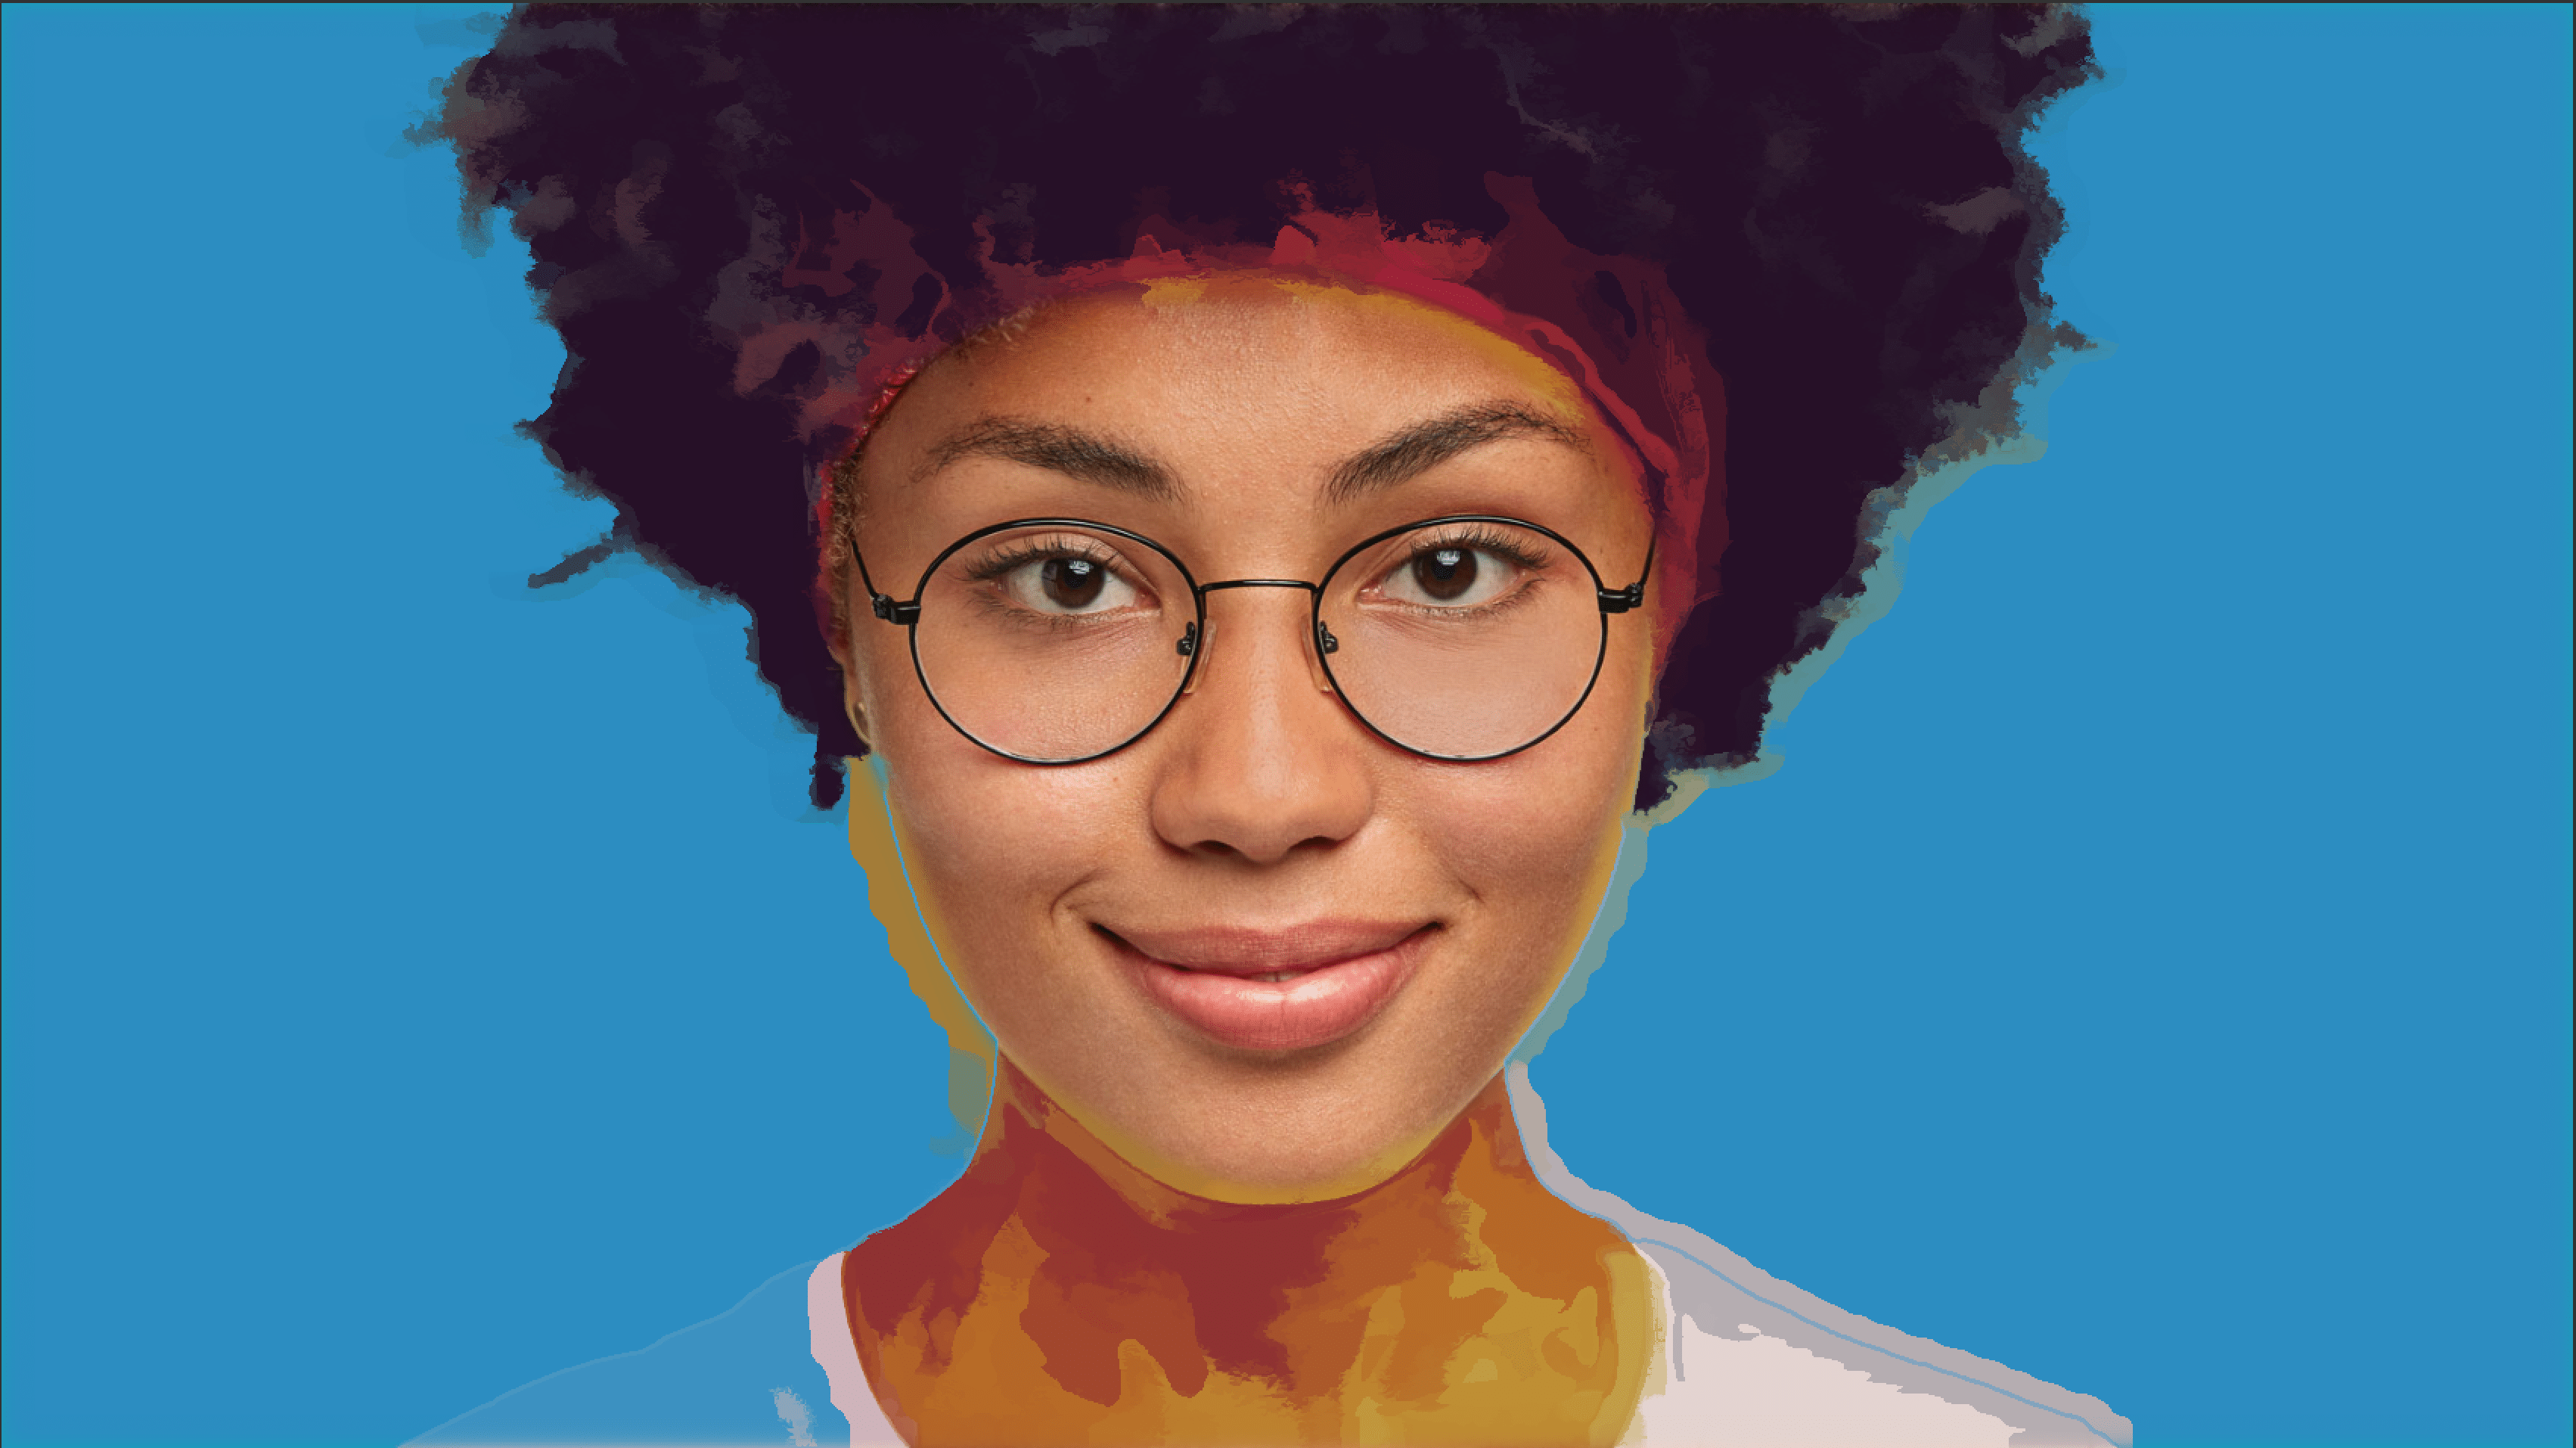
Then Uncheck Masking to see the results
Paint Masking Option
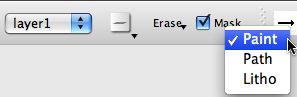
You can use selection masking to mask any Studio Artist operation, including painting. There are some additional mask options available for paint masking that determine how the mask is used to inhibit painting. You can choose these options by control clicking the Mask checkbox control in the main operation toolbar as shown below.
Paint masking provides a hard mask to a paint stroke as shown below.

Interactive Selection Options
There are a number of different options available for interactively selecting areas of the canvas. We’ll briefly run through the different options below.
Lasso Selection
Rectangle Selection
Source Selection
Canvas Selection
Source Texture
Source selection works by selecting a color range from the source texture (or edge) image. You can choose to select based on local or global color. The initial start position of the mouse determines the initial source texture selected. As you drag the mouse horizontally you are varying the texture range based off of the initial starting texture value in the source image that you are selecting.
Partition
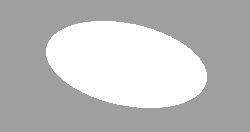
Ellipse
Local vs Global Selection
Some of the interactive selection options like Source or Canvas offer a Growth parameter option. Local growth means that the selection grows from a local color at the start location for the selection. Global mean that the selection grows from all spatial locations with the initial starting color value for the selection. By grow we mean that as you increase the selection range the range of color from the initial start color that is selected increases.
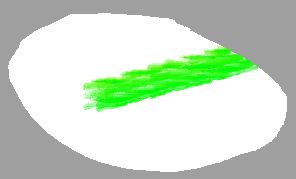
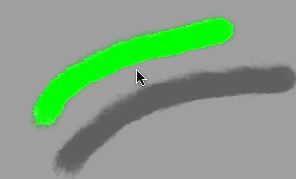
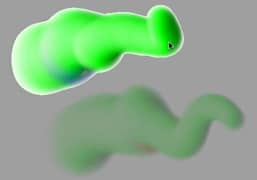
Here’s a simple example below. There are 2 paint strokes with the same color. If we mouse down on one of the paint strokes and select using Canvas selection and local growth, then only the paint stroke we moused down on is selected.
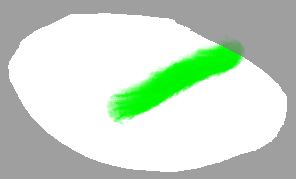
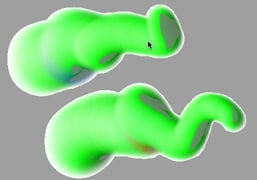
If the Growth option is changed from local to global, then selecting the first paint stroke will also select the second one, since they are both colored green and selecting green in the first stroke selects green everywhere in the canvas when using global growth.
Moving a Selected Area Within a Layer
You can move a selected area of a layer within the layer itself. To do this first select the portion of the layer you want to move. Then hold down the m hotkey and drag the selected area to a new position.
Note that if i had feathered the selection prior to movement i would have generated a smooth blend at the edges of the moved selected area as opposed to the hard transition shown in the example above.