This Post will show you how to erase the canvas and also how to use eraser presets.

A simple question that comes up when getting started using Studio Artist for the first time is how to erase the canvas. The quick answer is that you can use the eraser button in the main operation toolbar shown above to erase the canvas. This tip discusses the different options available for erasing the canvas in more detail.
Erasing the Entire Canvas

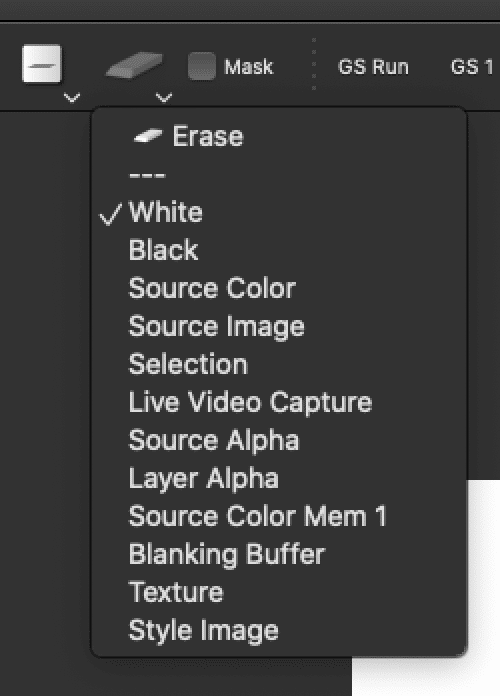
If you click on the eraser and continue pressing the mouse button a popup control will appear after a second that shows the different options you can erase to. You can then select the one you want and the canvas will be erased to what you specified. You can also control click the eraser button (right click on windows) to immediately get the popup options.
This option is now your default erase to option. So if you now just quickly click the eraser in the main operation toolbar the canvas will be erased to your erase to option. Note that only the current canvas layer is erased when you press the eraser button or select a new erase to option.
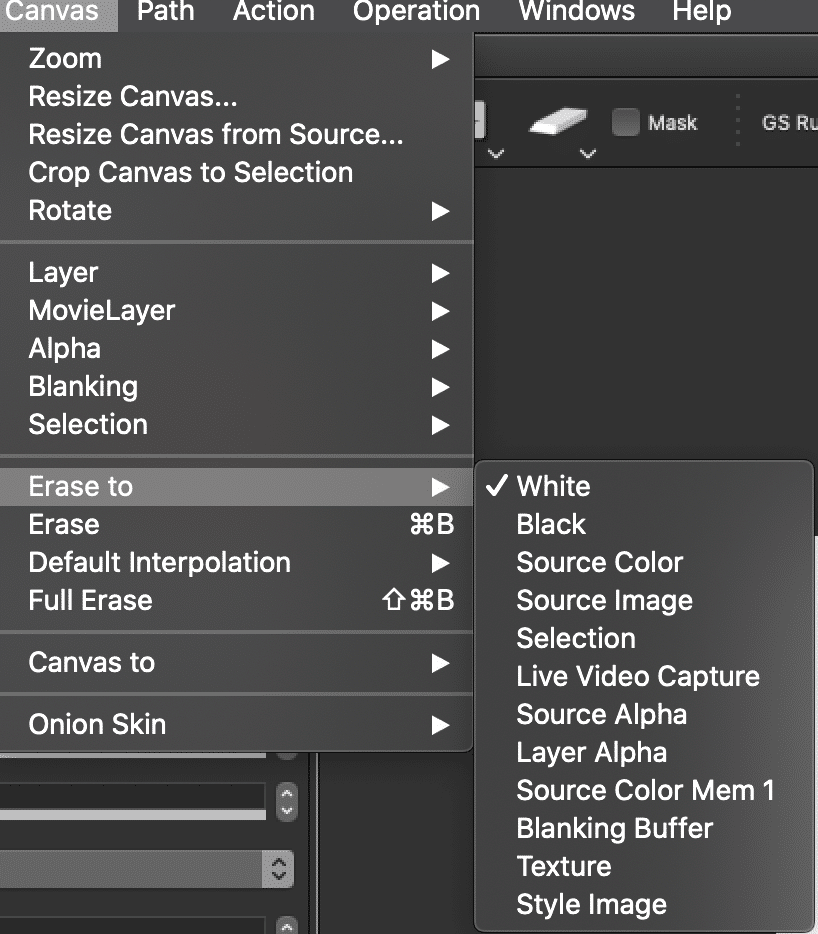
You can also choose your default erase to option using the Canvas : Erase to menu as shown below. Using this menu is the same as using the eraser popup control.

You can also use the command b hot key menu key command to run the Erase menu command which erases the canvas to your current default erase to option. So using this menu key command is the equivalent of clicking on the eraser button.
Erase To Options
There are a number of different erase to options.
White or Black set the canvas to solid white or solid black.
Source Color sets the canvas to the current color specified in the Source Area. You can use the source color picker to adjust the current source color.
Source Image sets the canvas to the source image. If the canvas is a different size or aspect ratio than the source image the source image will be automatically adjusted to fit the canvas sizing.
You can also just drag the source image to the canvas to erase to the source image. When you do this your current erase to setting will be changed to source image.
Selection sets the canvas to the current region selection mask. You can adjust your current selection in selection operation mode, or by running one of the Canvas : Selection menu commands.
Source Alpha sets the canvas to the source images alpha channel. Note that the canvas RGB buffers are set to a black and white alpha mask image.
Layer Alpha sets the canvas to the current layer’s alpha channel. Note that the canvas RGB buffers are set to a black and white alpha mask image.
Source Color Memory 1 sets the canvas to the current color specified in the first color memory in the Source Area.
Blanking Buffer sets the canvas to the contents of the paint synthesizer’s blanking frame buffer. The blanking buffer is a hidden frame buffer the paint synthesizer uses to keep track of paint stroke coverage.
Texture sets the canvas to the current source image’s texture visual attribute.
Style Image sets the canvas to the current style image. You can load a style image through File > LoadStyle.
Full Erase

Each Studio Artist layer consists of a RGB frame buffer, an A or alpha frame buffer, and a bezier path frame. A normal erase operation only erases the RGB frame buffer. The layer’s alpha channel and bezier path frame are not erased.
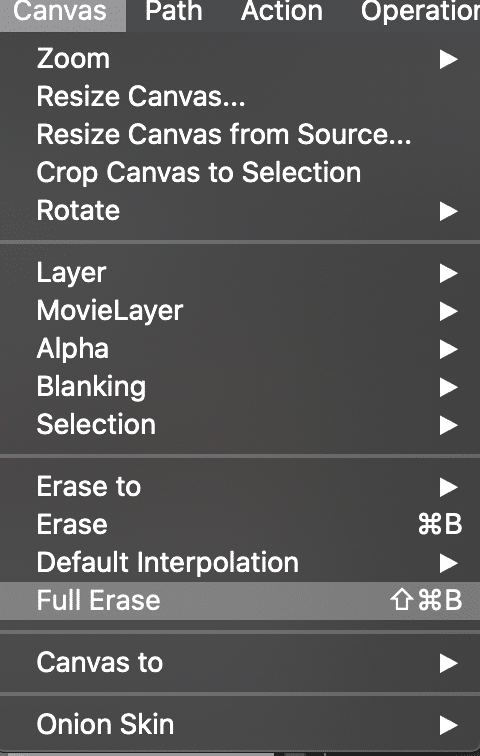
Running the Canvas : Full Erase menu command performs a full erase. This means that in addition to erasing the canvas’s RGB frame buffer to your default erase to option, the alpha channel is also set to full off and the bezier path frame is erased as well. Full erase also erases the paint synthesizer’s hidden blanking buffer. The blanking buffer is used internally by the paint synthesizer to track paint stroke coverage.
Shift clicking the eraser button in the main operation toolbar is the equivalent to running the full erase menu command.
Eraser Presets
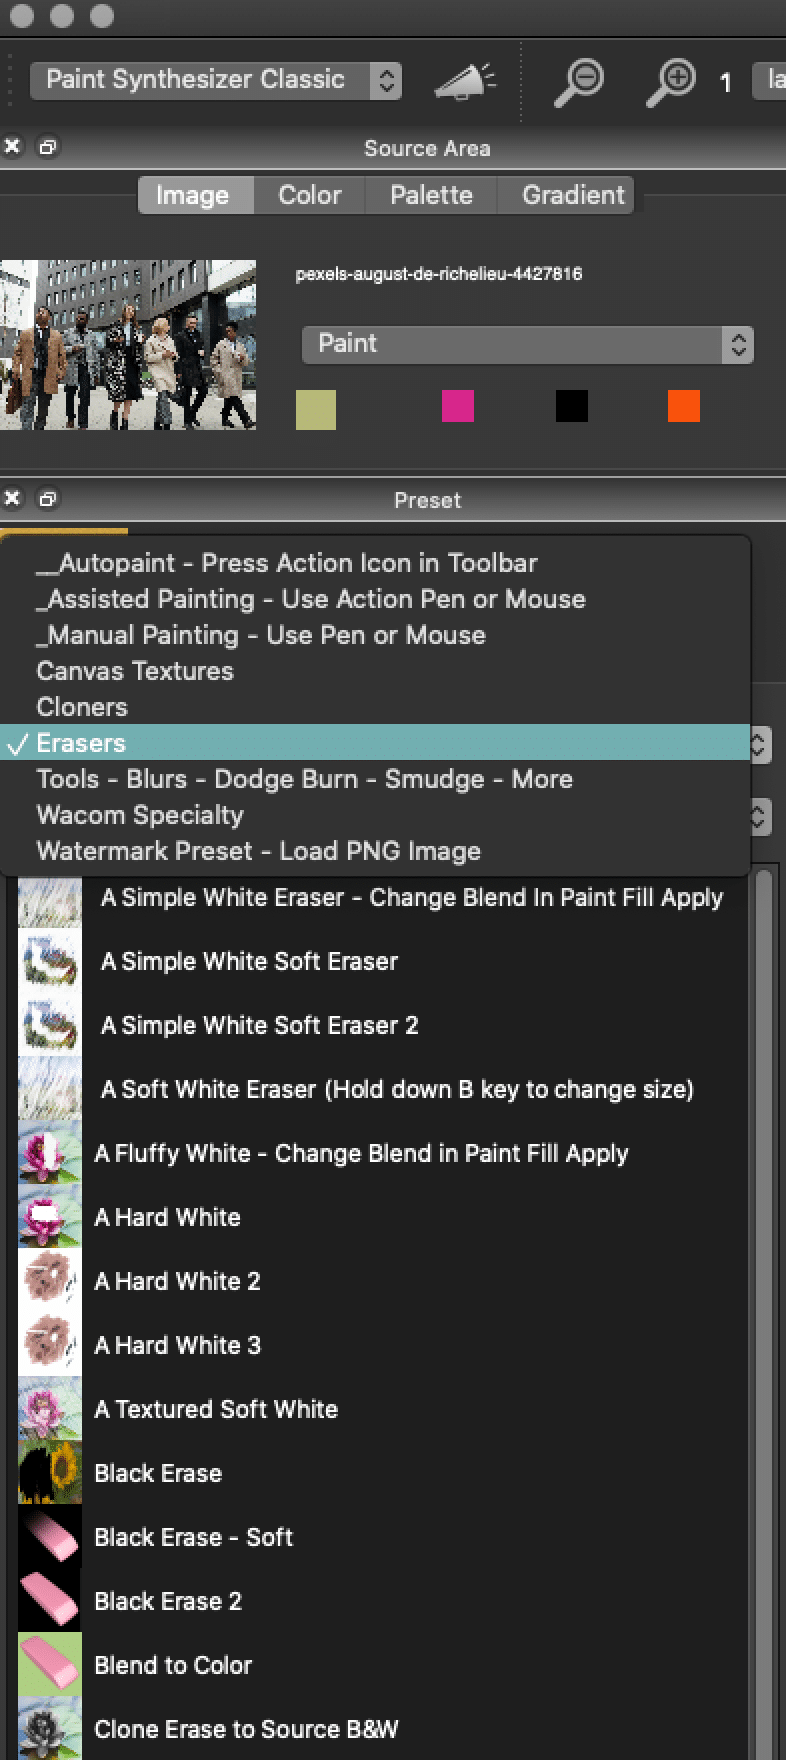
There are a lot of editable eraser presets in the Paint Synthesizer

Using the Pen Eraser with Wacom
Studio Artist supports using the eraser tip on a Wacom pen to interactively erase the canvas by drawing with the eraser tip on local areas of the canvas. You can also use the e hotkey to simulate working with the pen’s eraser tip when drawing with a mouse.
When drawing with the eraser tip in Studio Artist, the current preset will dynamically change to the current eraser preset. This happens when you start drawing with the eraser tip. When you finish drawing with the eraser tip the paint synthesizer reverts to the original current preset you were using before you used the eraser tip.
The current eraser preset is stored in the paint synthesizer eraser memory. You can access the eraser menu using the ‘Edit : Paint Synthesizer : Pen Eraser’ menus. Running the pen eraser Record menu will record the current paint synthesizer settings as the eraser preset. Running the pen eraser Play menu will load the current eraser preset as the current paint synthesizer preset.
The eraser tool support for the pen is totally user configurable, you can load any paint preset you want to be your default eraser tip. So the eraser tip could just be used to switch to a different paint tool, like a water wash preset for example. There’s a folder of some generic eraser presets you can load into the Pen Eraser memory in the Default :Erasers factory paint preset category.
For more information on working with a Wacom pen and tablet check out this tip.
Storing an Eraser Preset in the Paint Synthesizer Editor

At the Bottom of the Editor you will see P1 – P4 and an E button. To store a preset hold down option (mac) alt (win) and click on P1 – P4. If you want to store an Eraser for the Wacom pen eraser use the Opt (mac) or Alt (win) on the E button (you can also use this for the mouse)
If you are ever confused about what a particular icon button does (or any Studio Artist control for that matter), if you hold the cursor still under the icon button a brief text help tip will appear that describes the name of the control and what the control does. A more detailed help description will also appear in the bottom left status bar in the main workspace window.
For More Information
For more information on Studio Artist Layers check out this tip.
For more information on the Studio Artist workspace check out this tip.


1 Comment