The Studio Artist Workspace is extremely user configurable. This tip will discuss how you can reorganize and configure the workspace to suit your particular style of working.
The workspace consists of the main working canvas and a series of editing palettes and toolbars. The centered working canvas is where you paint or build up an image or video processing effect. The various editing palettes and toolbars provide access to controls associated with adjusting various aspects of Studio Artist functionality. The screenshot at the top shows the centered working canvas area with editing palettes docked at the left and right sides of the workspace window. Two toolbars are docked at the top of the workspace window.
Palettes and toolbars can either be docked at the edges of the main canvas workspace or positioned as floating control surfaces on your computer display(s). Docked palettes can be resized or repositioned as you work. To resize a docked palette, simply mouse down at the boundary between 2 palettes as shown below.
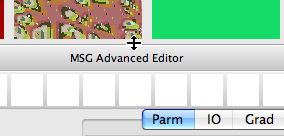
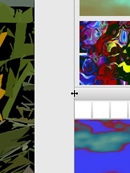
You can also mouse down at the boundary of a palette and the working canvas to adjusts the palette’s size and positioning in relationship to the canvas as shown below. Note that the adjustment cursor now indicates that the palette – canvas boundary can be moved horizontally to increase or decrease the horizontal sizing of the palette being adjusted.
Palettes can also be tab docked, which means that they sit in a stack on top of each other at a single docked position and can be accessed via clicking on labeled tabs. The screen snap below shows the tabs associated with 4 different editing palettes that are tab docked on top of one another.
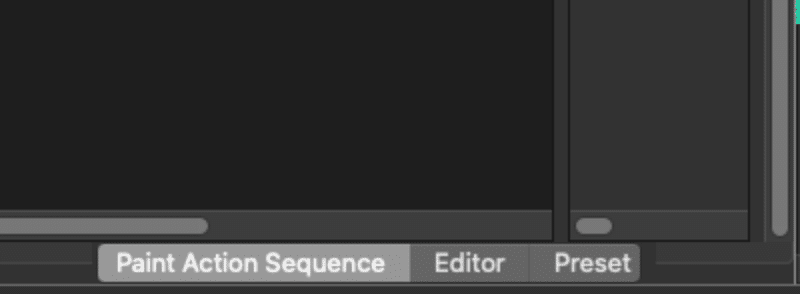
Tabbed palette positioning is very useful to conserve screen space while still providing easy access to multiple palettes when working. To tab dock a pallette you drag it on top of an existing docked palette. The section below will discuss in more detail how to move palettes around in the workspace.
Repositioning a Docked Palette
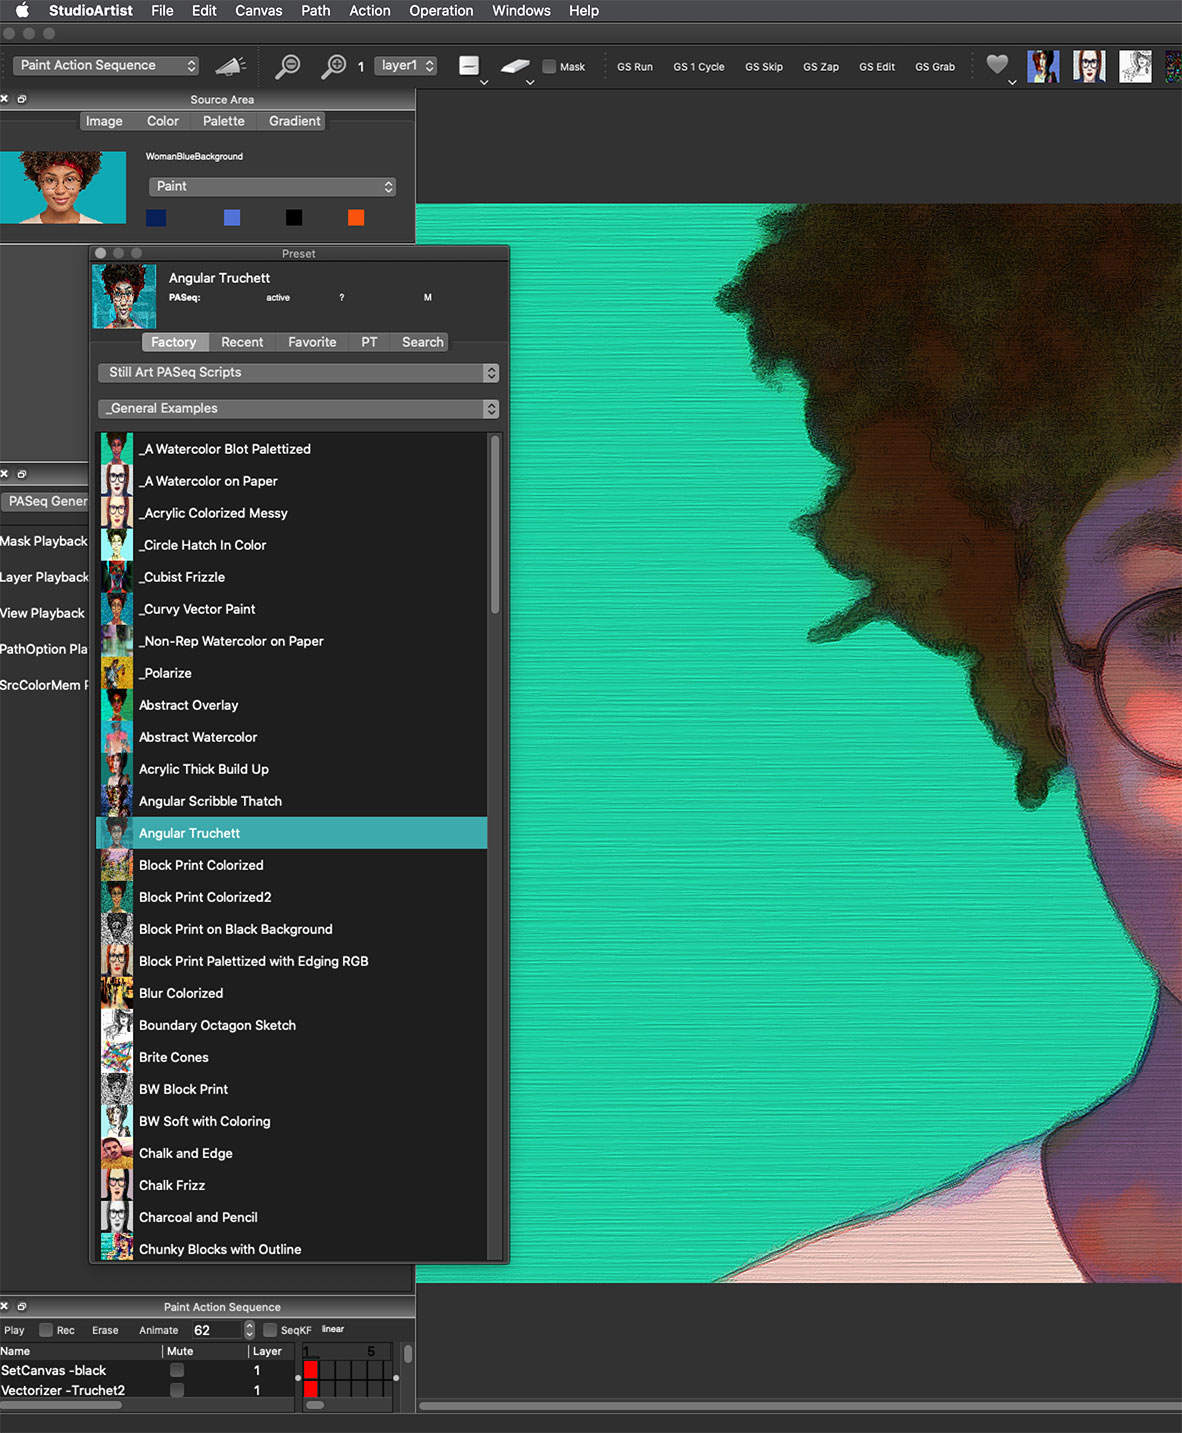
To move a docked palette to another location in the workspace mouse down in the top header area of the docked palette and drag the palette so that it detaches from it’s former docked position. This can be seen in the screen shot above. Once the palette is detached and floating you are free to redock it at some new location in the workspace interface.
The interface indicates what is the potential new docking location by gray highlight selecting where the palette will dock at if you were to release the mouse. As you move the detached palette around the interface different potential docking areas will select and the existing docked palettes will move out of the way and adjust their sizes accordingly. In the screen shot above, the interface is indicating that if the mouse is released the palette will dock on the left side of the workspace in between the source area palette at the top left and the tab docked editor at the bottom left. This new potential docking configuration is shown in the screen shot below.Note how the redocked preset browser palette now sits vertically between the source area and the editor palette. Note that the editor palette is now a part of 3 tab docked palettes at the same location (it used to be 4 tabs before the preset browser was moved).
Palettes can potentially be docked on all four sides of the workspace. Palettes can also be tab docked on top of one another to conserve space in the interface. Or palettes can be left floating if you don’t want to dock them into the workspace. The screen snap below shows the preset browser sitting as a floating palette above the canvas.
Typically you would position the floating palettes somewhere other than on top of your drawing canvas as shown in the example above, but you do have that option if you wish. Floating palettes can be very useful if you are working with a dual monitor workstation setup. You can position the various palettes on one monitor and position the drawing canvas on your main monitor. This allows the full display screen to be used as a drawing canvas, or allows for the canvas to be video projected without displaying the editing palettes which is desirable for interactive live visual performance.
Turning Palettes On and Off
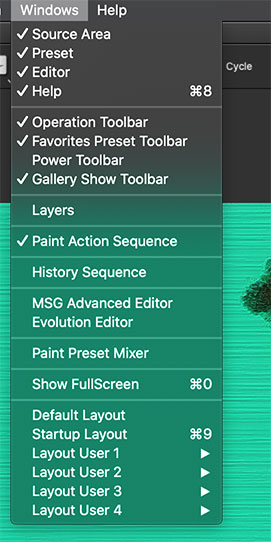
You can use the various Windows menus associated with the different editing palettes shown above to turn the display of the palettes on or off. When turned on (the menu is checked) they will appear in the workspace at the last place they were displayed. This could be a docked position or a floating position.
When a checked windows palette menu is turned off (the menu is not checked) then the palette no longer appears docked in the workspace or on your monitor if floating. You can also click the close button located in the right side of the palette’s top header area (shown below) to close an open palette.
Workspace User Layout Memories
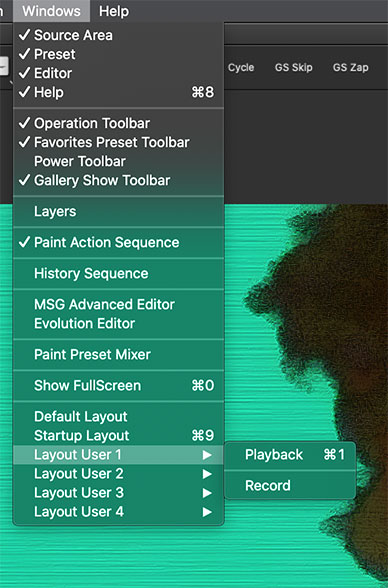
There are 4 different workspace memories that you can use to save (record) and restore (playback) different workspace configurations on the fly while working. They are accessible via the 4 Layout User menus located in the main Windows menu. As shown above, each layout memory has an associated playback and record menu. Playback means that the workspace configuration stored in the memory is restored into the workspace. Record means that the current workspace configuration is saved into the associated layout memory. Menu shortcuts are available for playback for all 4 memories to make it easy to switch between them on the fly when working.
Full Screen Display Mode
There is a Windows > Show FullScreen menu option that can be used to switch into or out of full screen display mode. When full screen display mode is turned on the workspace is automatically adjusted to fill the entire screen. You can use the full screen display preferences shown below to configure the appearance of the full screen display to your working style. Palettes and toolbars can be hidden if you wish while you are in full screen display, and the fullscreen workspace background color can also be custom configured.
Full Screen Mode Options in Studio Artist Preferences
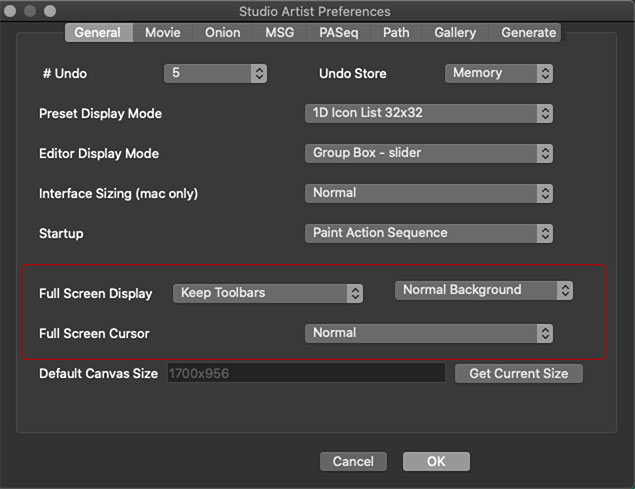
Full Screen mode can be very useful if you wish to work on a large drawing canvas unencumbered by editing palettes and the screen real estate they take up. Full Screen display mode is also very useful if you are using Studio Artist in a live visual performance situation where the canvas is being video projected or video recorded.


2 Comments