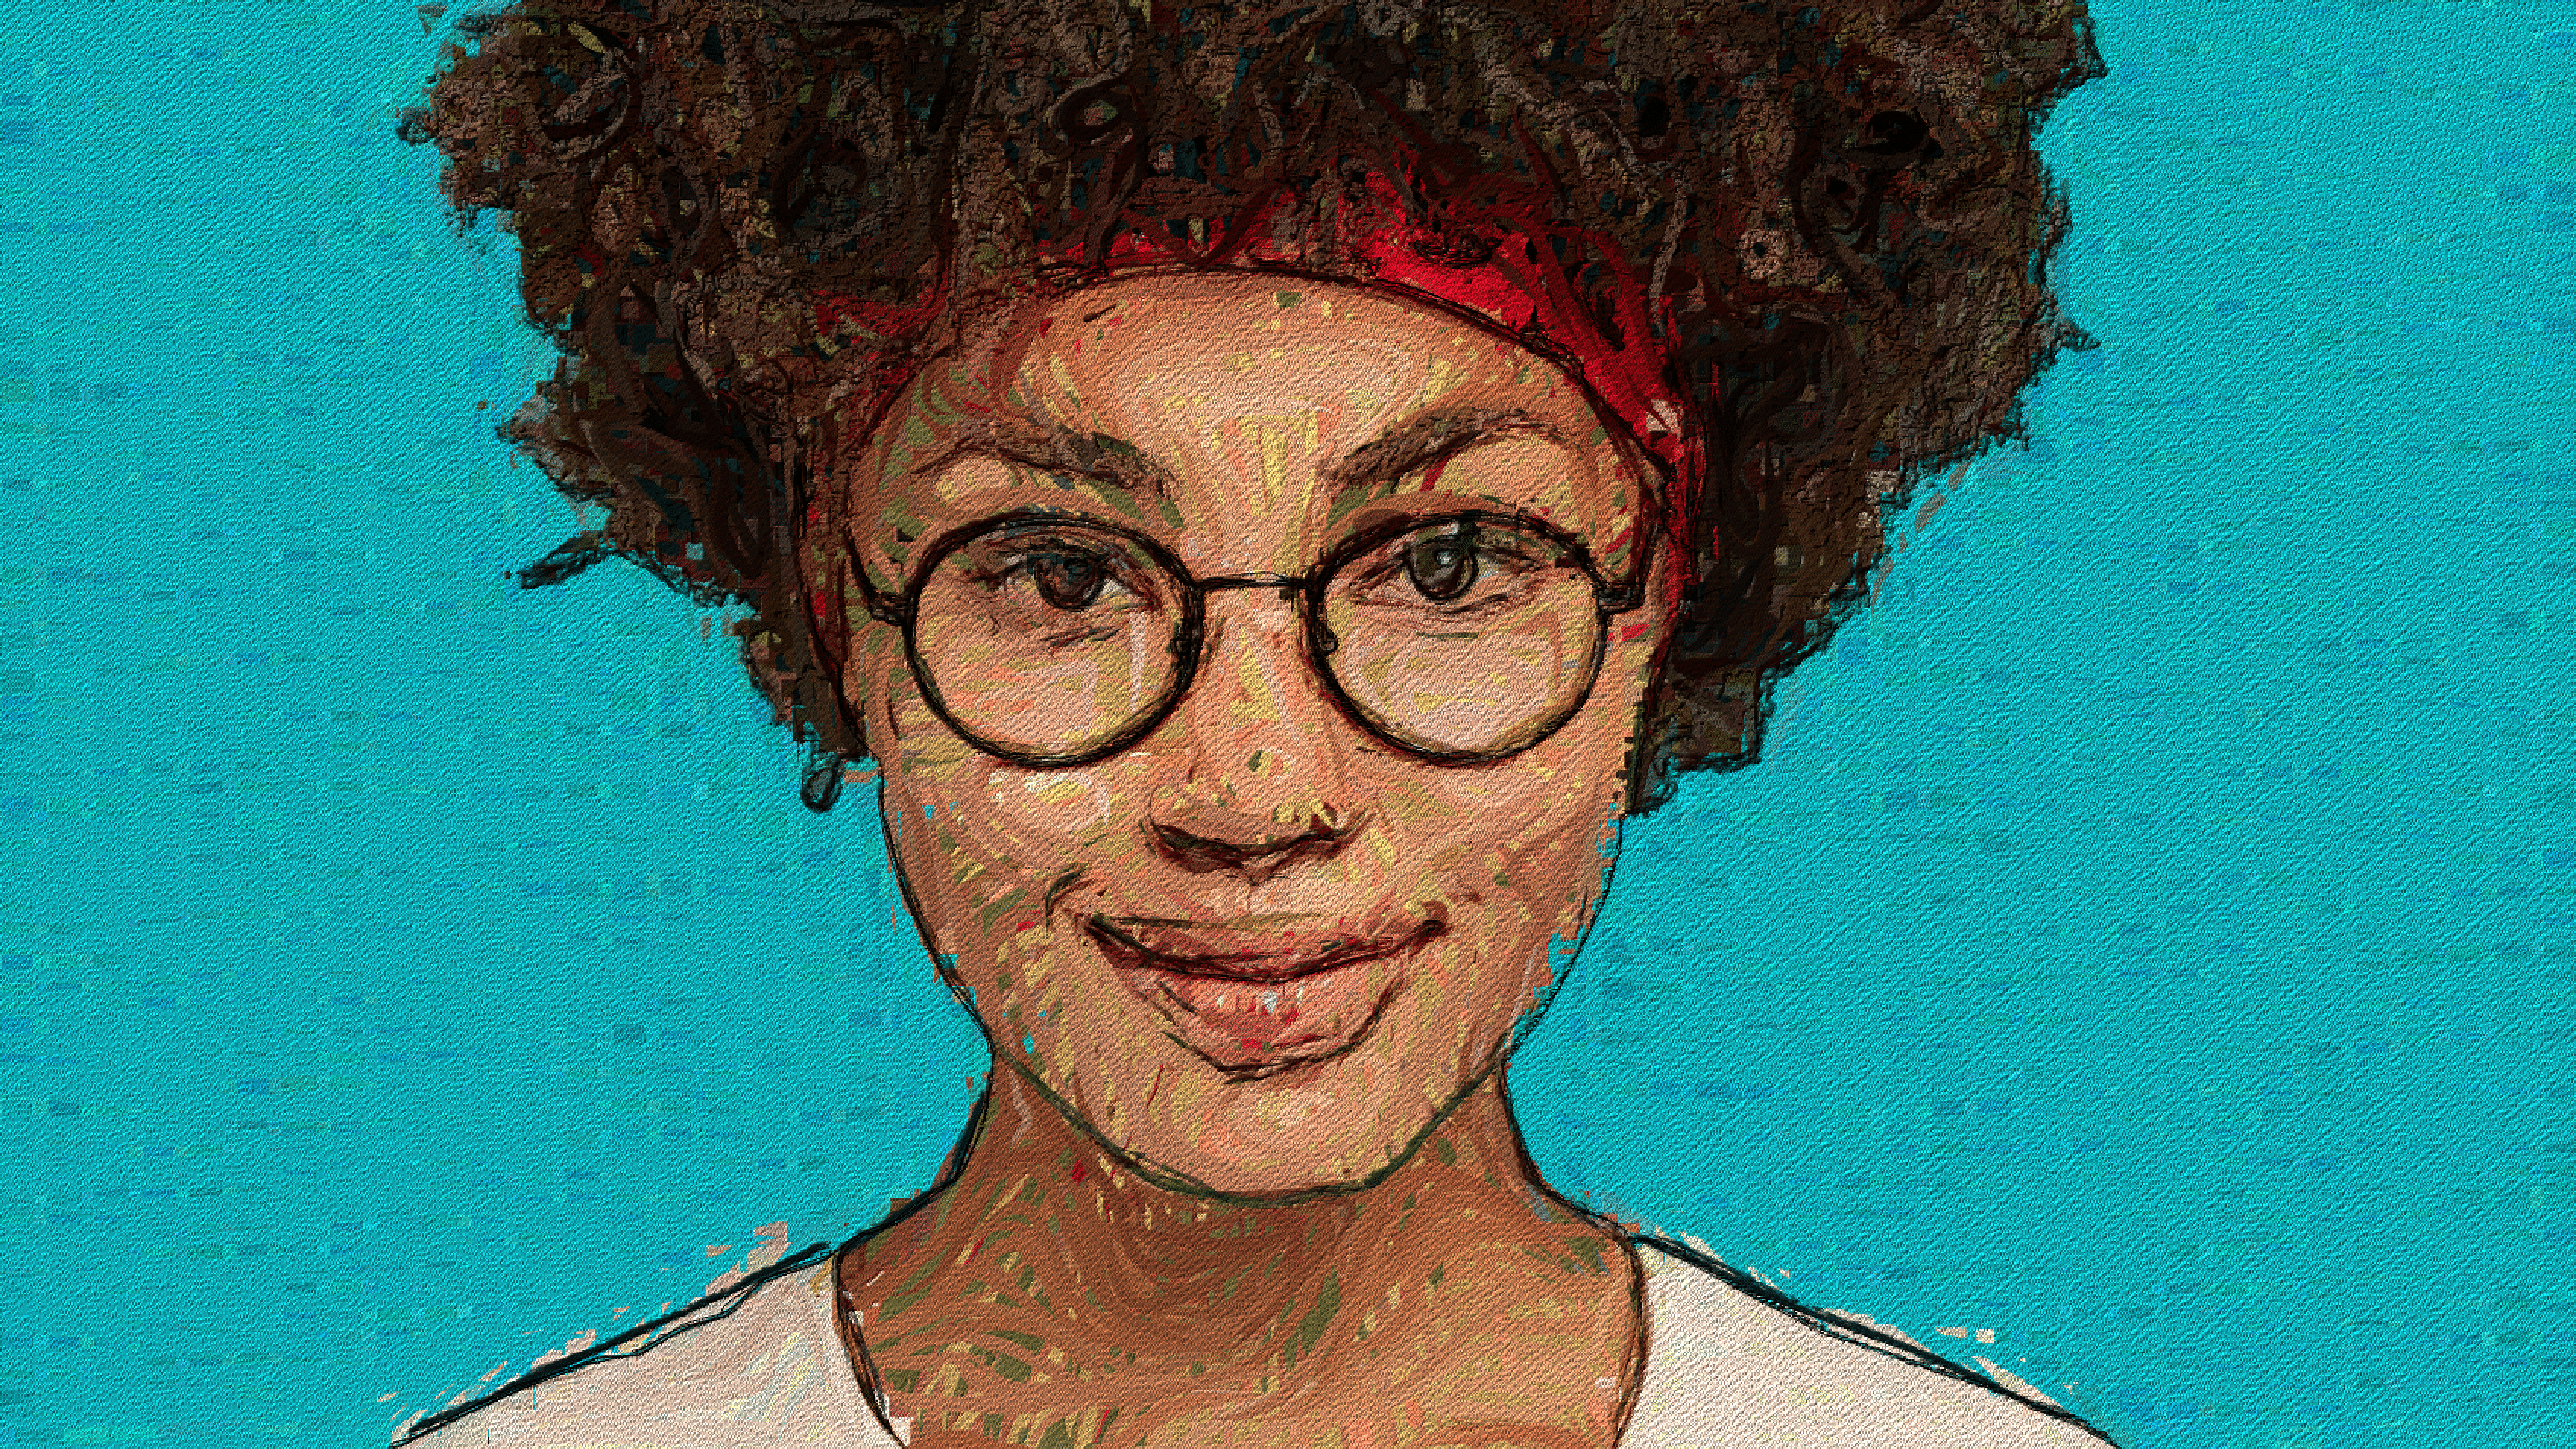
EPS stands for encapsulated postscript and is a vector file format. The advantage of vector files over raster image files is that a vector file is essentially resolution independent and can be rescaled smoothly to any resolution. Raster image files are pixel based image files and while they can be resized with something like Studio Artist’s Supersizer interpolator there will be visual artifacts introduced by the rescaling process.
PLEASE NOTE: It is much preferable to output Studio Artist vector images to SVG instead of EPS as it handles the complexity much better than EPS. Please see this post on how to output SVG.
Outputting Vector with SVG (Recommended with Studio Artist)
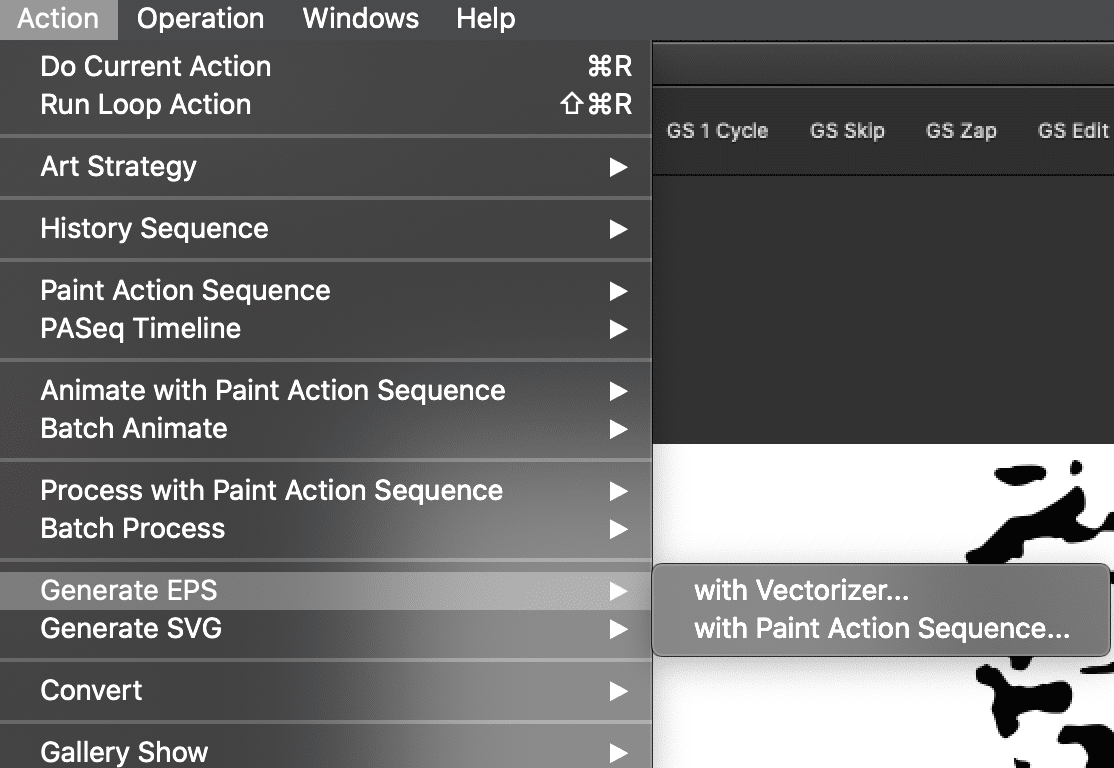
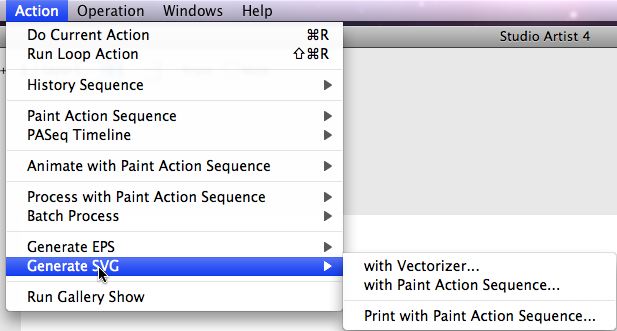
There are 2 different ways you can create EPS vector artwork in Studio Artist. You can output an EPS file directly from the Vectorizer. Or you can record a Paint Action Sequence (PASeq) using action steps that can generate EPS output (the Vectorizer, Paint Synthesizer, and Set to Background options) and then render the PASeq output as an EPS file. There are individual command menus under the main Action : Generate EPS menu for both of these 2 options.
Vectorizer
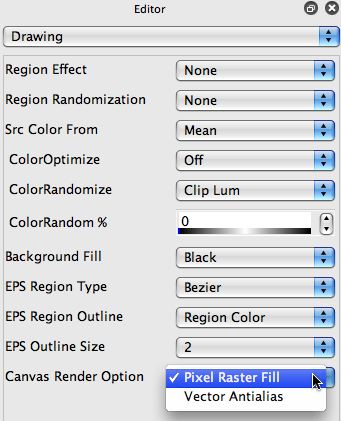
The Vectorizer takes a raster image and converts it into a flat vector representation. The raster source can be the source image or the current canvas. Depending on how you adjust the controls in the Vectorizer you can generate a wide variety of different aesthetic styles. The version 4 vectorizer has the option of rendering the vector output in the Studio Artist canvas as either a Pixel raster Fill or a Vector Antialiased representation. The Vector Anitaliased option gives a better indication of what the EPS file will look like when rendered in another program.
In the Vector Drawing control panel are some additional EPS parameters that give you additional control over how the EPS file is generated from the Vectorizer output. If you are not getting complete coverage in the rendered EPS file try increasing the EPS Outline Size.
Paint Synthesizer Classic
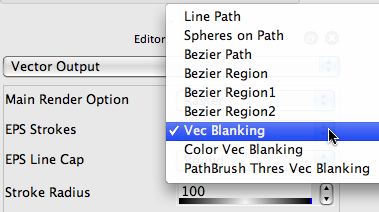
The Paint Synthesizer drawing engine is primarily designed as a raster paint engine. This is what enables the paint synthesizer to create rich organic raster paint effects. However, you can do vector drawing directly using the paint synthesizer, or you can automatically convert a raster paint stroke into vector output. There are several adjustable parameter options located in the paint synthesizer Vector Output control panel that determine how a raster paint stroke is converted into an EPS vector representation when used to generate an EPS file.
Each of the EPS Stroke options provides a different way to convert a raster paint stroke into an EPS vector representation. They all look different, so they provide some artistic flexibility that can be exploited in your artwork. However, be aware they all have stylized looks associated with flat color vector output and are not going to convey the same artistic message or degree of subtle variability as the full raster paint engine can.
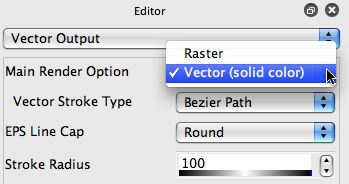
Studio Artist 4 has a new vector render option for the paint synthesizer. This new vector render option generates anitaliased vector drawing directly from the paint synthesizer. Note that when it is turned on the EPS Strokes conversion option described above disappears and a new Vector Stroke Type parameter option is made available instead. This is because there is no need to convert a raster paint stroke into an eps vector representation since you are drawing directly with vectors in this case. The Vector Stroke Type option lets you choose how the display vectors are being generated from your drawing and the eps output just passes those display vectors into the generated eps file.
The Vector Render Option is somewhat experimental and still under development. Be aware that much of the paint synthesizer’s advanced functionality does not affect the appearance of the vector drawing since it was designed for a raster paint engine. The Vector Solid Color render option is very useful for drawing thin tight lines.
Viewing EPS Files
Studio Artist currently does not support EPS import. However, Apple’s Preview application will open eps files generated from Studio Artist or other applications and convert them to PDF files. You can also have the option to save them as rasterized image files like jpeg or tiff, and these exported files can then be easily opened into Studio Artist. You can also import EPS files into other programs like PhotoShop or Illustrator for rendering at arbitrary resolutions or printing.
SVG vs EPS Vector Output
Studio Artist also supports SVG vector output. Again, you can generate SVG output using the Vectorizer or a PASeq. Historically, the EPS output support has been in Studio Artist for awhile, and the code that generates the EPS vectors in the paint synthesizer occurs as a secondary process after the initial raster drawing occurs. This secondary process to generate a vector stroke for EPS output may generate vector output that looks very different from the raster paint drawn into the raster canvas.
The SVG output is a new feature in v4 and is much more closely tied to the actual code that draws into the raster frame buffer if that code is doing vector drawing into the raster frame buffer. In the paint synthesizer this would be the ‘Vector (solid color)’ main Render Option or the ‘AntiAliased Solid’ Brush Type. Unlike the EPS output support, only paint synthesizer presets that use actual vector drawing internally will generate SVG output. So currently in v4 you would need to use the ‘Vector (solid color)’ main Render Option or the ‘AntiAliased Solid’ Brush Type if you wanted to generate SVG vector output from the paint synthesizer.
The ‘Generate SVG : Print with Paint Action Sequence…’ menu allows you to send generated SVG output to a standard print dialog. You can then print directly from the generated vector output. The difference between this special SVG print functionality and the normal ‘File : Print’ menu is that Studio Artist normally prints from the raster frame buffers internally used for it’s draw canvas, while the special Generate SVG print menu actually prints based on the generated SVG vectors.
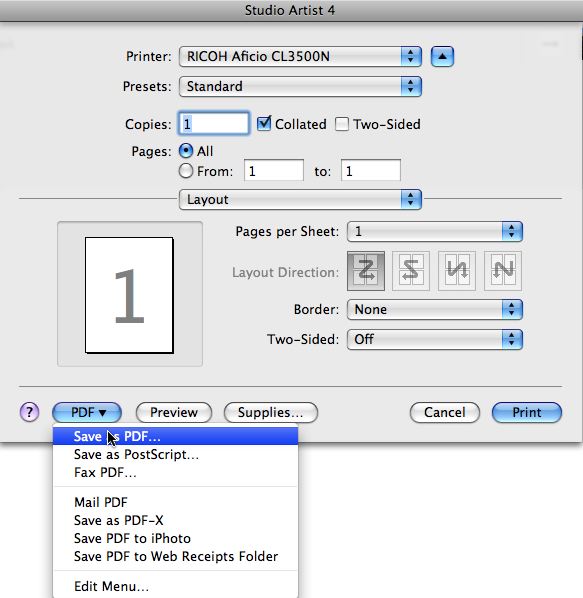
On a Mac you can also use the ‘PDF : Save as PDF…’ menu available via the menu button in the Mac standard print dialog to generate a PDF file from the generated SVG vector output. So this is a way to generate PDF output that is an alternative to the EPS vector output described above.
More information on SVG generation and output can be found in this tip.
Since SVG vector output is more closely tied to the actual vector draw code the paint synthesizer uses internally for any paint presets that perform vector drawing it can often generate vector output that more closely matches what is seen in the Studio Artist raster draw canvas. Assuming you are using paint presets that support vector drawing, specifically the ‘Vector (solid color)’ main Render Option or the ‘AntiAliased Solid’ Brush Type. So for those kinds of paint presets in a PASeq, using the ‘Generate SVG : Print with Paint Action Sequence…’ menu and then ‘PDF : Save as PDF…’ option in the print dialog provide an alternative to the EPS output options described above.



4 Comments