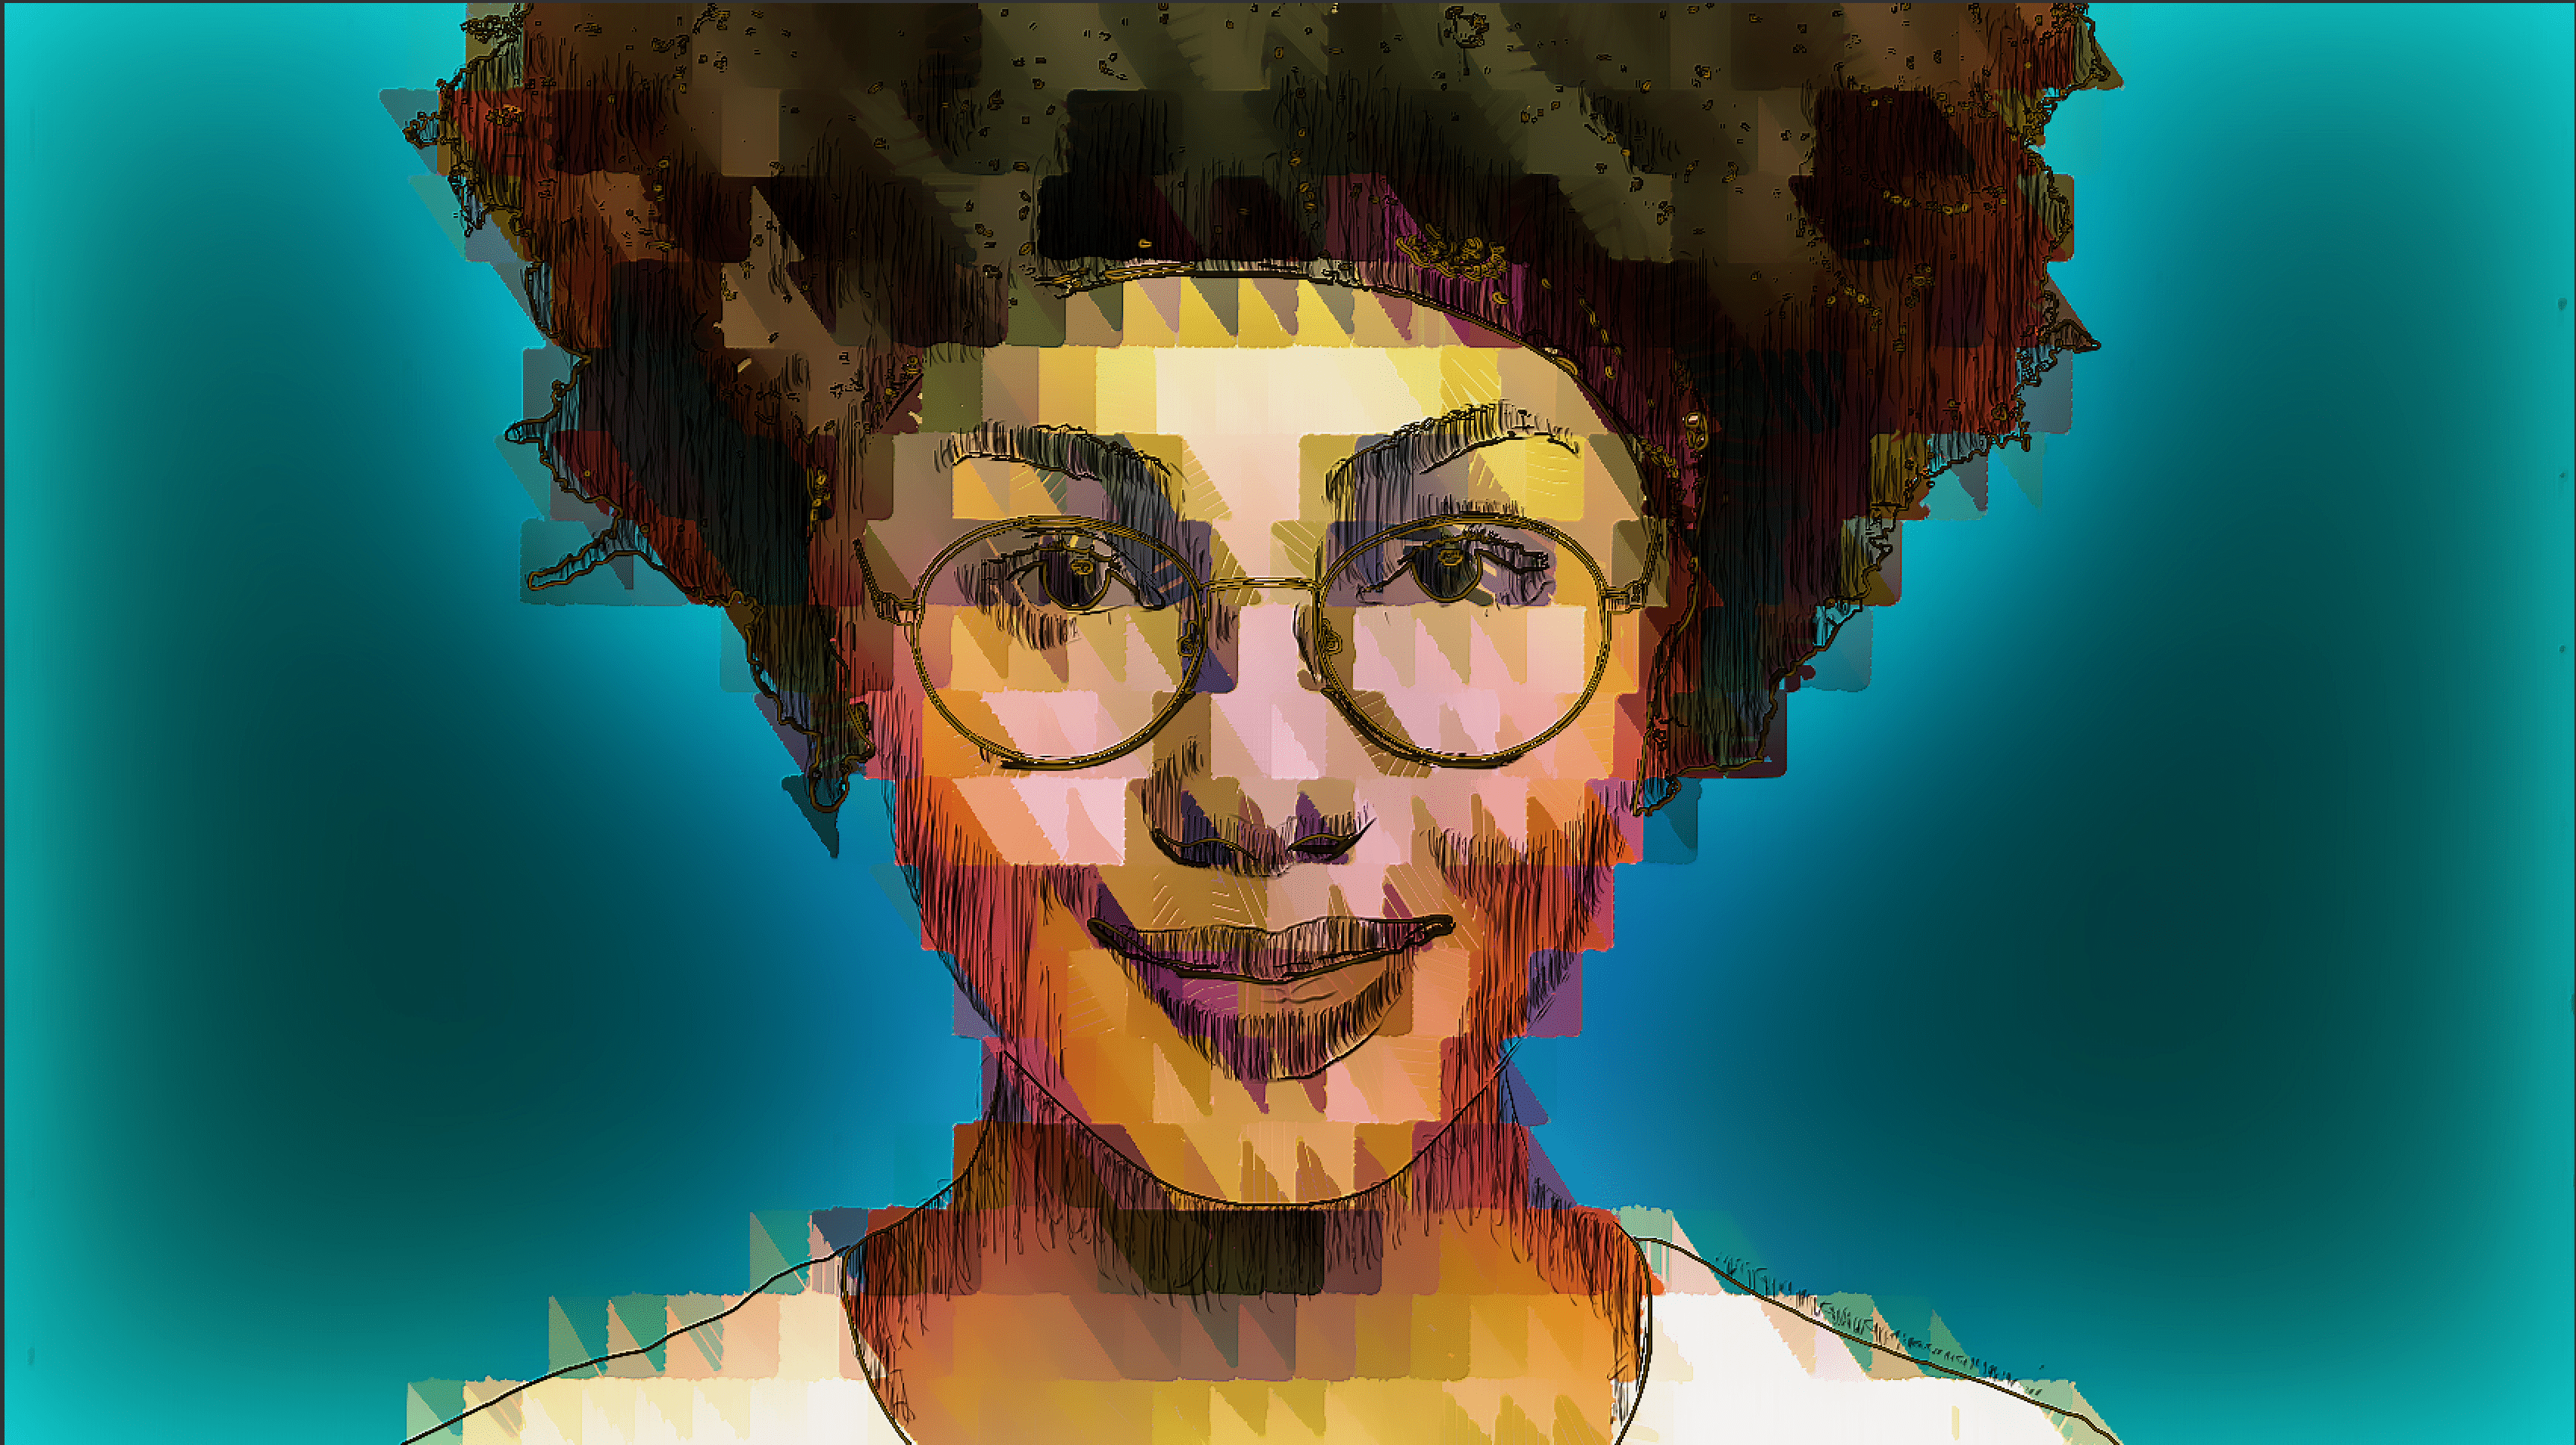
Studio Artist has the ability to generate SVG vector output for any vectorized preset. Not only can all Vectorizer presets can be output as .svg but also a lot of Paint Synthesizer presets are vector as well as Image Operations presets especially a lot of the sketch effects.
SVG is generally suggested over EPS for Studio Artist because EPS does not handle the complexity of Studio Artist’s vector paints as well as .svg.
This capability can also be used as an alternative way to generate PDF vector output with some advantages over the older EPS vector output techniques. This post will focus on explaining how to use the Generate SVG functionality in Studio Artist and the differences between the SVG and EPS vector functionality.
SVG stands for Scalable Vector Graphics and is a standardized vector file format. One big advantage of SVG over EPS vector output is that the SVG file format can support transparency for vector elements. So you can use the Generate SVG functionality in Studio Artist to create SVG or PDF files that contain semi-transparent vector elements.
Studio Artist is primarily a raster graphics program as far as output is concerned. When you do a normal File menu ‘Save Canvas As’ or ‘Print’, the internal raster canvas is saved as a raster file or printed using the internal raster frame buffers.
To Generate SVG from Vectorizer Mode:
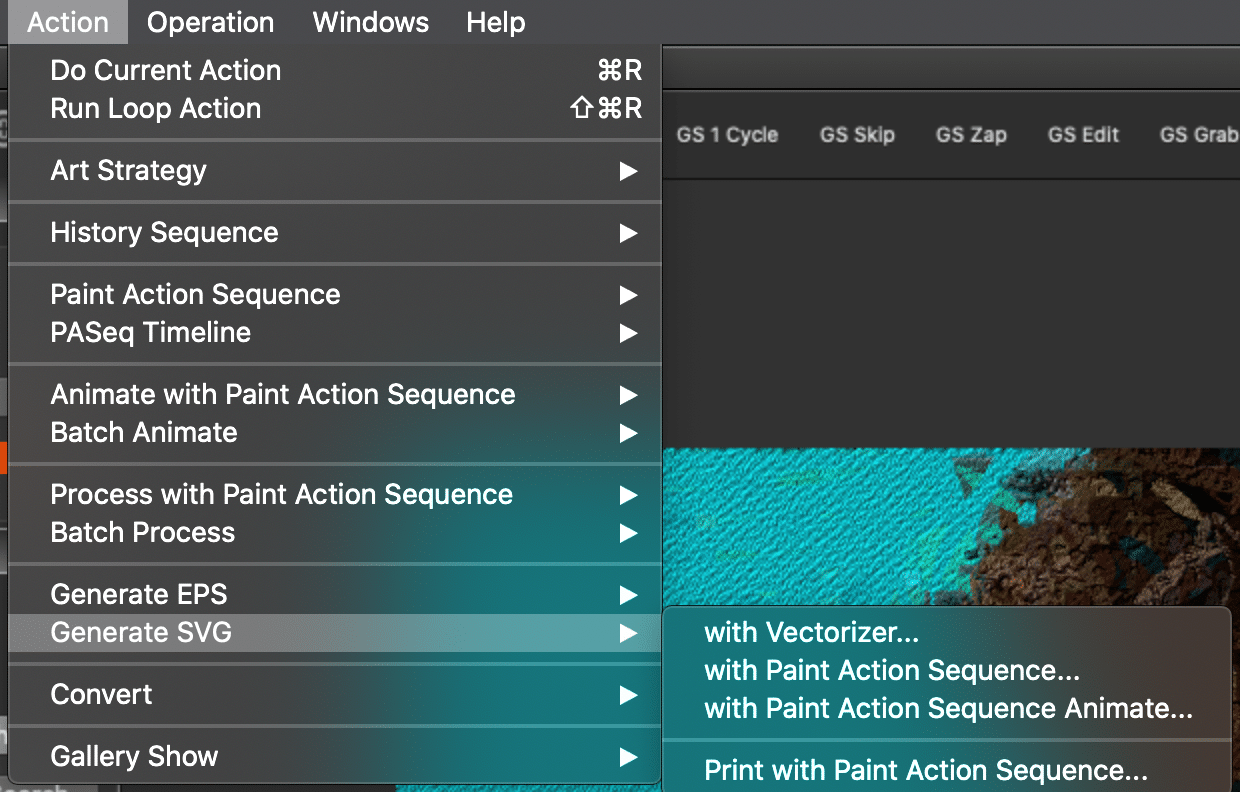
Choose Action > Generate SVG > With Vectorizer
This is very straightforward. Just run a Vectorizer preset and then choose
Action > Generate SVG > With Vectorizer
If you want to combine more that one vectorizer preset to output to SVG you will need to create a Paint Action Sequence preset (see below)
To Generate SVG from a Paint Action Sequence (PASeq):
This is a little more tricky because Paint Action Sequences (PASeq) can have both Vector and Raster steps. When you output to .SVG from a PASeq only the Vector Steps will be output. But no worries you can add the raster steps in later at whatever resolution you want to use for print.
Below is the the PASeq Preset Abstract Vector with Squiggle. All the steps except the last 3 are vector.

This is what it looks like with the vector and raster steps
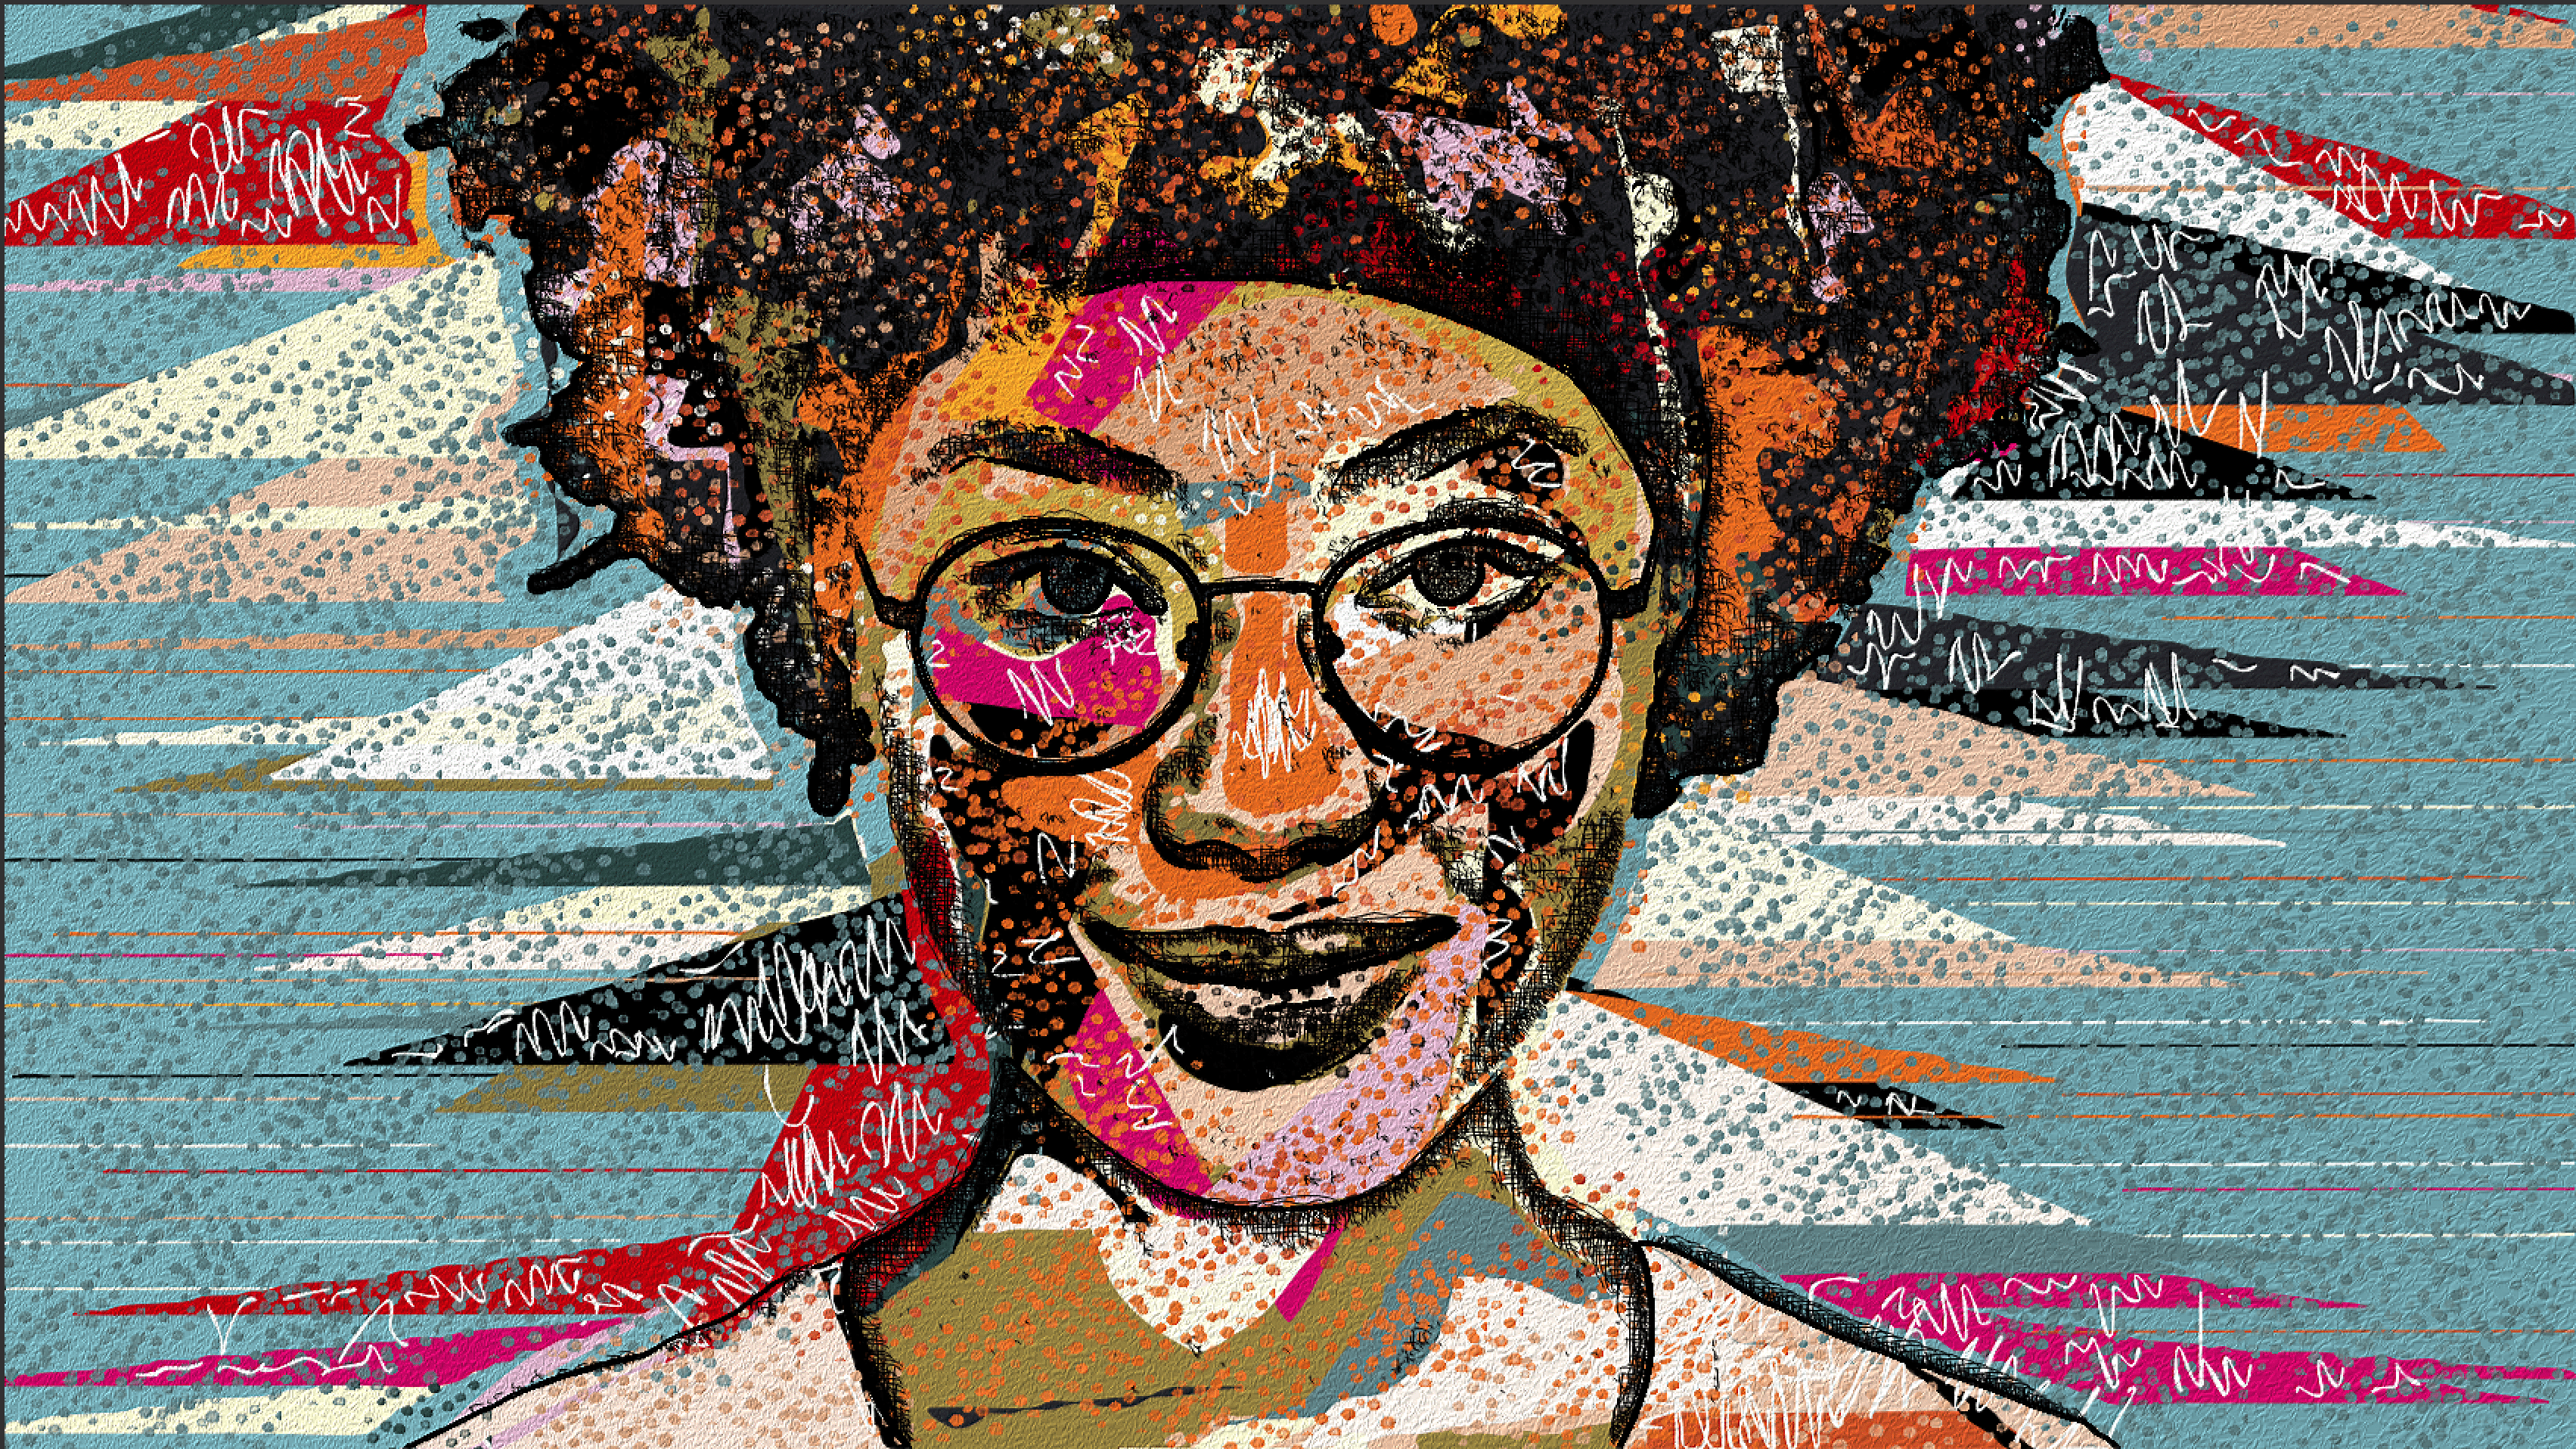
This is what the .svg output looks like.
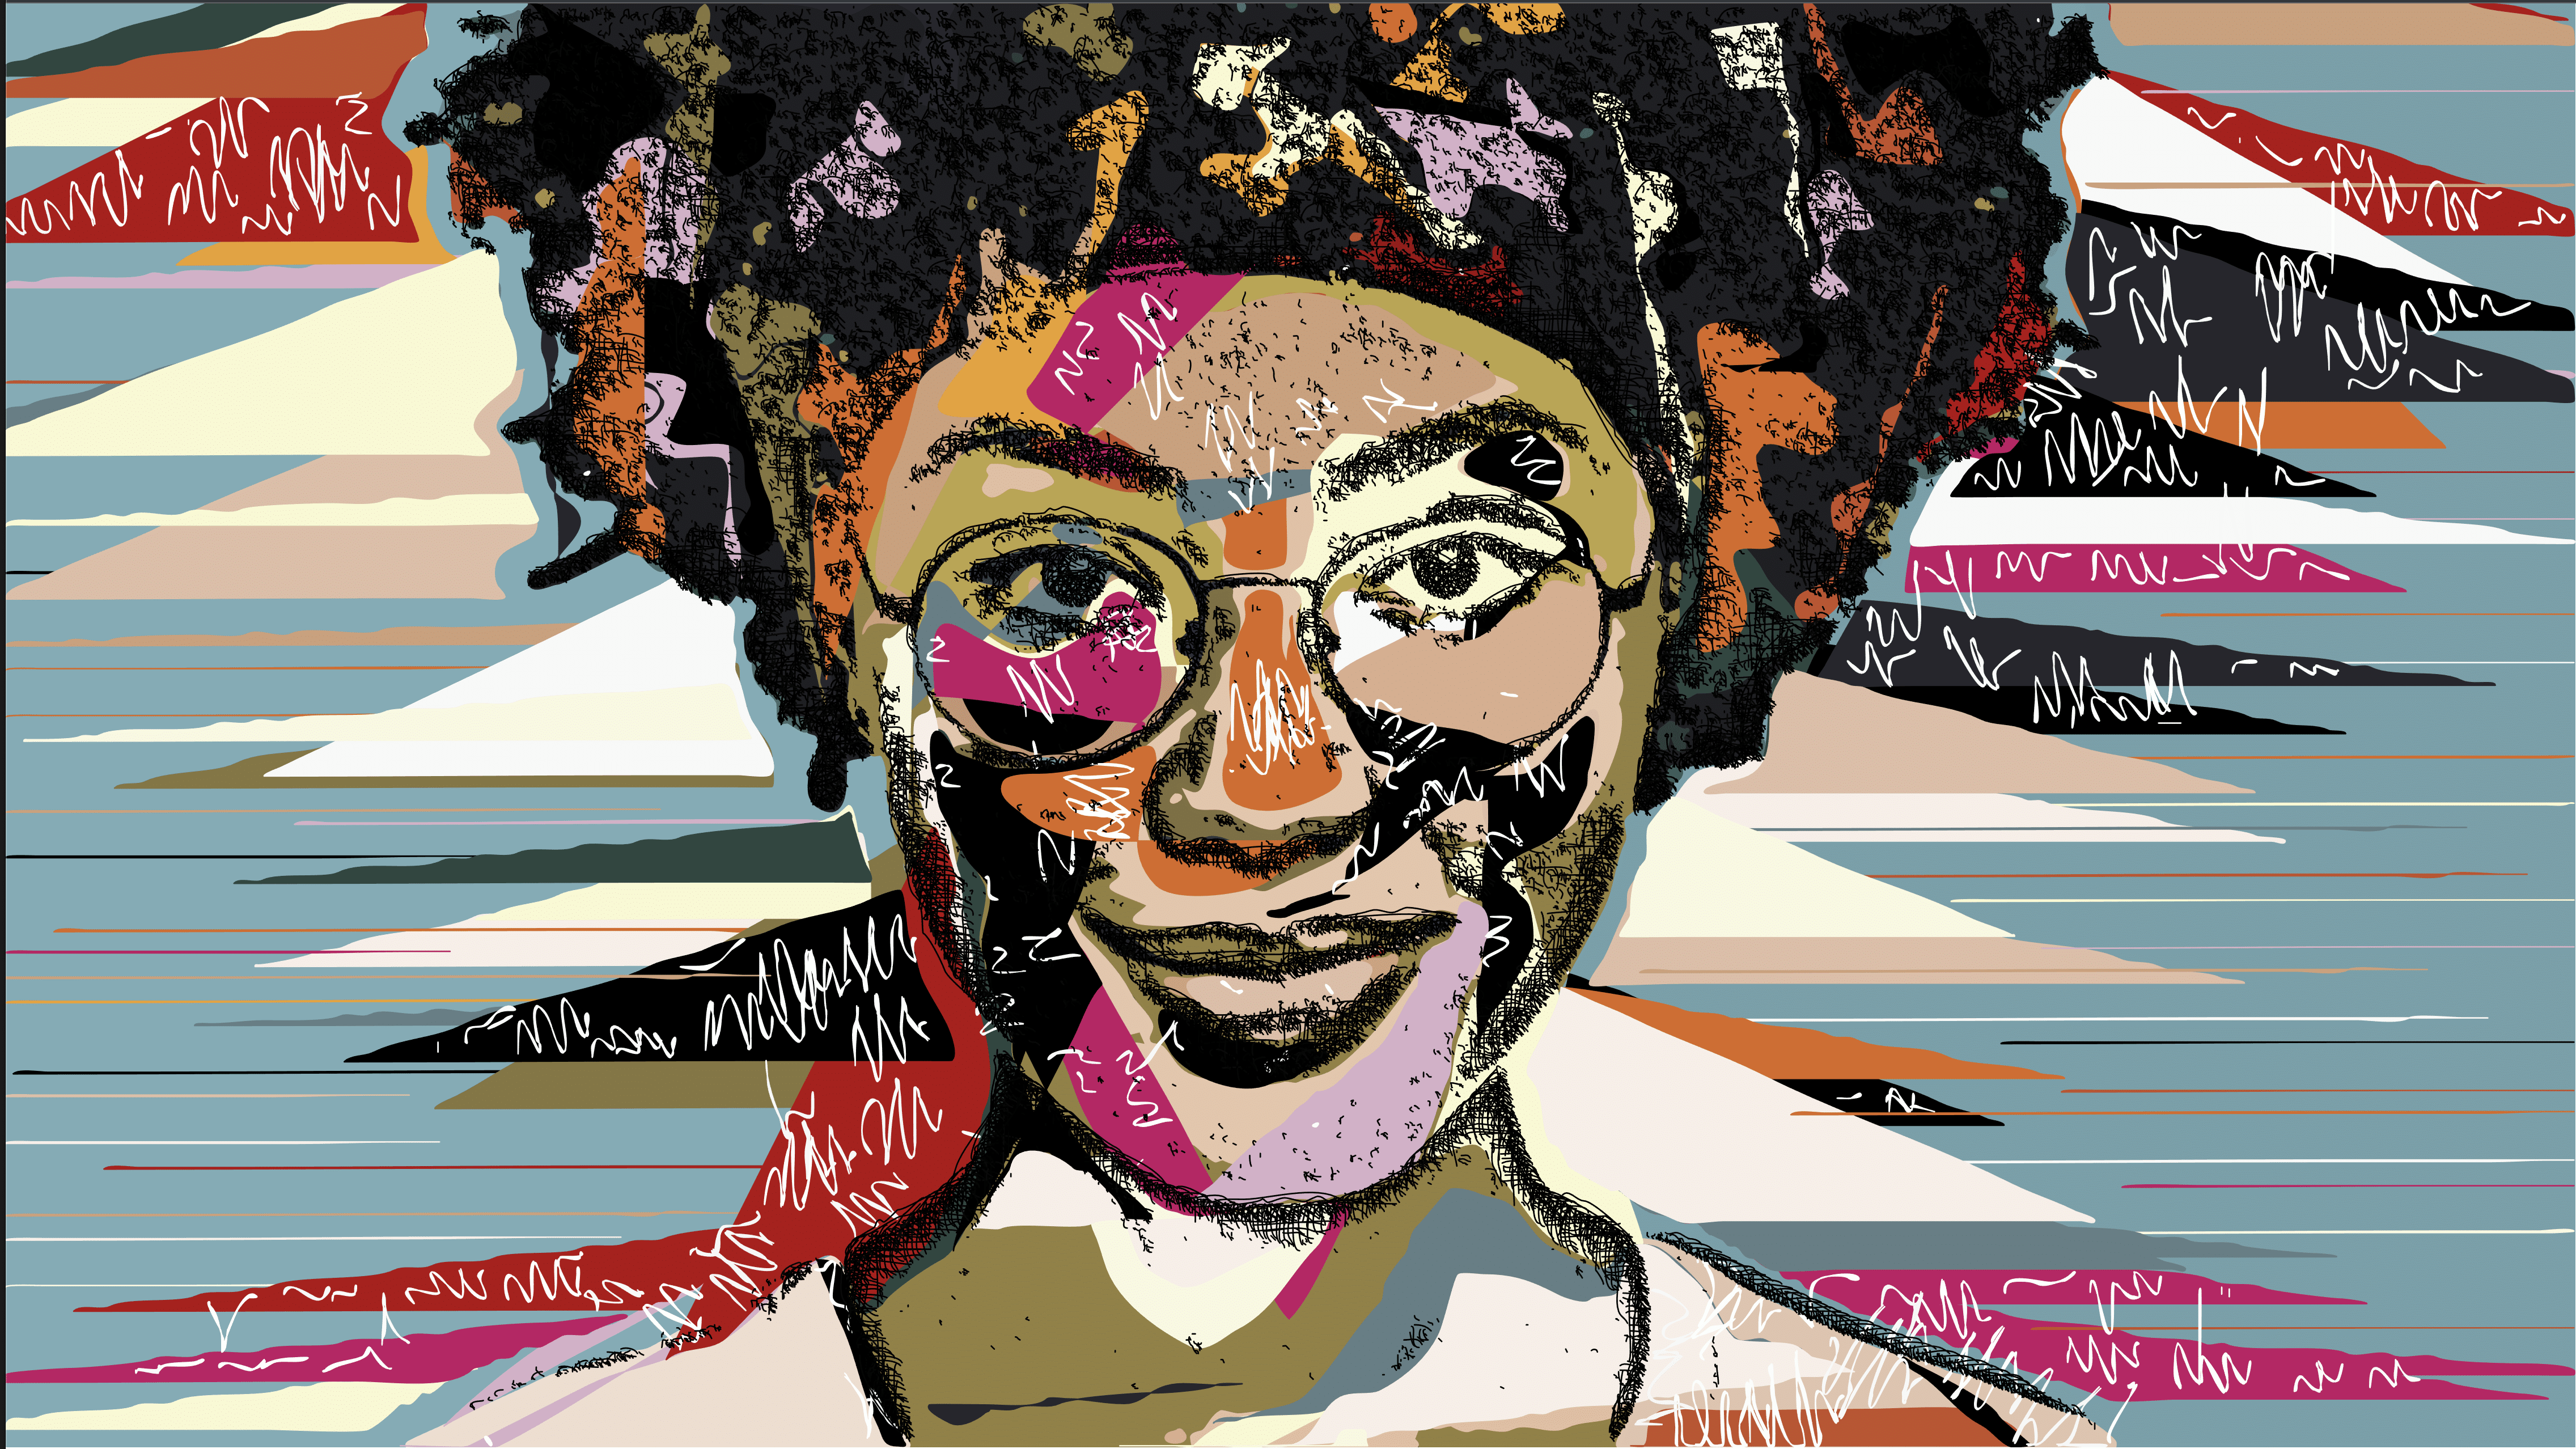
It is missing the last three steps of this preset which is some extra raster edging, a Pastel Paper texture and a sharpening effect.
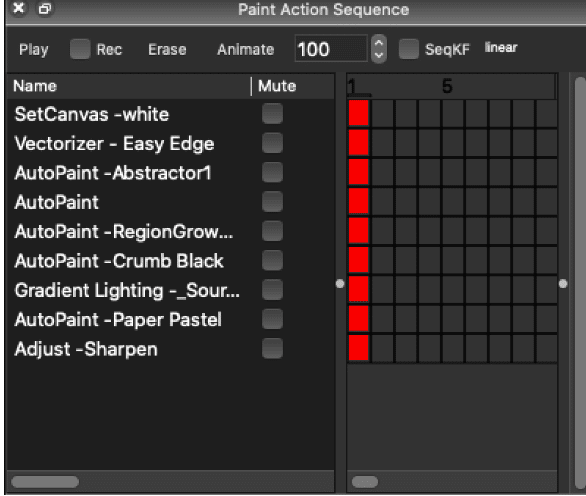
To add these effects for Print at scale. Do the following:
- Import your .svg output. File > Import > Open SVG as new Canvas
- Change the canvas to your desired size
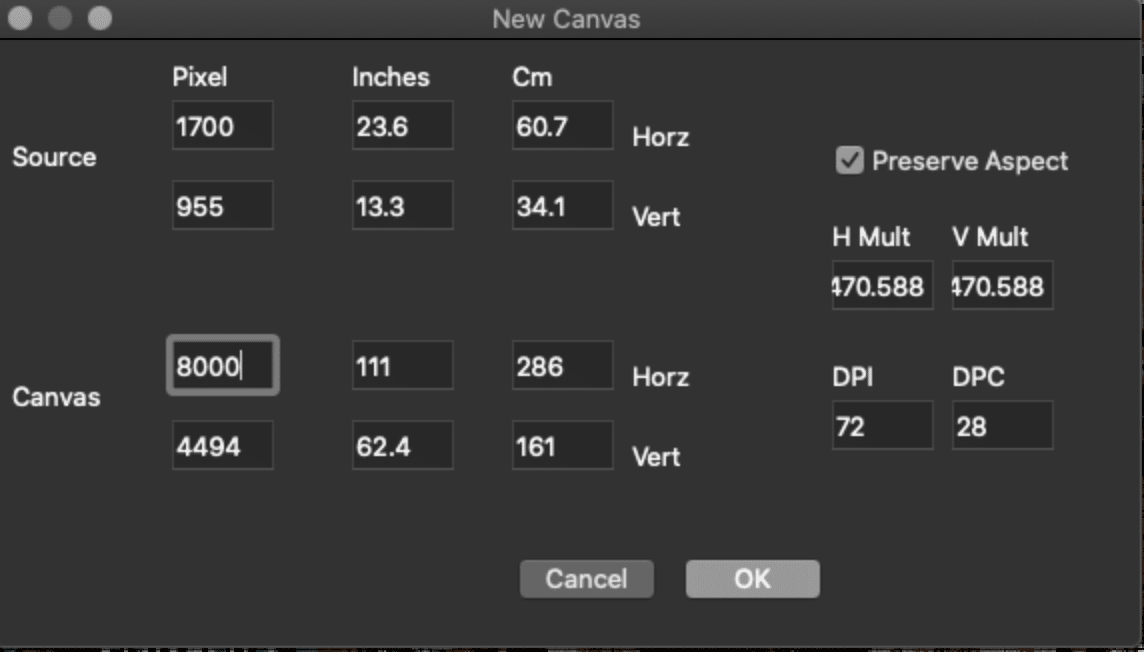
3. Click on Red Square next to the Raster Steps to add them into the Image (be patient if your image is large)
4. Save your Image.
HOW CAN I TELL IF A PASEQ STEP IS VECTOR
PAINT SYNTHESIZER
To see if your Pain Synthesizer Preset is Vector or Raster go to
Paint editor > Vector Output > Vector (Solid Color)
When the preset is set to Vector you can output .svg
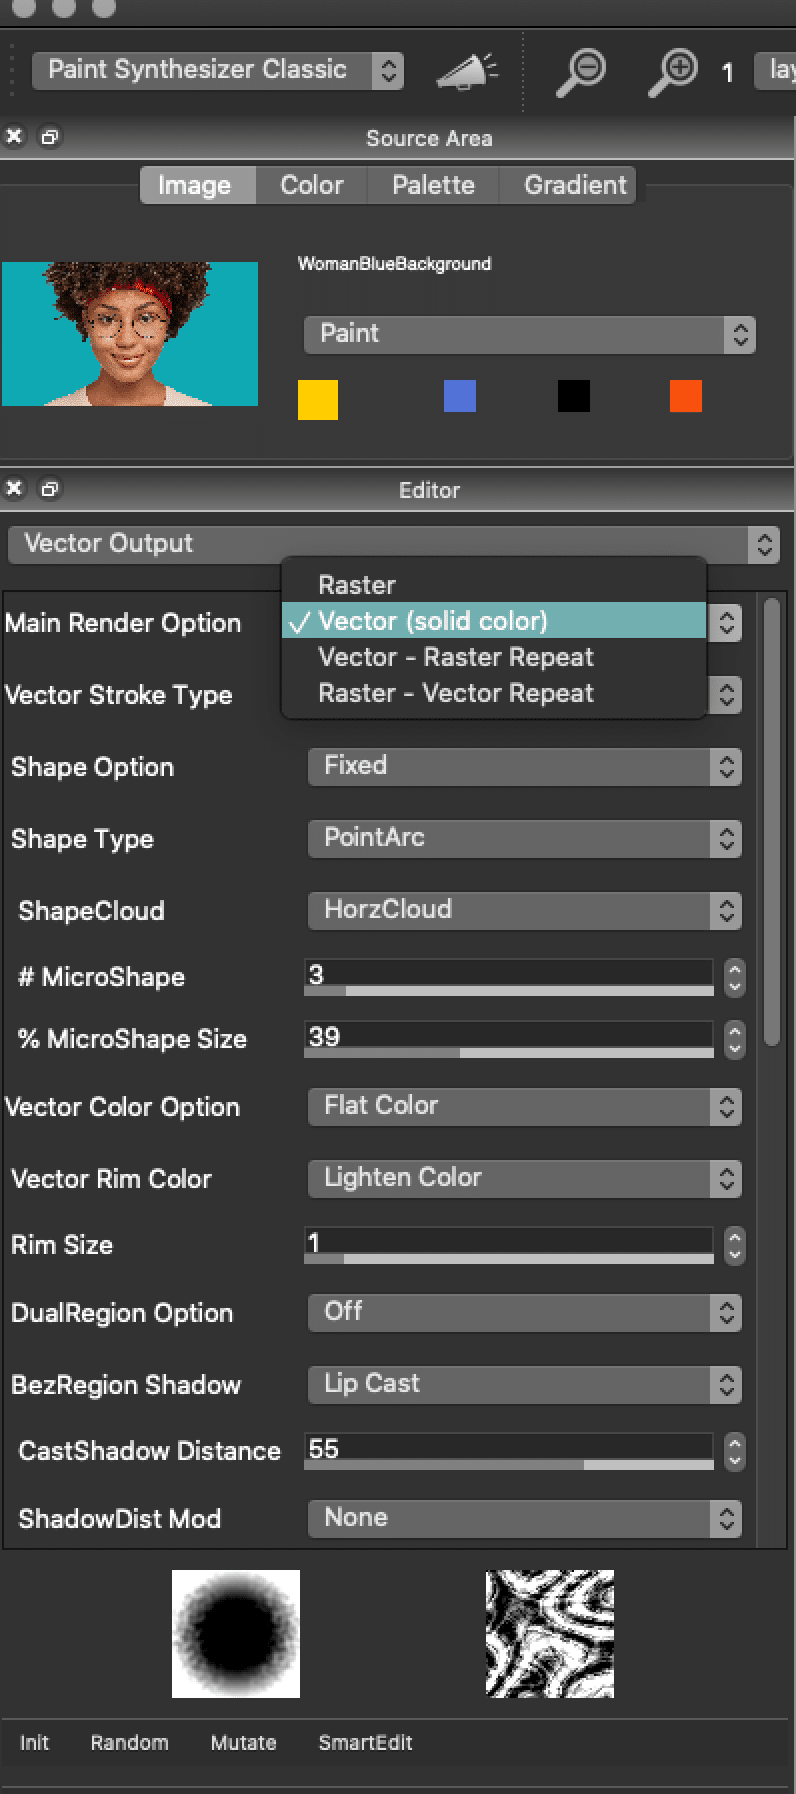
IMAGE OPERATIONS PRESETS
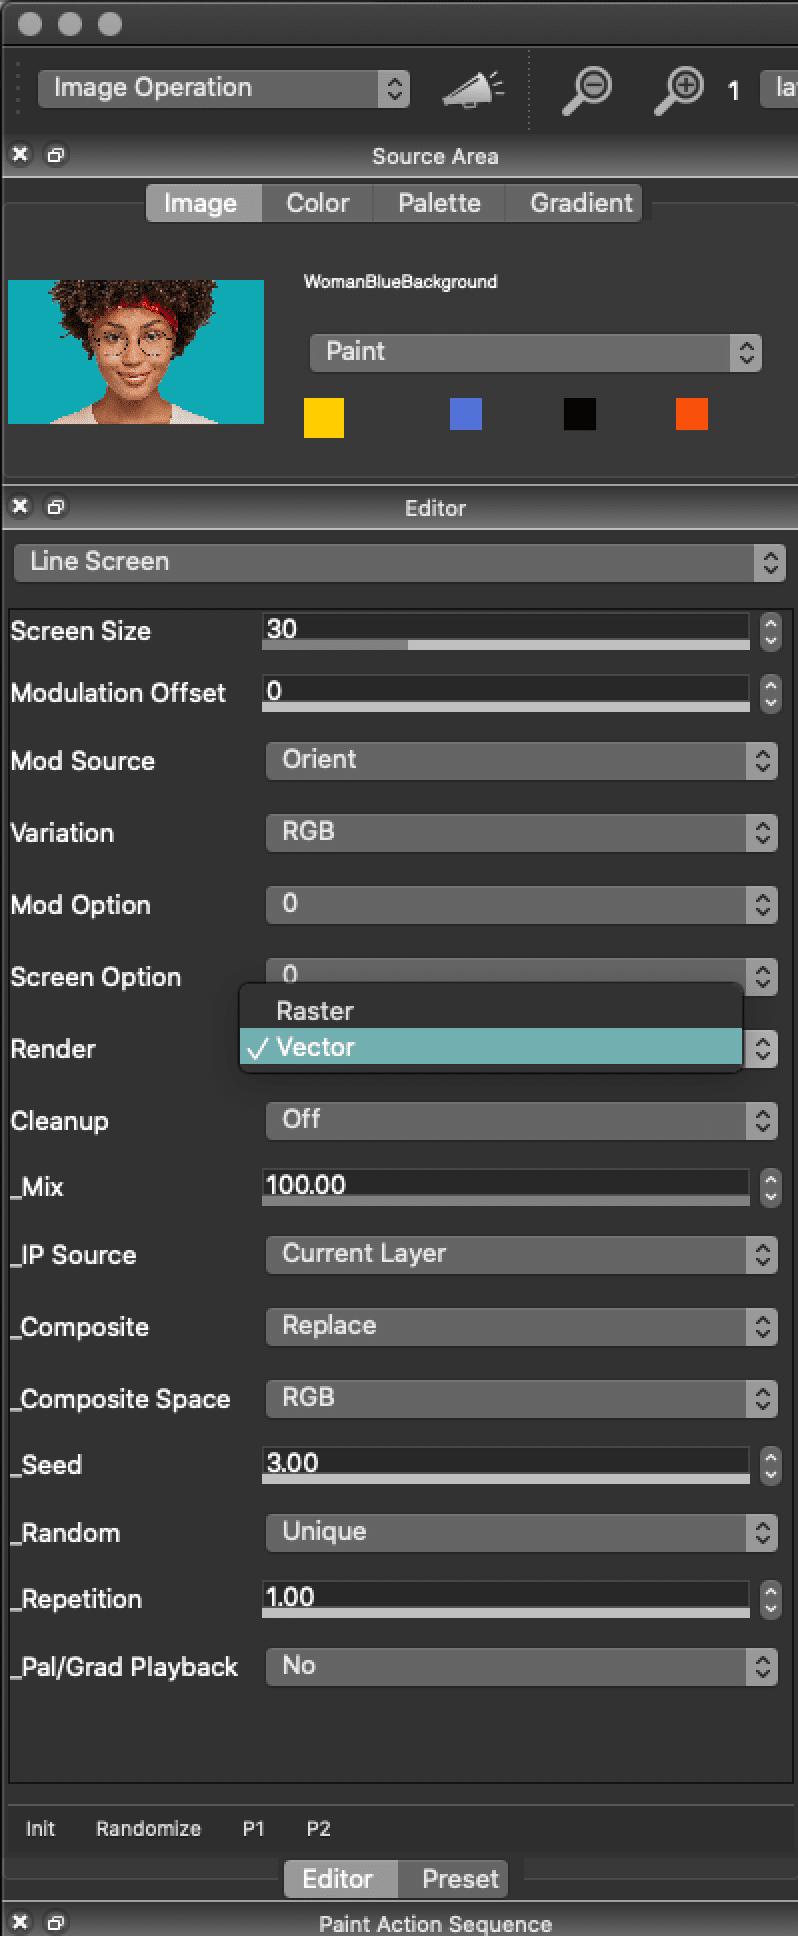
If you see an Render Option in the Editor in your Image Operations Presets or PASeq Step and it is set to Vector then that will output to .SVG
VECTORIZER:
All presets in the Vectorizer can be output to .svg


4 Comments