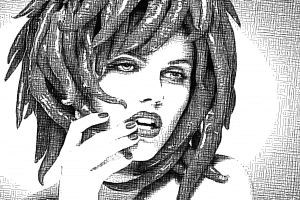
Two powerful sketch types are called Sketch Edge and Sketch Mass. Sketched imagery is typically generated by using thin drawing strokes to build up a representation of a source image. Representing a source image in a sketch with line vs mass has been an established artistic technique since the days of Leonardo da Vinci. Line referring to the edge structure of the image (high spatial frequency). Mass referring to the underlying luminance structure of the image (low spatial frequency).
These 2 representational components are encapsulated into the Sketch Edge and Sketch Mass ip ops. Sketch Edge is primarily about generating sketches that representing edge structure in a source image. Sketch Mass is primarily about generating sketches that represent source luminance (or mass) via different hatching techniques. Both Sketch ip ops are capable of generating tight or loose or very abstract sketches of a given source, depending no how their editable parameters are adjusted.
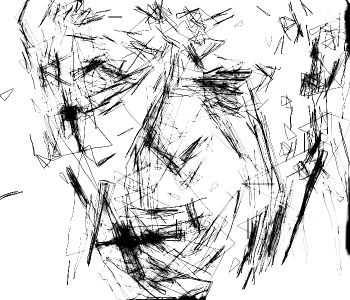
The sketch example shown at the top of this tip was actually created with 2 different Sketch Mass presets min composited together.
Sketch Edge
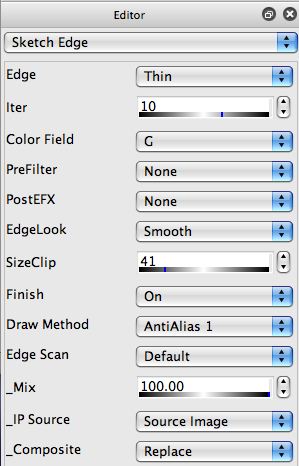
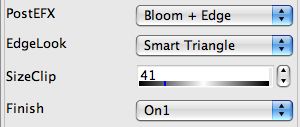
The Sketch Edge Editor control panel is shown below. A radically large number of different sketch effects can be generated depending on how you adjust these editable parameters.

Colorizing a Black and White Sketch Image
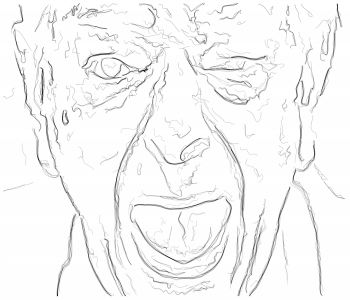
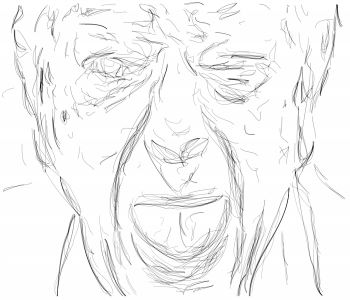
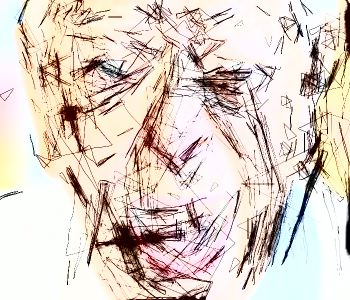
You can use the Colorize Ip Op to subtly colorize a black and white sketch with the colors from the source image. Here’s an example of a colorized version of the last black and white abstracted sketch effect.
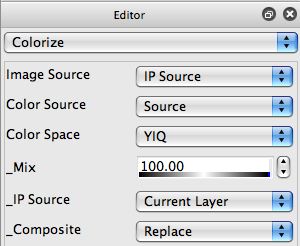
Now we need to choose where the color is coming from, which is determined by the Color Source setting. We chose Source for the Color Source setting, which means the color used for the colorization operation is coming from the Studio Artist source image.
Different Color Space settings will generate different colorization effects. You should try different ones to determine what colorization effect you like the best for your particular sketch image.
Sketch Mass
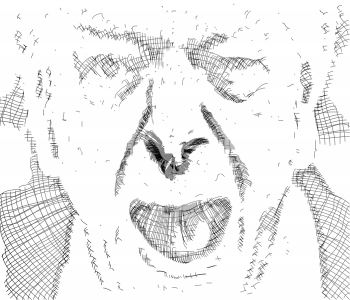
The Sketch Mass Ip Op can generate a large number of different sketch effects that try to represent the underlying mass of the source image being sketched. Since sketches are composed of thin lines, mass is represented using different hatching patterns. Sketch Mass can try to accurately reproduce source mass or luminance, or it can work in a more sophisticated way that mirrors how a human artist would try to represent positive and negative space in an image (as opposed to blindly reproducing luminance) which can lead to more natural looking sketch effects.
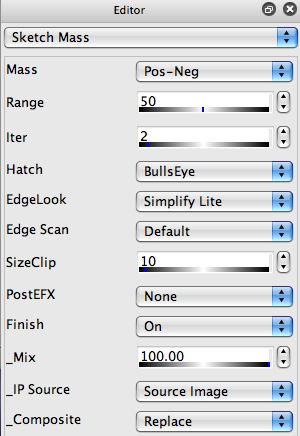
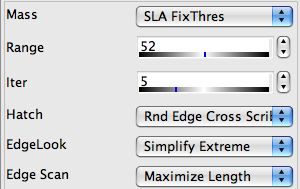
The example above was generated with the following Sketch Mass settings. The particular hatching pattern used in the sketch is generated by the BullsEye Hatch setting.

Generating Bezier Paths
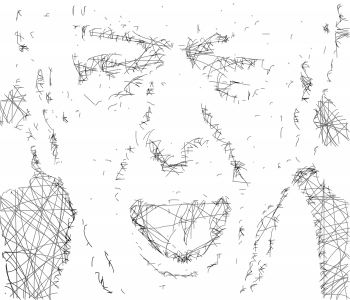
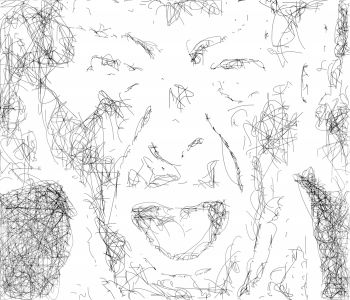
Both Sketch Edge and Sketch Mass can also be used to generate a set of Bezier paths, as opposed to their normal operation which generates a raster image as the sketch effect. To generate a set of Bezier paths, you would run the new Path : Generate Paths : from Ip Op menu command. If either of the Sketch ip ops is the current ip op, then when you run this menu command they will generate a set of bezier paths that represent the sketch effect they are generating and add them to the current layer’s Bezier path frame.
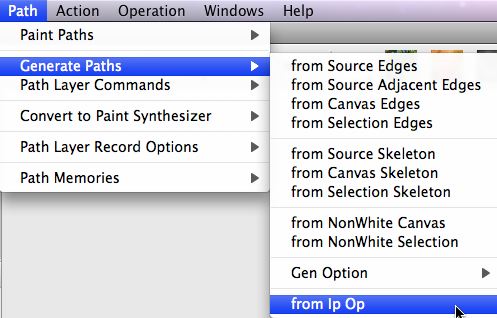
The generated Bezier paths are added to the existing contents of the current layer’s Bezier path frame. So you would generally want to erase the existing Bezier path frame before running a generate paths menu command. You could either do this by adding an erase path layer menu command as a prior step in a PASeq, or you could turn on the Erase before Action path layer record option menu flag before running the generate paths menu command.


Generating Vector Sketches as SVG or PDF files
Studio Artist paint synthesizer has a number of new vector output features. You can use these new vector paint features in conjunction with the Bezier path generation step discussed above to generate full vector output for your Sketch ip op effects. This can be especially useful for high resolution printing since SVG or PDF files are resolution independent and can therefore be scaled without any information loss for printing on very high resolution printers.

2 Comments