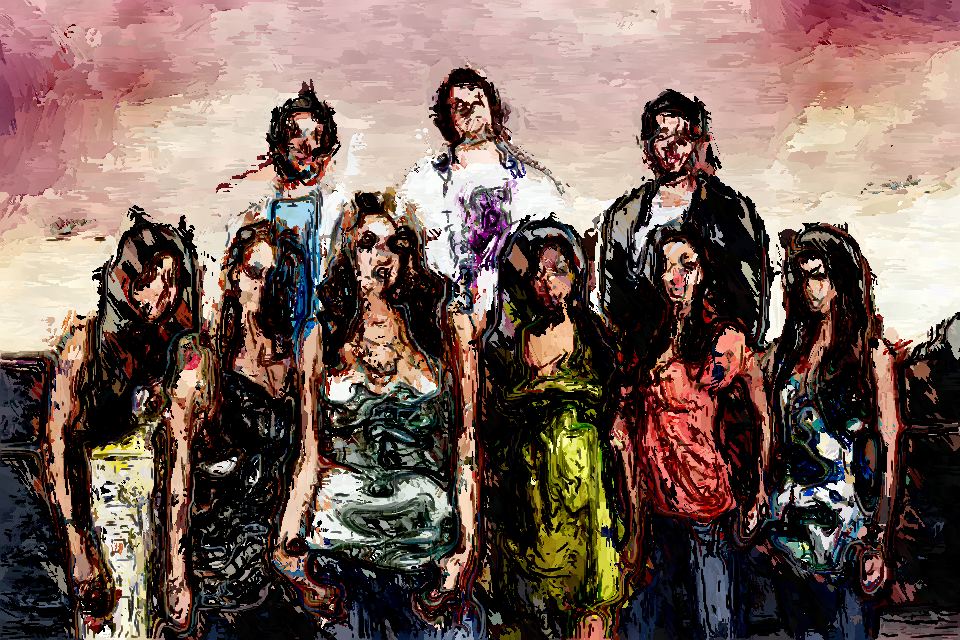
Beginning Studio Artist users often just select a paint preset, hit Action, let the preset draw, stop the drawing, finished painting. However, by working with the controls in the paint synthesizer you can tweak any given preset to modify it’s rendition of the source image you are painting. This can be useful to focus on certain areas of the painting, to increase edge rendition, better portray positive and negative space, etc. This tutorial will focus on some common editing techniques you can use to modify the way a preset paints to better reproduce edges, positive and negative space, etc.
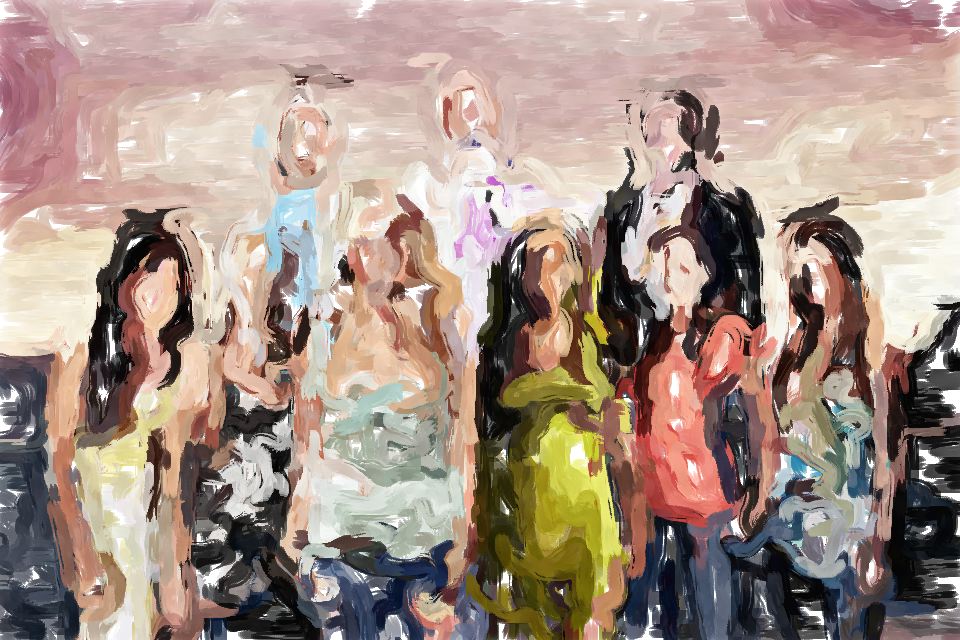
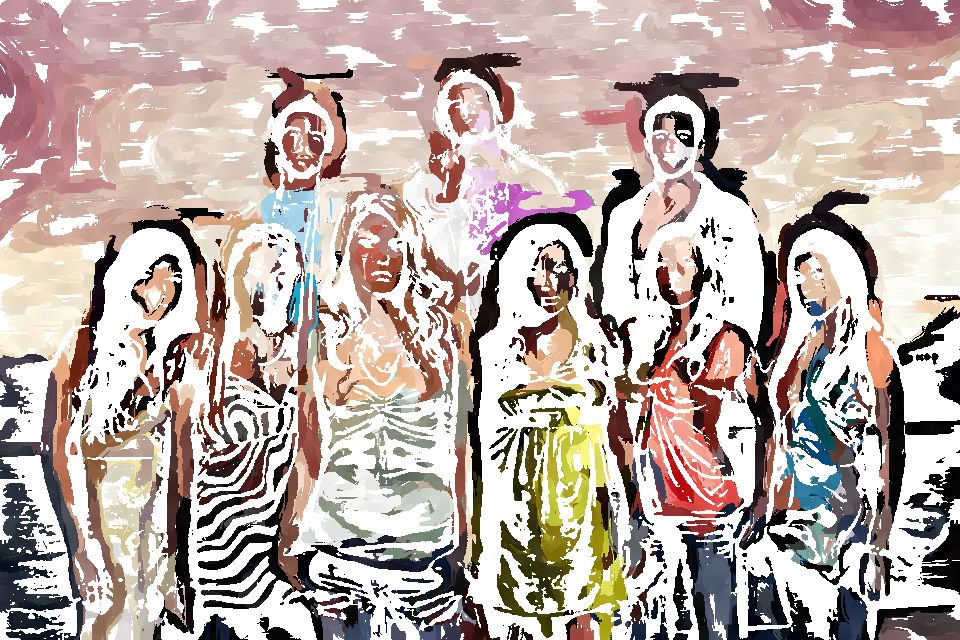
The image below shows a simple painting generated from a single paint preset (Default:Utility:Bristle Paint-Flat”. Note the appearance is very abstract.
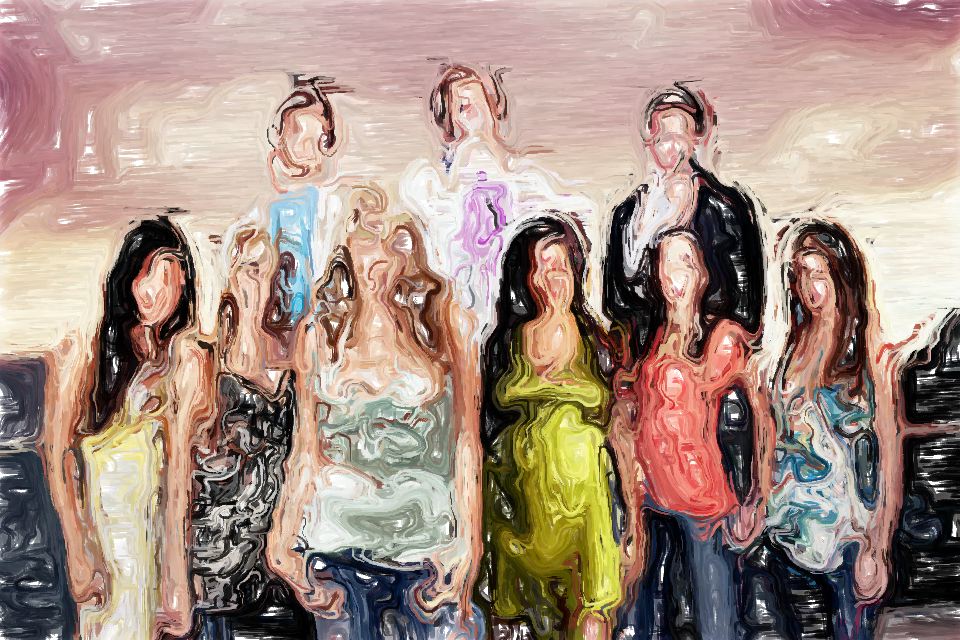
Now suppose you wanted to generate a painting like this that better reproduces the source image. One common approach is to work with multiple passes of the paint preset where you reduce the brush size and path length for each pass. This simulates what an artist would do in a real painting, where they would typically start with a large brush size to rough in the image and then use progressively smaller brush sizes to bring in more detail.
The image below shows off how this approach can generate additional detail. However, the painting still has a fairly abstract appearance.
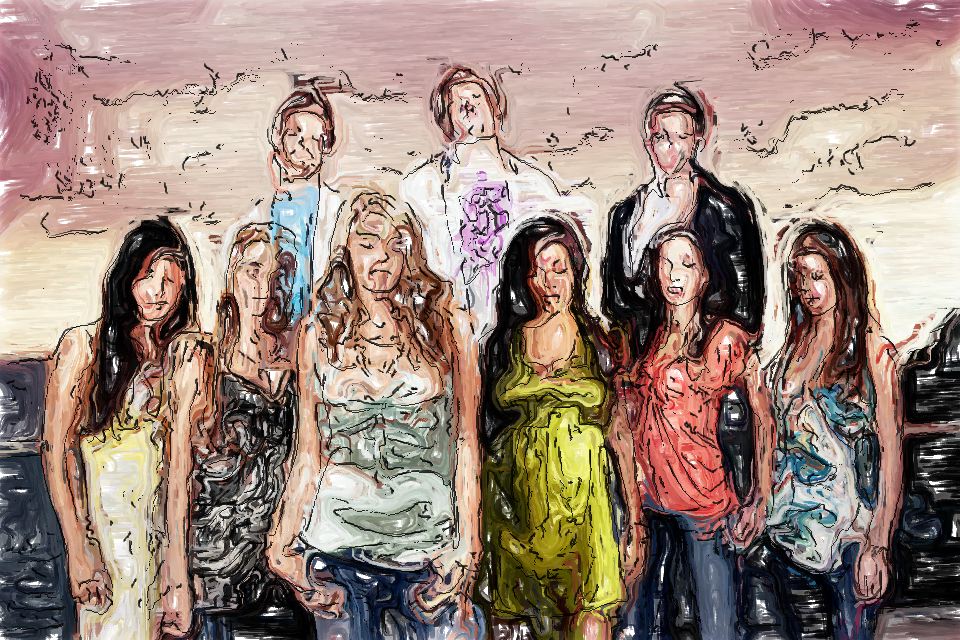
Another approach to accenting edge detail in a painting is to superimpose an edge sketch on top of the abstract painting. There are a number of different ways to create this kind of effect. You could select a specific paint preset that generates an edge sketch effect. Many of these presets use path start and path end settings that focus the drawing onto the locations of edges in the source image. The example below shows off one way to add a black sketch effect to an abstract painting.
I generated a set of bezier paths from the source image edges using the ‘Path : Generate Paths : from Source Edges’ menu.
and then painted in the paths using a dark pencil preset by selecting a black pencil preset and running the ‘Path : Paint Paths : Full Layer’ menu command.
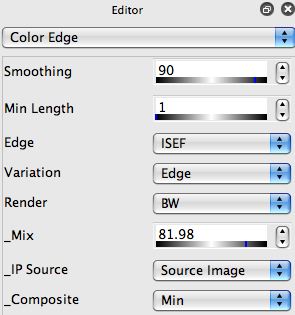
I then followed that with the Color Edge Ip Op setup to render a black edge min composited into the existing painted canvas. Note that i’m using the Source Image for the IP Source (as opposed to the current layer). This means the black edges are generated from the original source image as opposed to the painted canvas.
The 2 techniques described above work together in this example to create a nice tight edge sketch that helps the painting become more representational of the original source image. There are many different Ip Ops that can be used to create Edge renditions, including Color Edge, Edge, and Sketch as the first thing to check out. Smart Contrast, Gradient, Color Simplify, and Watershed Regionize also have parameter configurations that will generate black sketch effects. There are also many MSG presets that can create a wide range of different sketch effects.
Tightening up a Painting
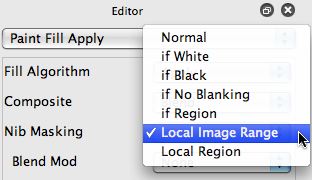
A different approach to tightening up the edge rendition of a paint preset is to turn on ‘Local Image Range’ Nib Masking in the Paint Fill Apply control panel in the paint synthesizer Editor.
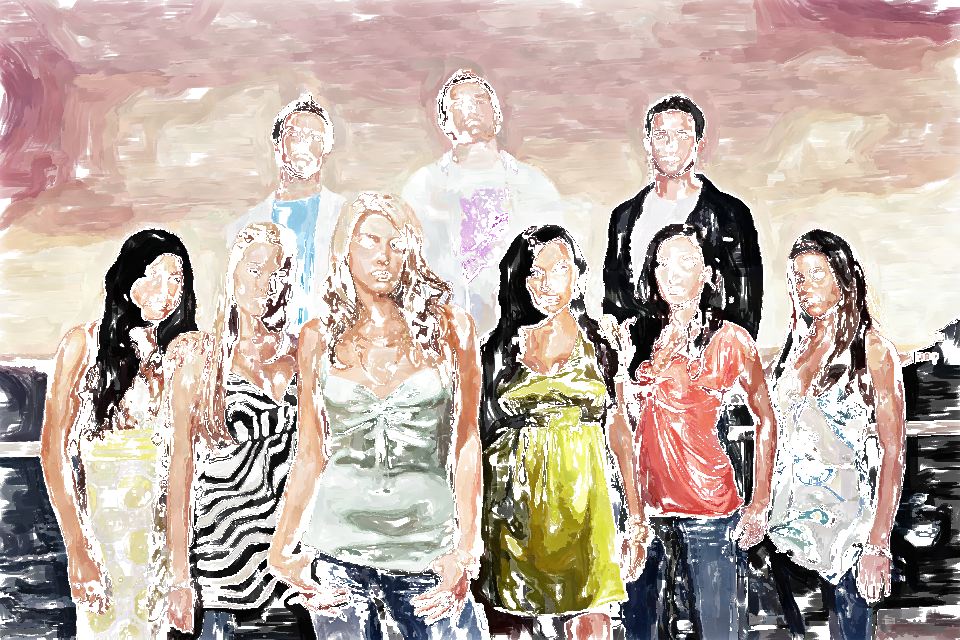
The various nib masking settings all work to automatically generate a on-the-fly selection mask for each individual paint nib before it is applied to the canvas. What the ‘Local Image Range’ setting does is to mask the paint nib if it spills into areas of the associated source image that are different colors the the current paint color. You can see the effect of turning on local image range nib masking below for the simple paintpreset we’ve been using in this example.
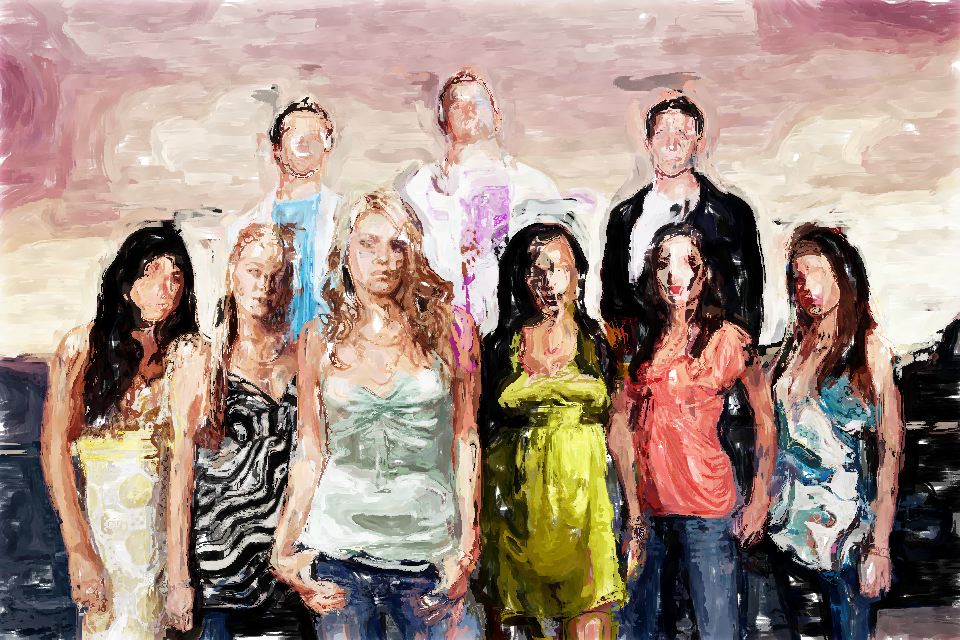
Note that the edges associated with the original source image are reproduced in the painting. However, the masking effect is very pronounced. Often a better approach is to start off by generating a more abstracted painting, and then turn on the local image range nib masking and overpaint. The example below shows off how this can give a more natural effect in the resulting painting.
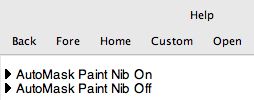
There are 2 Paint Synthesizer Macroedits shown below available for you as active commands in the Help palette.
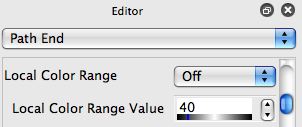
The actual specification of the size of the local image range is based on the Path End control panel ‘Local Color Range’ parameter value.
You can also use Local Color Range Path End masking to generate a tighter paint rendition. The difference between the Path End and the Nib masking approach described above is that the nib mask leads to a very tight rendition. Path End masking based on turning on Local Color Range will mask your paint paths but the complete nib will still draw, leading to a subtler, more natural paint effect, but with a subtler edge rendition due to the full paint nib being drawn.
There are some Paint Synth Macroedits available that can provide a quick way to modify a paint preset to focus on edge drawing or preserving local color areas.
Accenting Positive and Negative Space
Real painters work with their shading to help accent positive and negative space in the image they are painting. There are some different approaches you can use in Studio Artist to create this same kind of effect. One approach is to generate a region selection that breaks the image into positive and negative space, and then use that as either a selection mask for painting or as a probability modulator for things like path start and path end locations and path application probability.
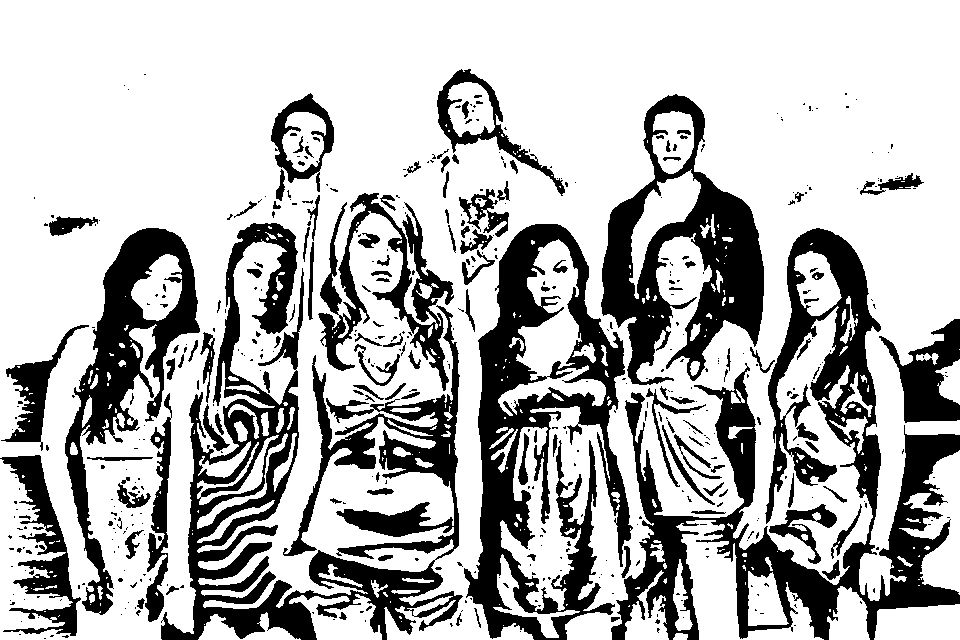
The Smart Contrast Ip Op is a great tool for generating a selection mask that defines the positive and negative space in a source image. An example of what i mean is shown below.
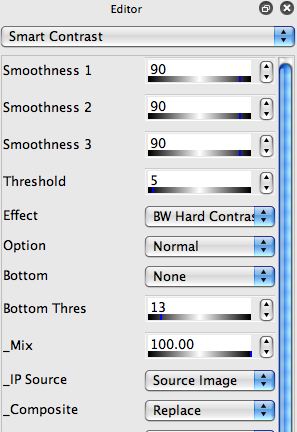
This image was generated with the following Smart Contrast settings.
To generate a hard black and white mask image all three Smoothness controls need to be set to the same value. When they are different you will get additional gray levels in the resulting output, which can be useful if your goal is to use the output image as a probability mask in the paint synthesizer for things like path application probability based on the current selection region modulator.
To route the Smart Contrast output to the current region selection as opposed to placing it in the canvas, use the ‘Replace Region Selection’ Composite option shown below.
If you turn on Masking and then run the original ‘Bristle Paint-Flat’ paint preset located in Default:Utility used throughout this tip you will get the following kind of effect if Paint Masking is turned on.
You can turn on Masking by either checking the Mask checkbox in the main operation toolbar
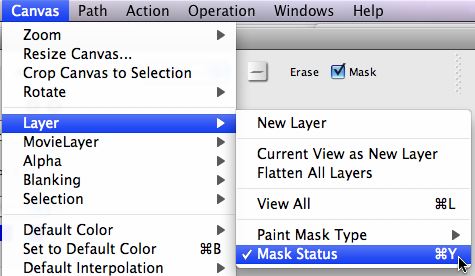
or by using the ‘Canvas : Layer : Mask Status’ menu.
There are 3 different kind of masking you can use when painting. You choose them in the ‘Canvas : Layer : Paint Mask Type’ menu as shown below.
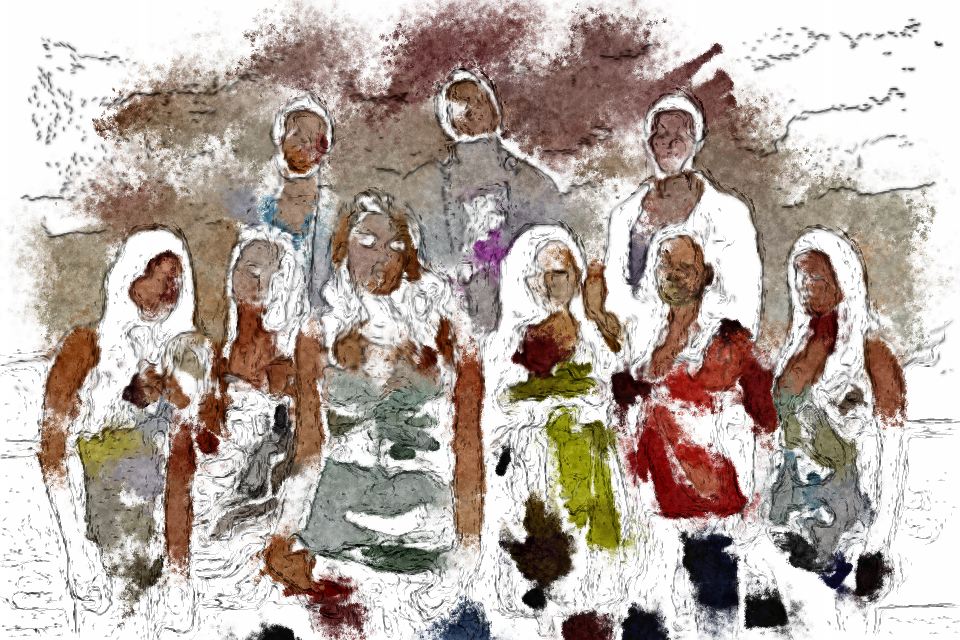
The ‘Paint’ mask type give a hard edge. The ‘Path’ mask type masks the paint paths as opposed to the paint nib, so it can be used to give a more natural appearance to a masked painting since the complete brush nib is drawn at the edge of a masked path area. Litho mask type masks the non wet part of a spreading wet preset, so it allows the selection mask to act like a lithography press where paint is applied in the non masked area by the wet spreading can move into the masked areas via drip or wiping effects.
I used ‘Path’ masking in the example below with a different preset that generates an airbrush effect. Note the smoother more natural appearance at the edges of the masked areas created by the Paint masking type.
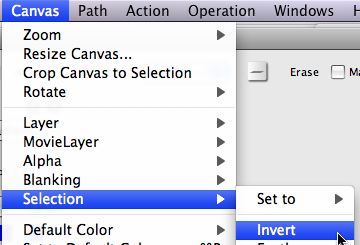
You can invert the mask using the ‘Canvas : Selection : Invert’ menu command.
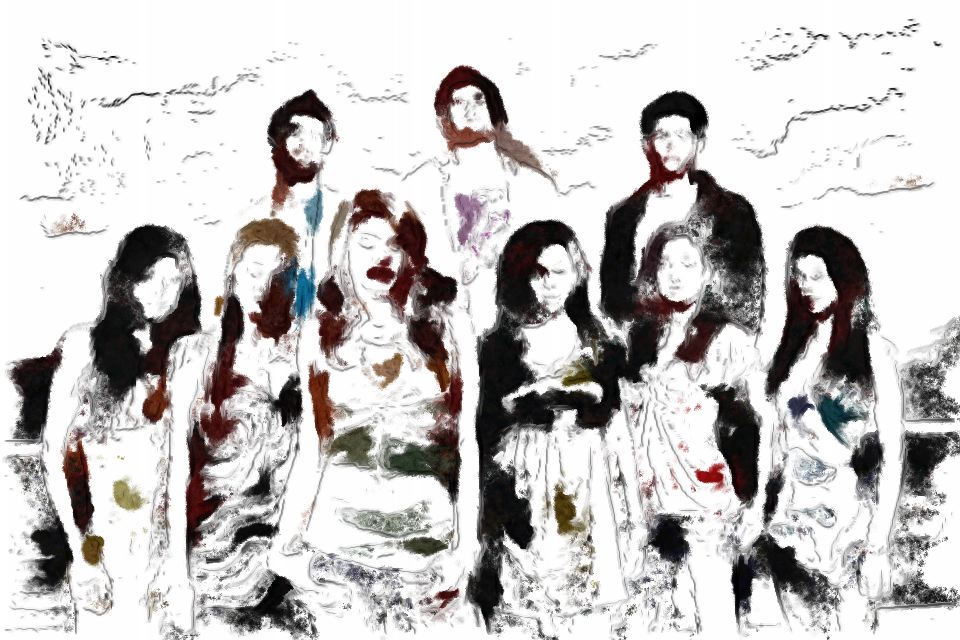
The next example was created using the same airbrush preset and the inverted selection mask with Path masking.
You aren’t restricted to dropping out the masked area in a painting as shown in the 2 examples above. The AutoPaint1 Paint Action Sequence preset located in Default : General shows off a more sophesticated way to use this kind of selection masking.
This PASeq starts off by setting the canvas to white. It then uses the Smart COntrast Ip Op as described above to generate a selection mask. The non selected area is then painted in. Then the mask is flipped, and a paint preset with a different orientation and a luminance bias is then used to paint in the other side. So one side of the mask is painted in with darker paint that has a different orientation than the pain in the other side of the mask.
The final result for this PASeq is shown below. Note that the PASeq uses the black edge outline technique discussed earlier in this tutorial to improve the edge rendition of the painting.
So, we’ve covered a lot of ground in this tutorial tip, focusing on different approaches to improving edge rendition and representation of the source image in paintings created using the Studio Artist paint synthesizer. We’ve talked about working with different brush sizes to add detail over time to a painting, different approaches to masking, and the use of edge sketches to add additional detail rendition to painting.
Keep in mind that you can also always mix in some of the original source image to de-abstract an abstracted painting. This could be done in a locally selective way using something like the ‘Default : Utility : Clone Source-Soft’ paint preset. Or you could use the Fixed Image Ip Op with the IP Source set to Source Image and something like a 30% Mix setting if you want to mix the source into the entire painting.

