Brush load capture is a new feature in Studio Artist 4 that allows you to capture a piece of the current draw canvas and then load it into a paint brush and use it as a paint nib coloring source. This tip will discuss how to work with brush load capture in more detail.
The Studio Artist paint synthesizer contains an internal brush capture buffer that can be used to grab and store a piece of the current draw canvas. The brush capture buffer is always the size of the current brush source buffer. This size is specified in the Brush Source control panel. You can always use the b hot key while mousing down in the draw canvas to interactively resize the brush source buffer on the fly.
To grab a brush load capture, just hold down the a hot key and mouse down in the draw canvas at the local area where you want the capture to take place. Where the cursor is pointing when you mouse down with the a key pressed will be the center of the brush load capture image. The size of the brush load capture image will be the size of the source brush.
The screen snapshot below shows the cursor being positioned to capture a small area in the draw canvas between 2 existing paint strokes. I was holding down the a key when i clicked in this canvas area.

After being captured, the current brush load buffer contents will then be displayed at the bottom of the paint synthesizer Editor as show in the screen snapshot below.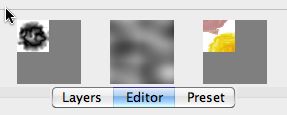
This brush load capture preview only displays if you are working with a paint preset that is configured to use the brushload capture buffer. We’ll discuss how to turn on this particular paint synthesizer feature next.
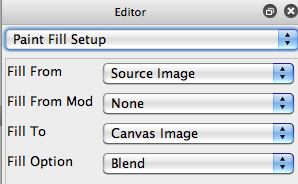
In order to use the brush load capture buffer for painting you need to be painting with the output of the Paint Brush Load control panel. The screen snap below shows the paint Fill Setup control panel configured to fill from the Paint Brush Load.
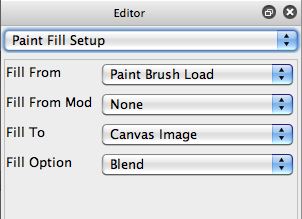
Note that the Fill From popup is set to use the output of the Paint Brush Load control panel. The next screensnap below shows the Paint Brush Load control panel configured to work with the brush load capture buffer. Note that the Source for the paint brush load module is set to BrushLoad Capture. Turning on this particular source paint brush load source setting is what activates the brush load capture preview display at the bottom of the paint synthesizer editor discussed above.
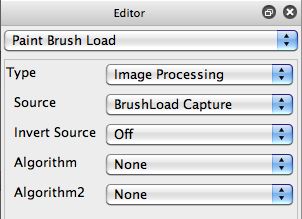
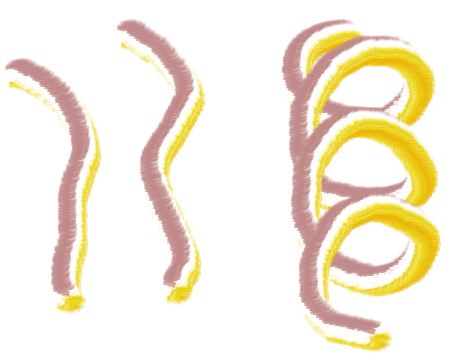
The brush load settings shown above will paint with a paint nib generated from the contents of the brush load capture buffer with no additional processing. The screensnap below shows a simple example of painting with the brush load capture buffer we captured earlier in this tutorial. Note that the painting is taking place with a simple image brush derived off of the brush load capture buffer. If you used the a hotkey to select a different area of the canvas then the painting would use that new capture buffer as the image brush for additional painting.
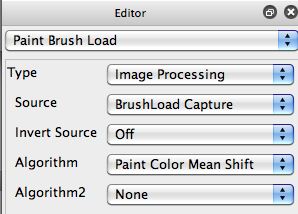
This is the simplest example of using a brush load capture buffer. You can build much more sophisticated paint presets that work with brush load capture buffers if you wish to. For example, you could turn on a Brush Load control panel algorithm. This would take the brush load capture buffer and use it as a source for additional processing specified by the image processing algorithm you choose. The screen snap below shows one simple example that will colorize the brush load capture buffer contents on the fly to try to represent a local area of the source image.
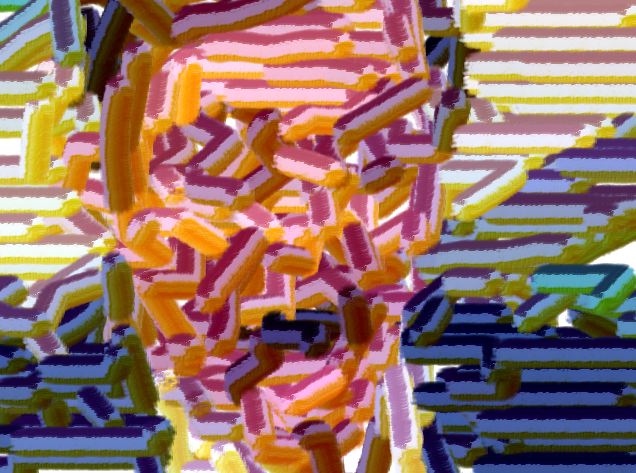
An example of some output derived from this simple editing change is shown below.
There’s a zip compressed folder on the Studio Artist User Forum with the 2 brush load capture paint presets we worked with above. You can download those presets here.
Fixed Offset Source Cloning
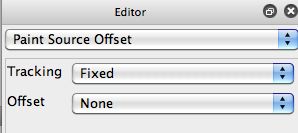
If your goal is to paint with a fixed area of the source image as a brush load capture paint nib you can use the Paint Source Offset control panel in the paint synthesizer to do this directly. As opposed to dragging the source to the canvas and then capturing a brushload using the features described above.
In the Paint Source Offset control panel is a parameter called tracking. Normally you would leave this set to Start Point for normal painting. But if you switch it to Fixed, hold down the t key, and then mouse down on an area in the source image, then the brush tracking will stick to the location you clicked (this is what Fixed tracking means). So now if you have a normal source clone brush it will paint with the fixed source nib image you clicked on.
